(Copied over from other blog. Originally written 15.8.2023)
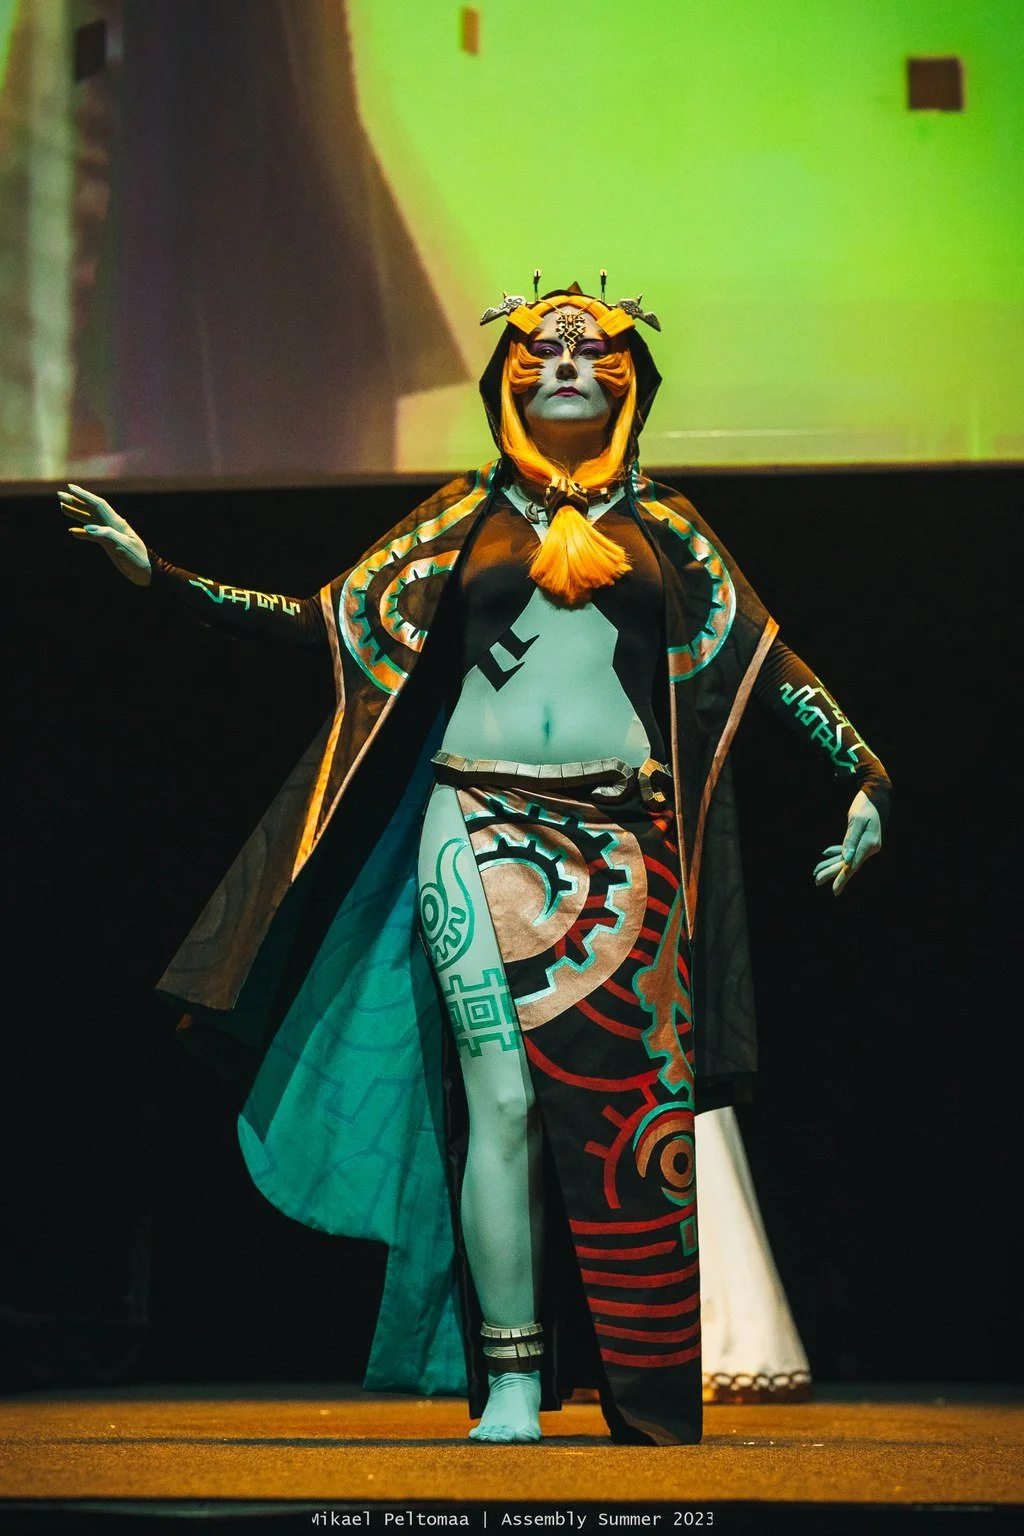
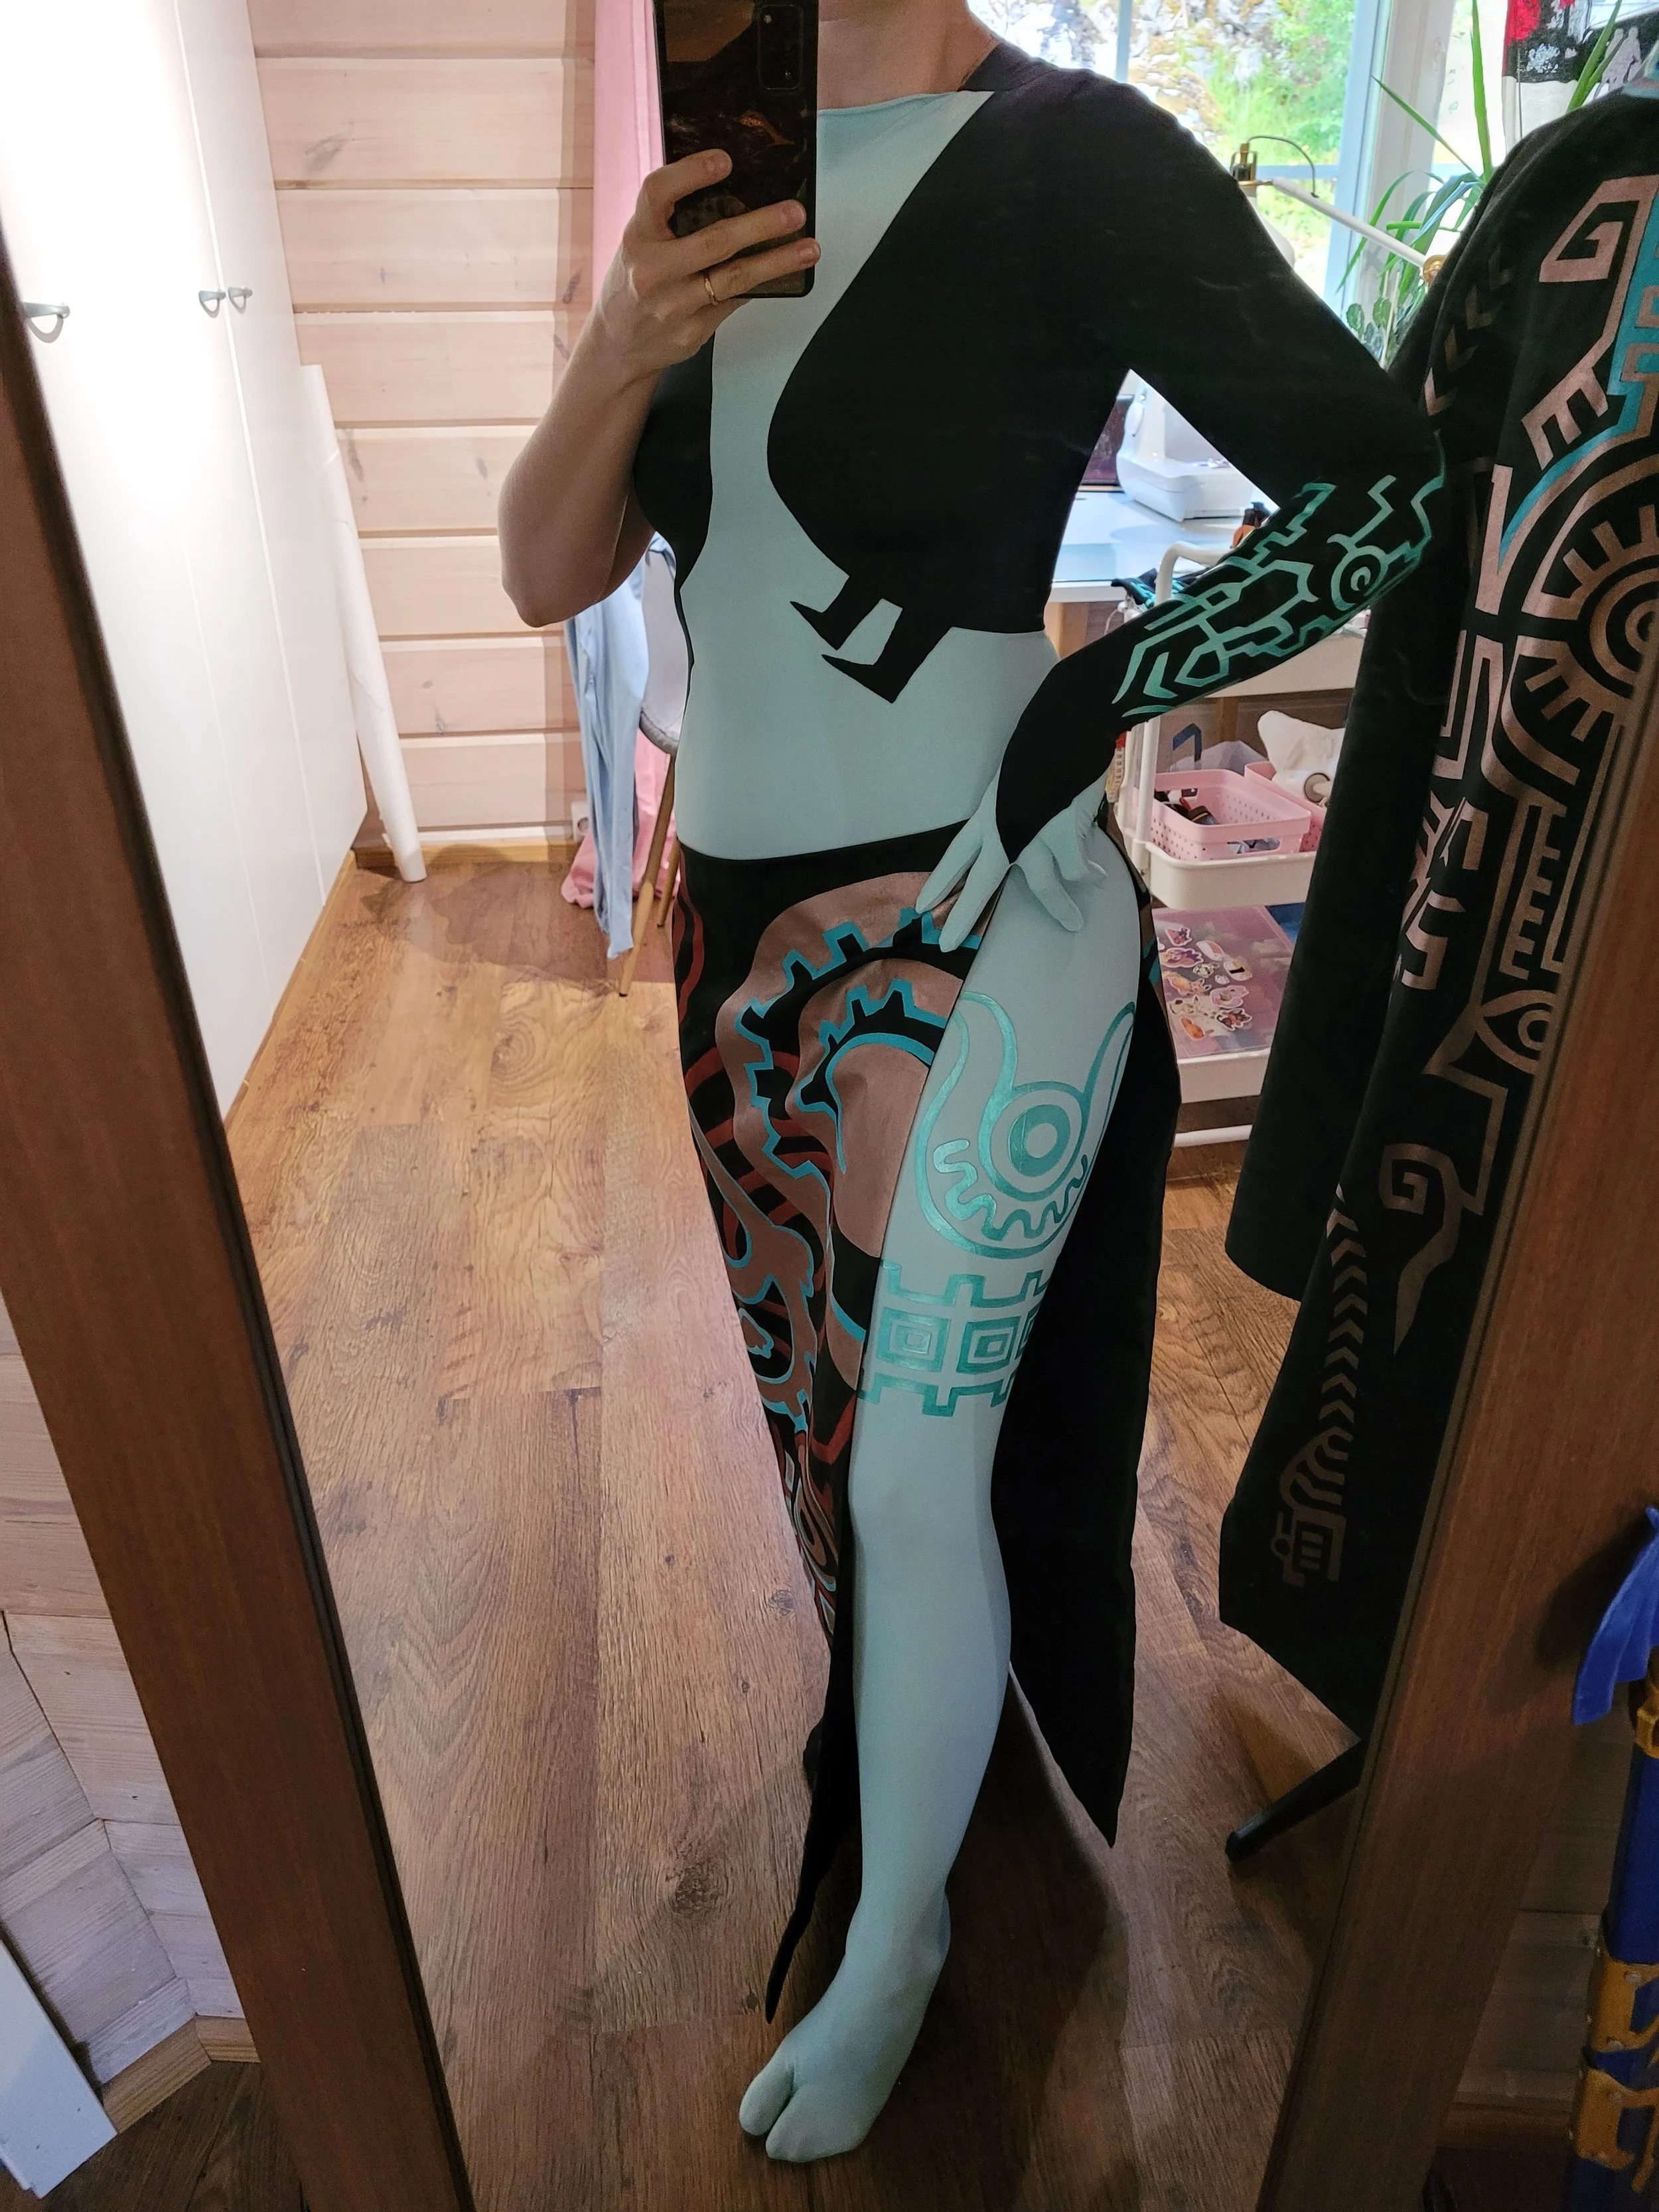
My process of making True form Midna from The Legend of Zelda - Twilight Princess
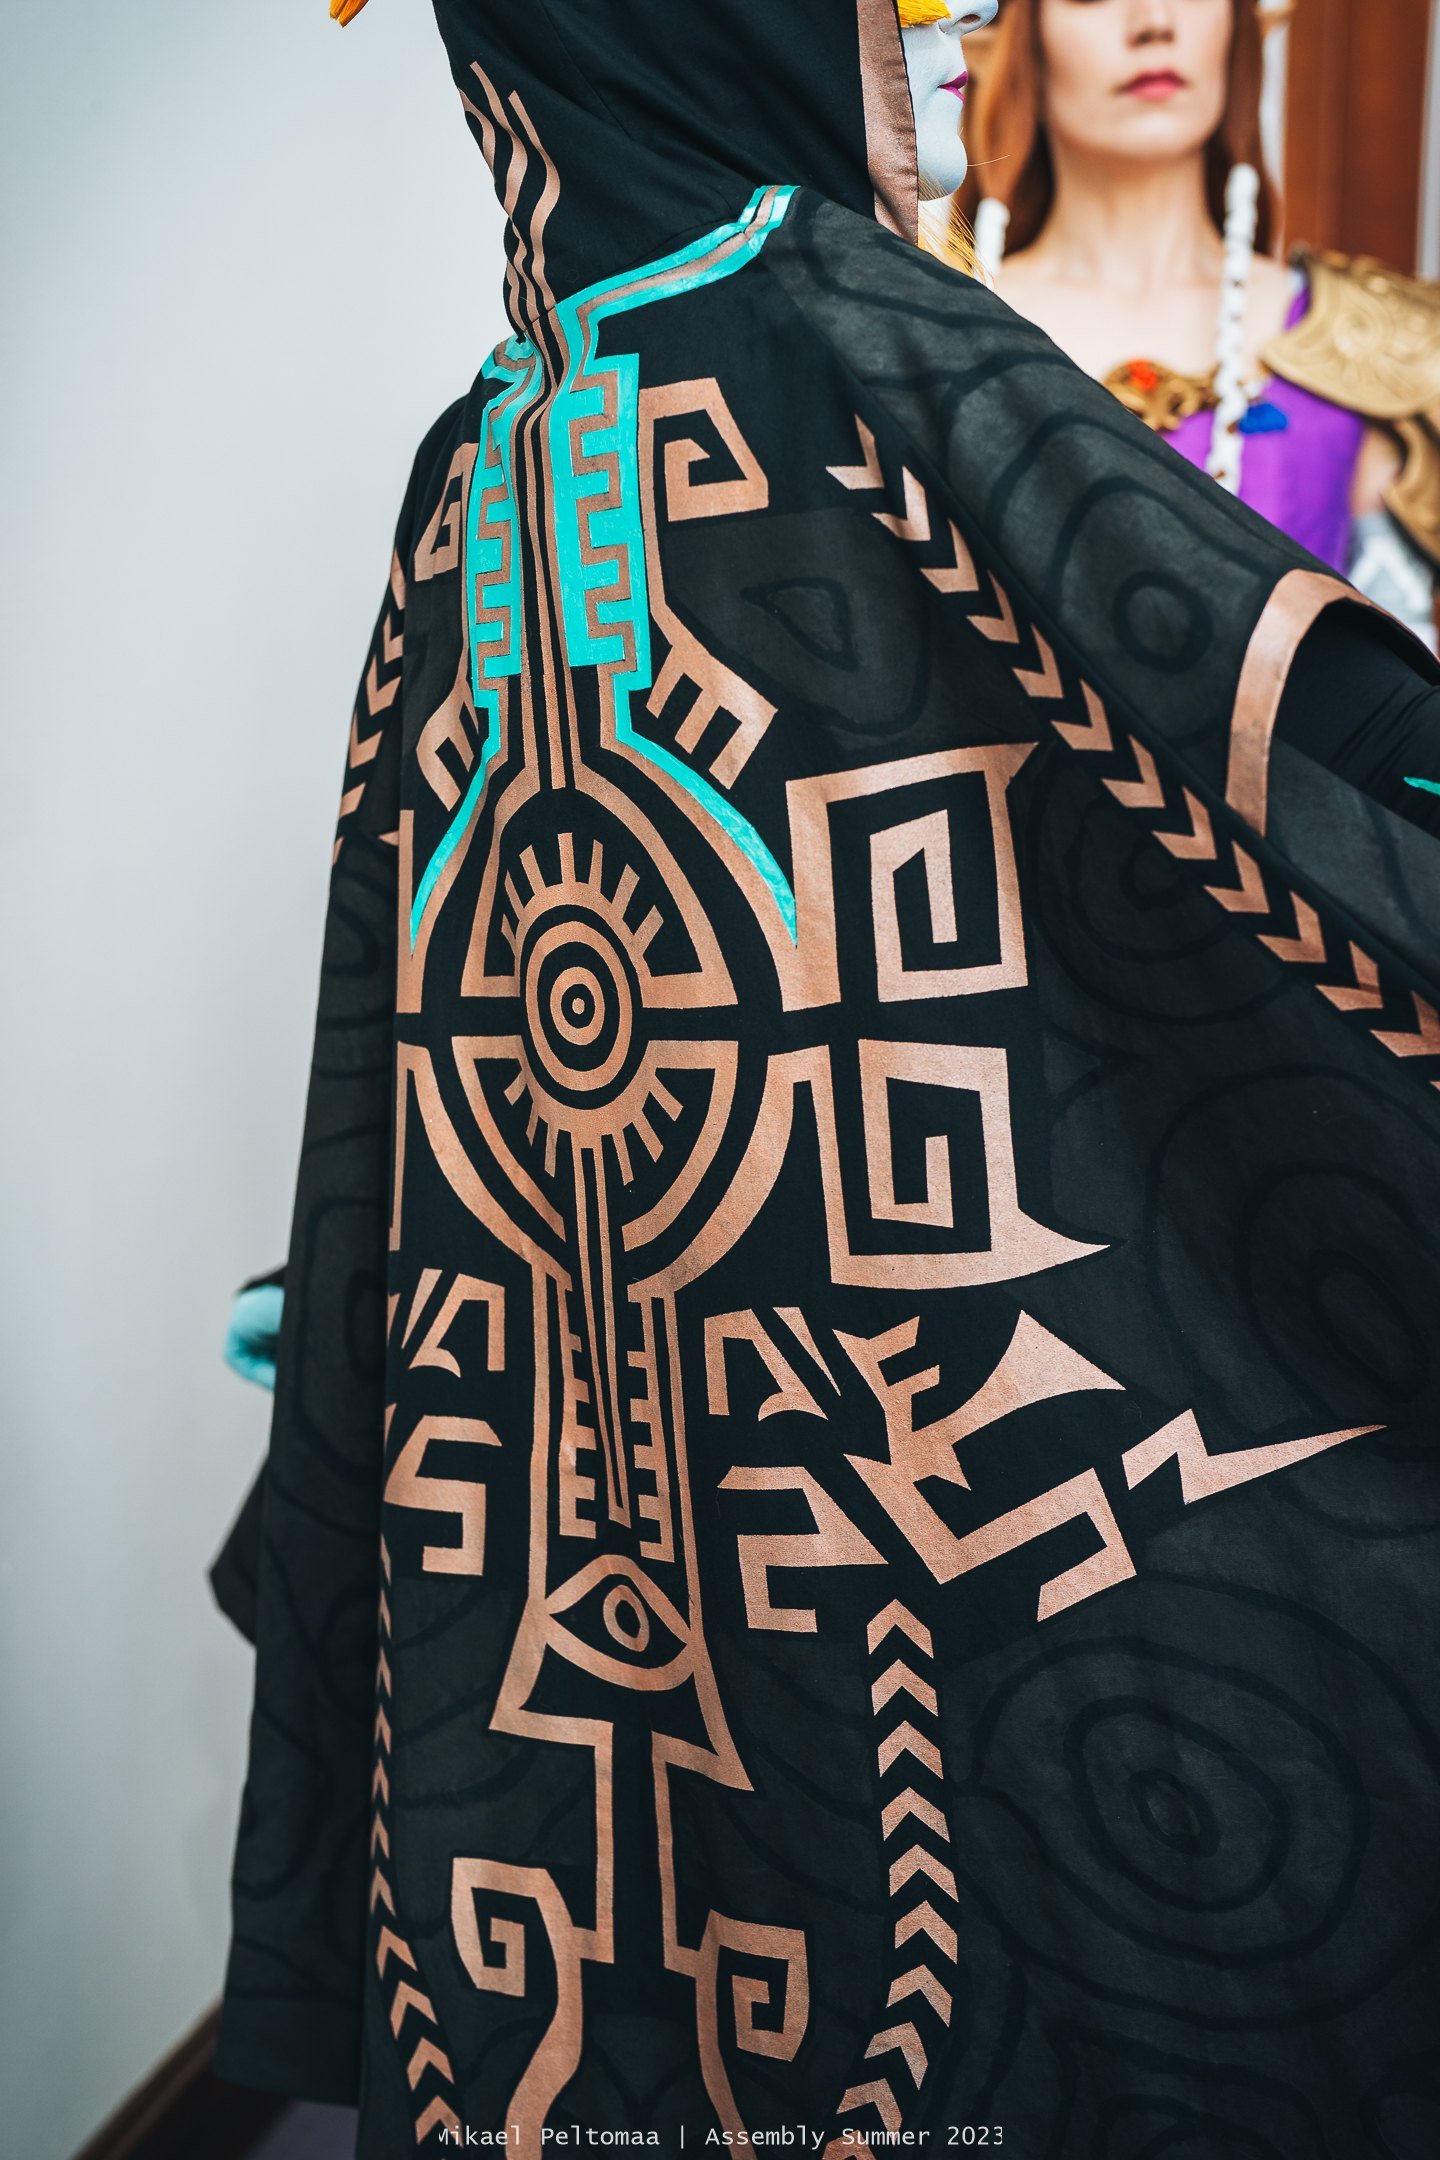
Image by Mikael Peltomaa / Assembly Summer 2023
Oh boy. Oh boy oh boy oh boy.
Midna was a challenge for me, there was not a single part in the costume I felt comfortable making. So much fabric manipulation, wig styling, weird hidden structures and stuff. And very very fancy makeup! All new. Here is me drudging through the process, enjoy! Listed in the order of making.
As a note, I’m not 100% happy with this costume, but I hope this blurb can help someone who needs to tackle similar challenges.
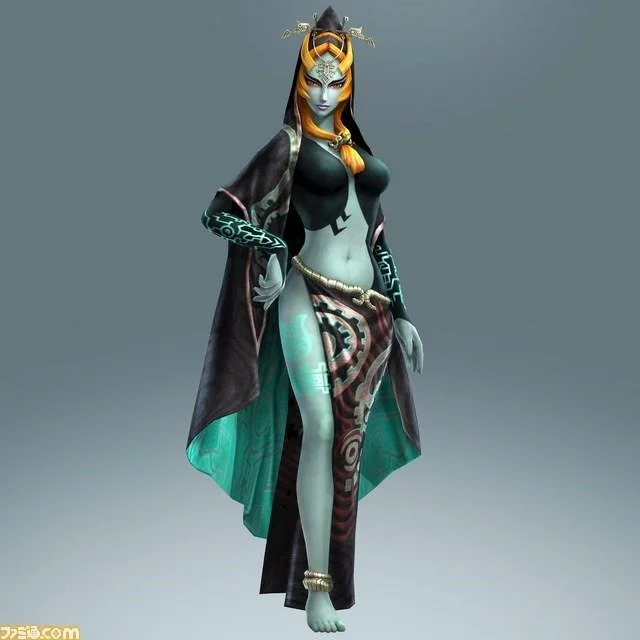
As an info, I mostly used the Hyrule Warriors Midna design as a reference, for being of higher resolution and I really liked the turquoise details.
Cloak
Patterning
Cloak process started with patterning. There were few patterns/design choices online which I got ideas from, but ended up doing bit of a mix and match.
Biggest challenges with the cloak were achieving the wanted draping effect, scaling things to my body and having the hood stand up nicely from the body of the cloak. Instead of typical hood, this would need to lick the wig, so to say.
The cloak and skirt attach to the body suit with some carefully placed velcro-pieces to achieve the floating effect.
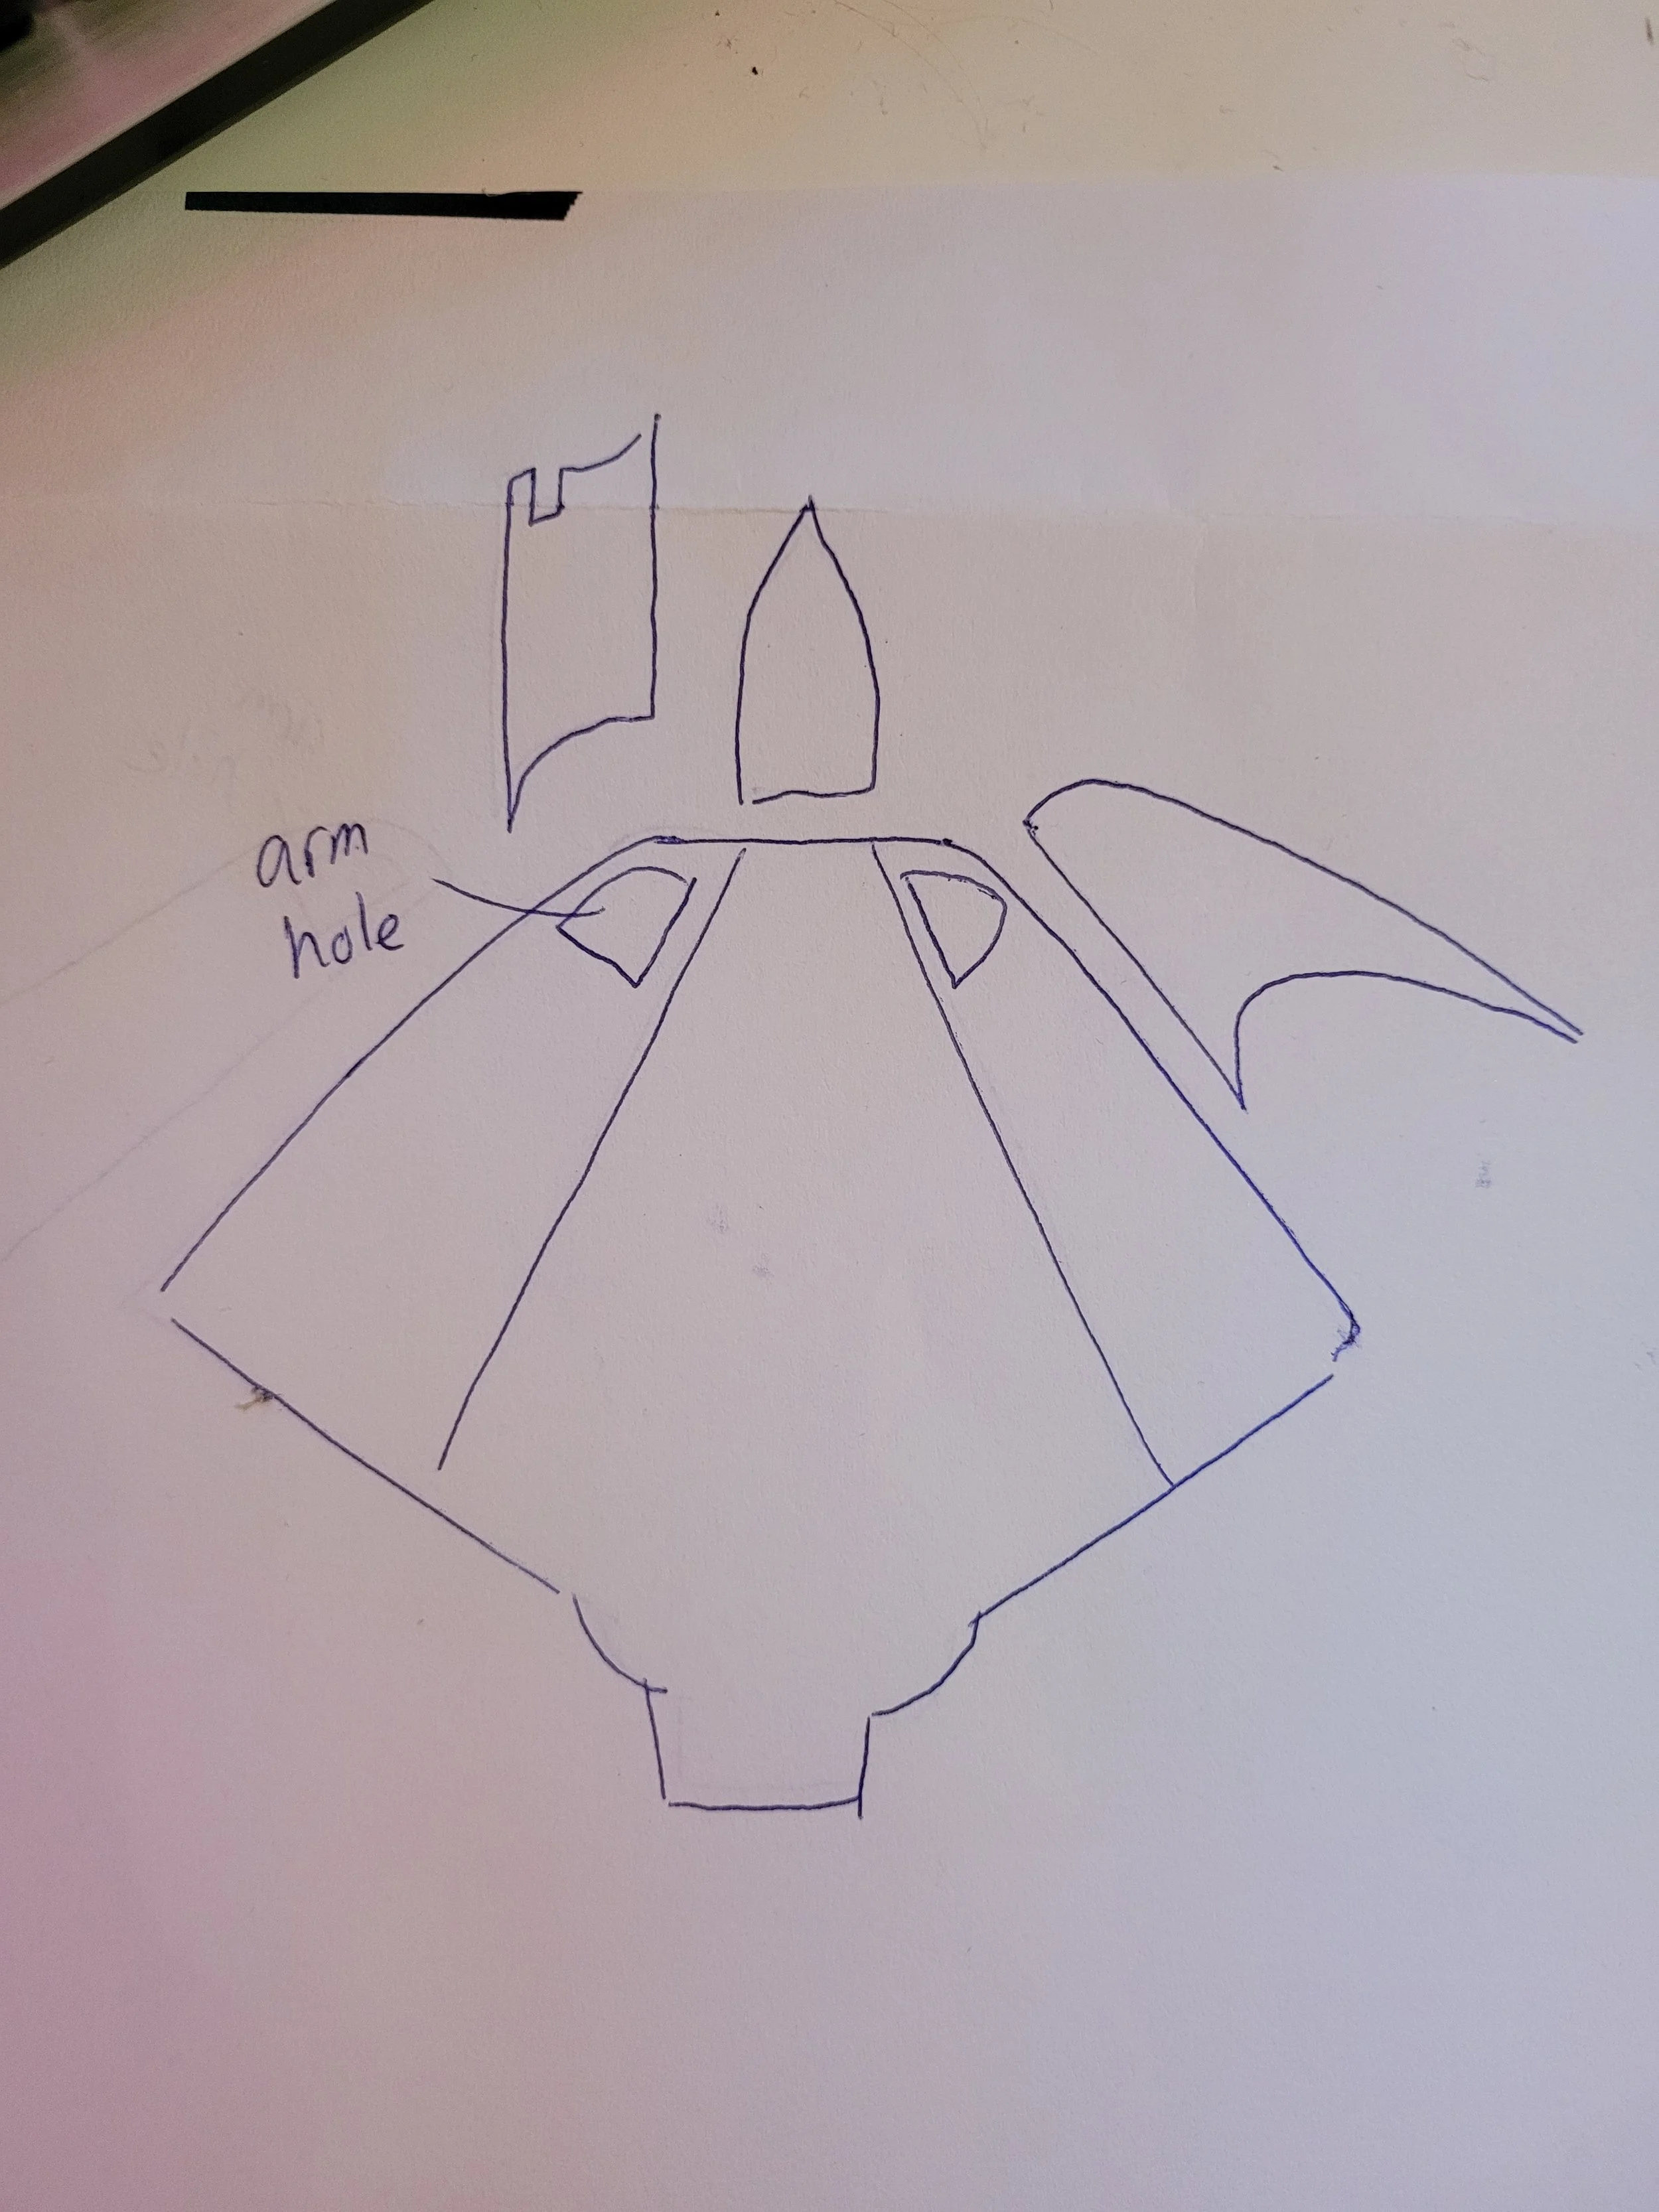
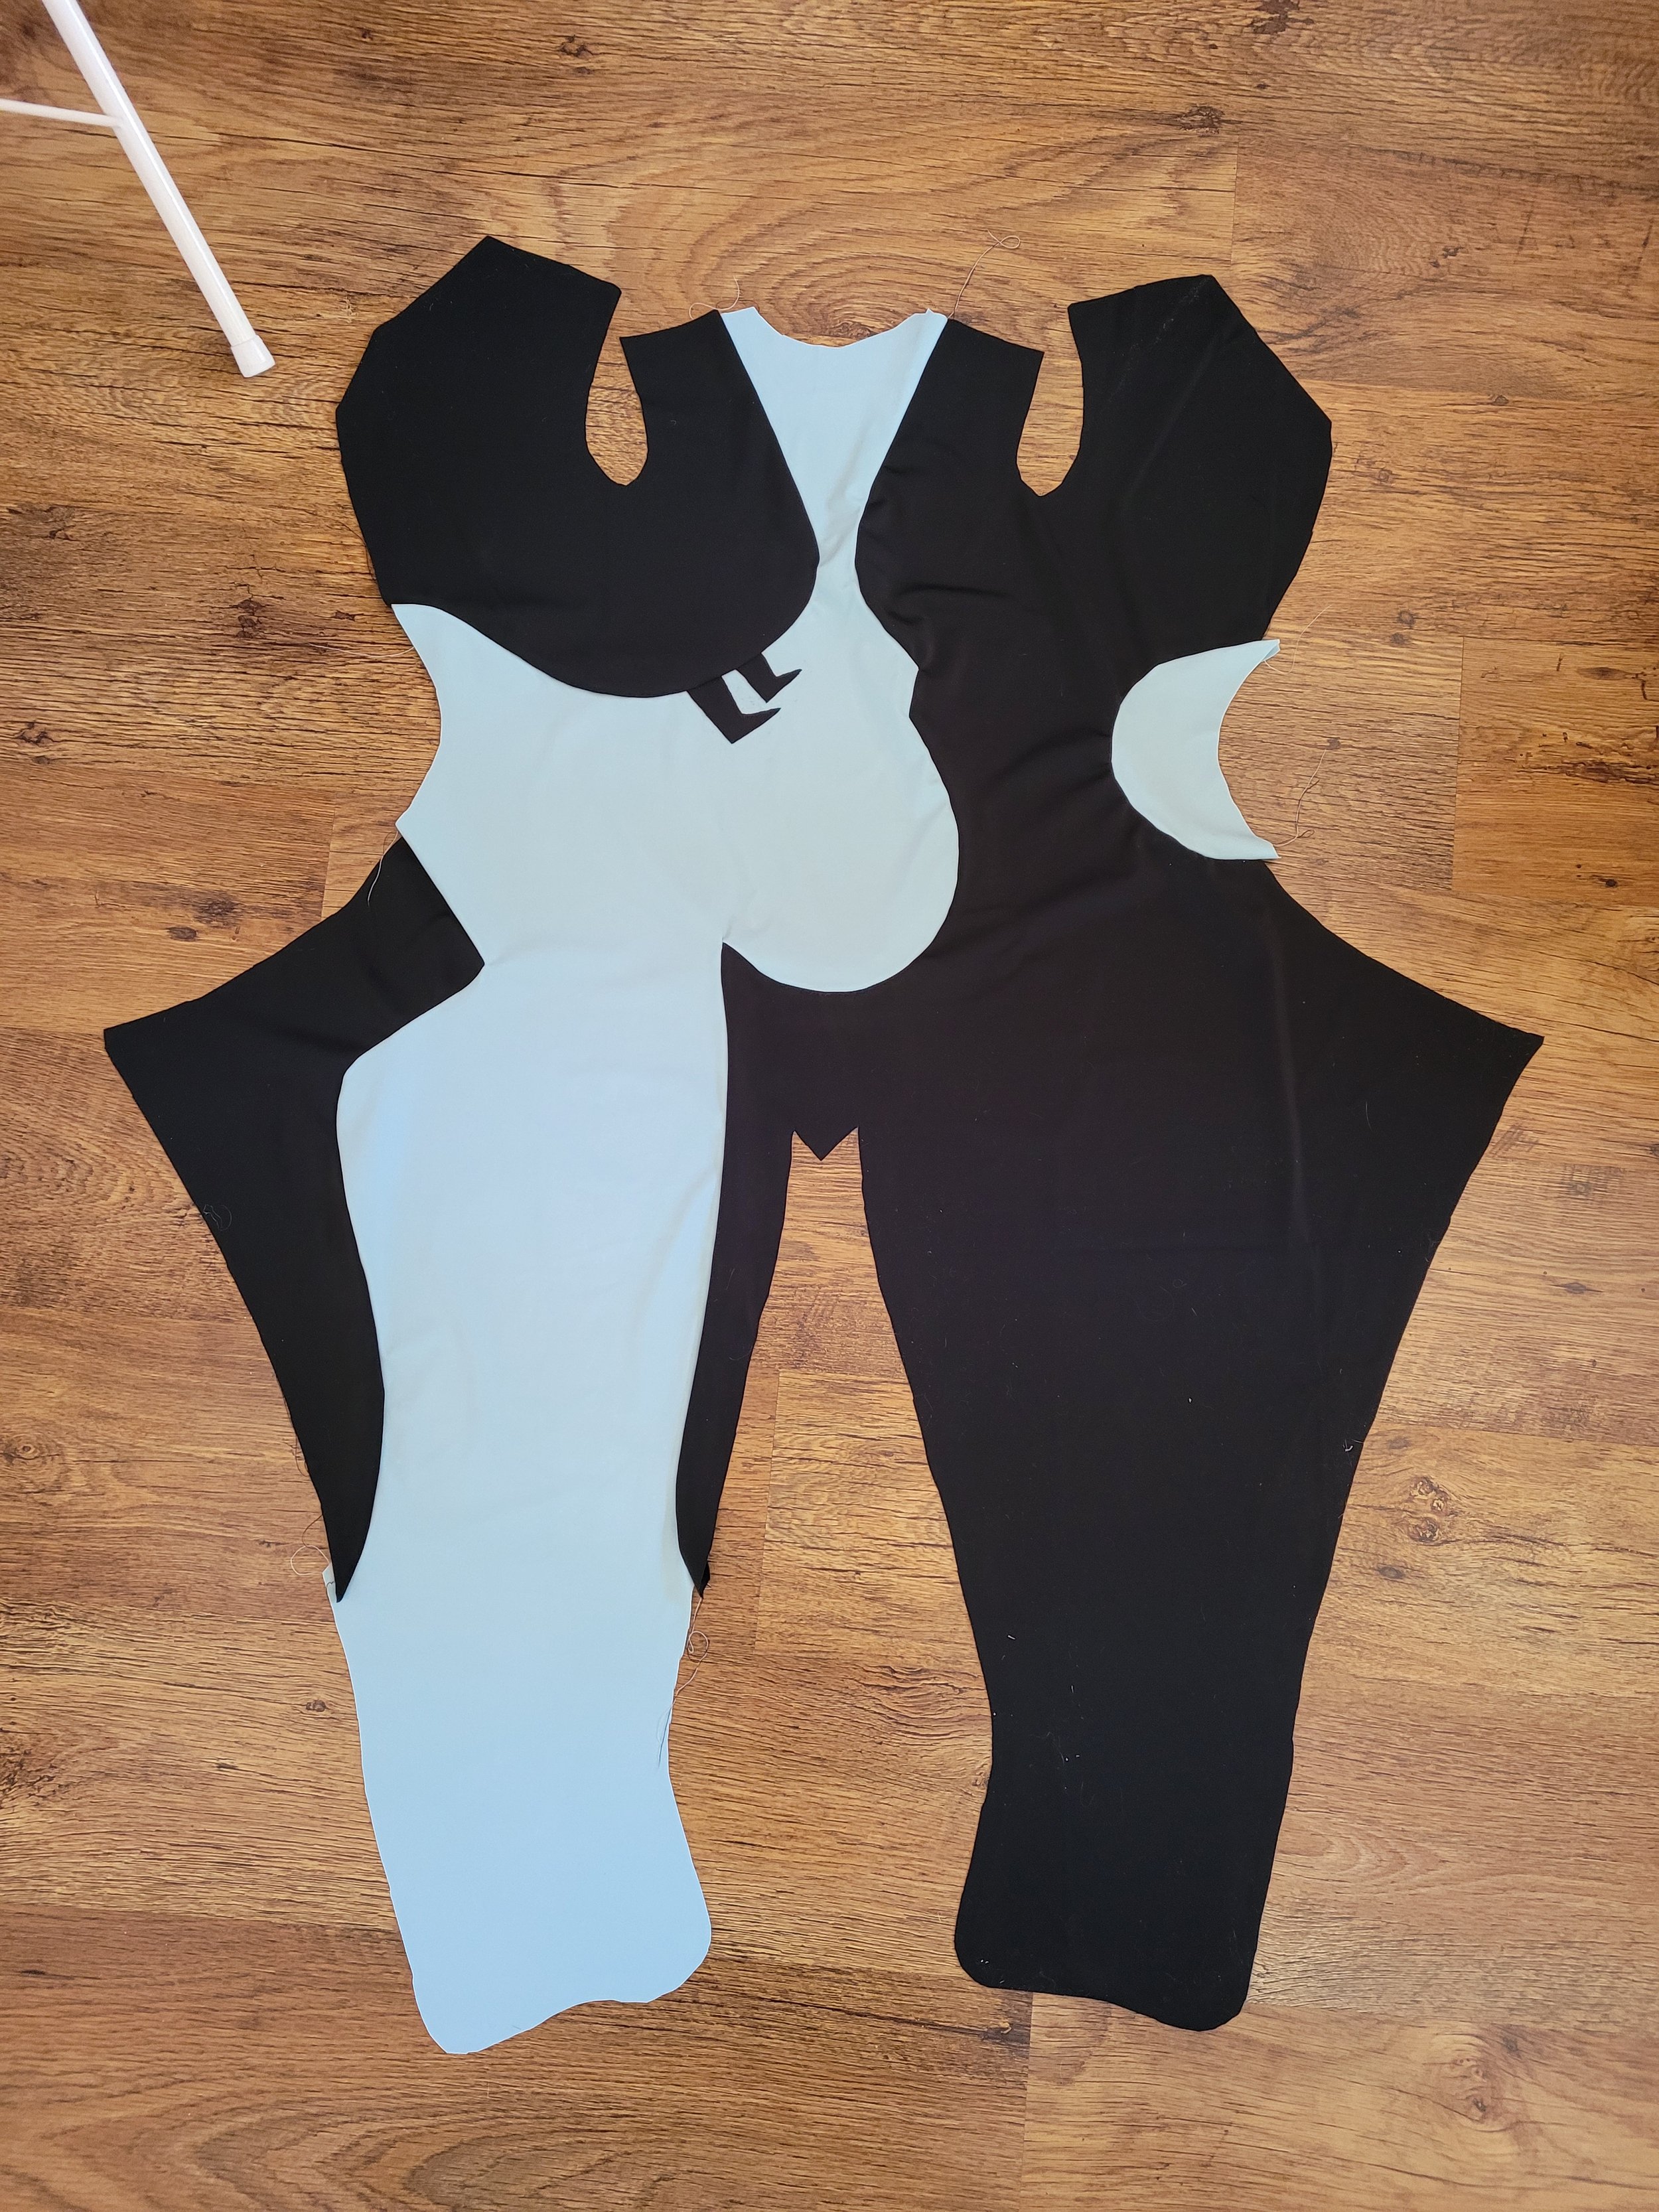
My final cloak pattern looked somewhat like this. Arm holes were cut and tidied after whole thing was complete. I reduced the hem width A LOT from other people’s patterns to achieve similar flow to the reference picture. The sleeve part was sandwiched between the back side seams.
Printing designs
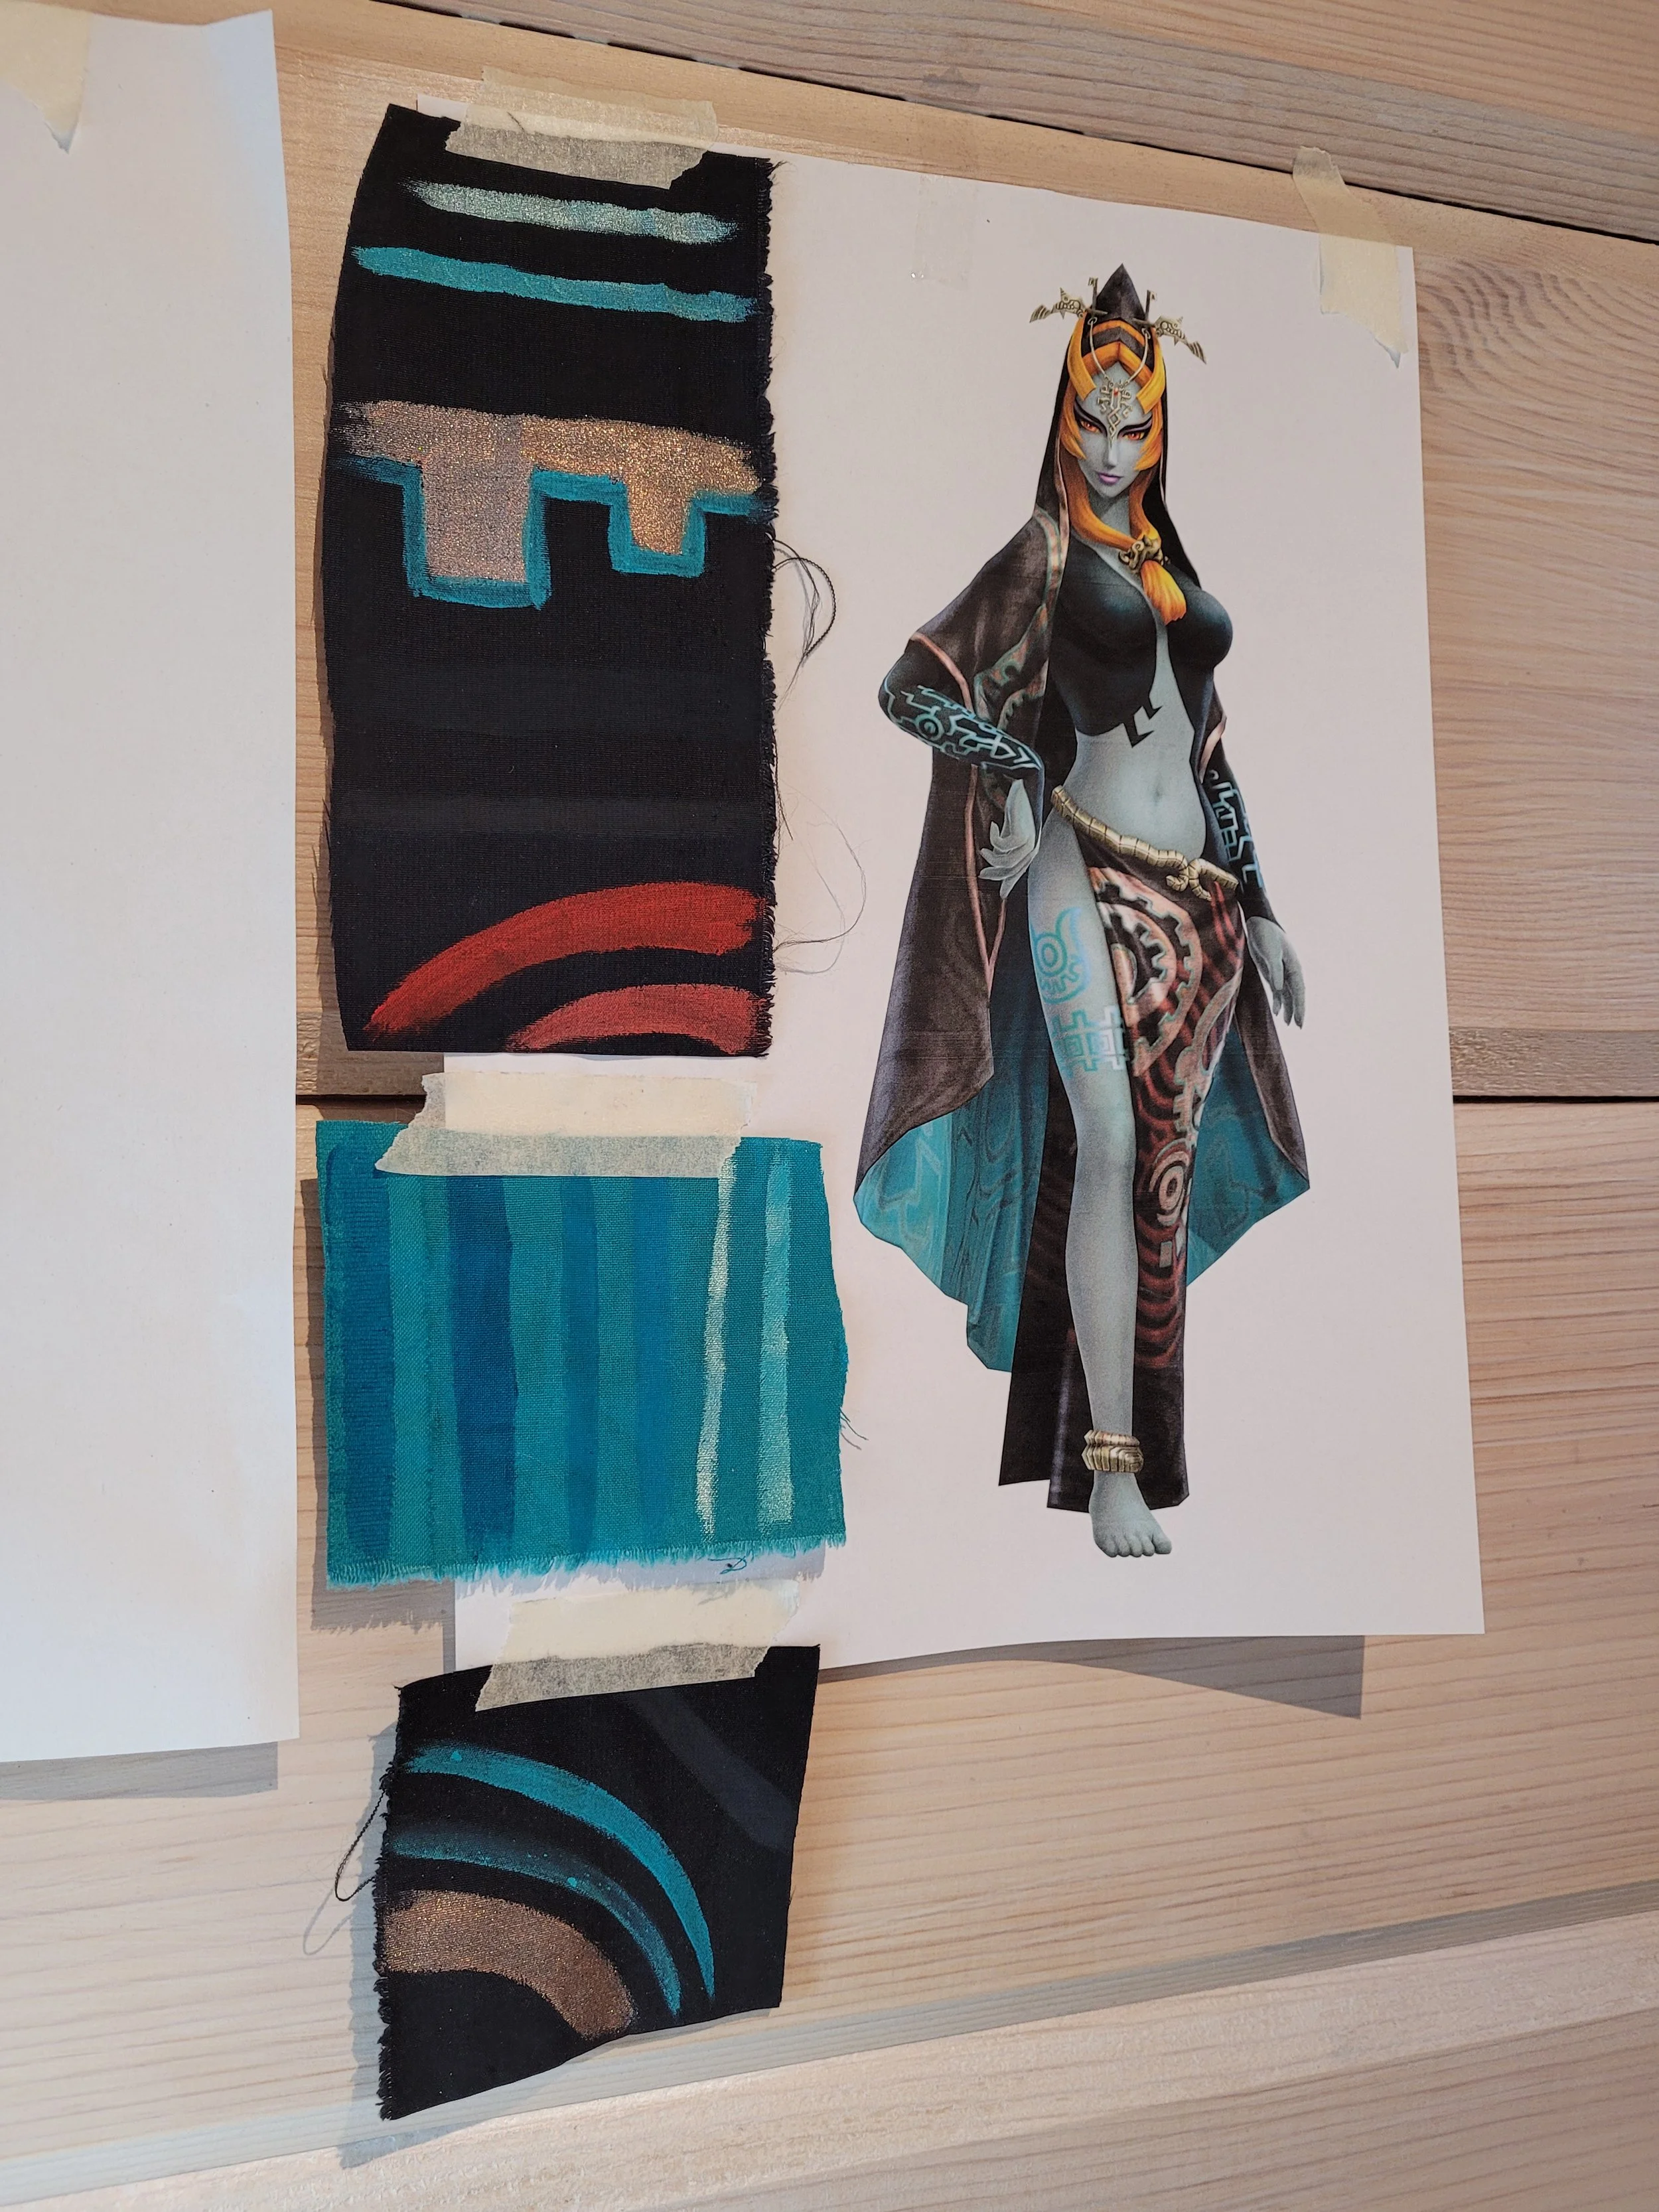
In the end I had whole cork board full of fabric dying and printing tests, test of stretch paint on spandex etc.
Fabrics used for the cloak were black and turquoise cotton poplin. Quite heavy, but easy to print on.
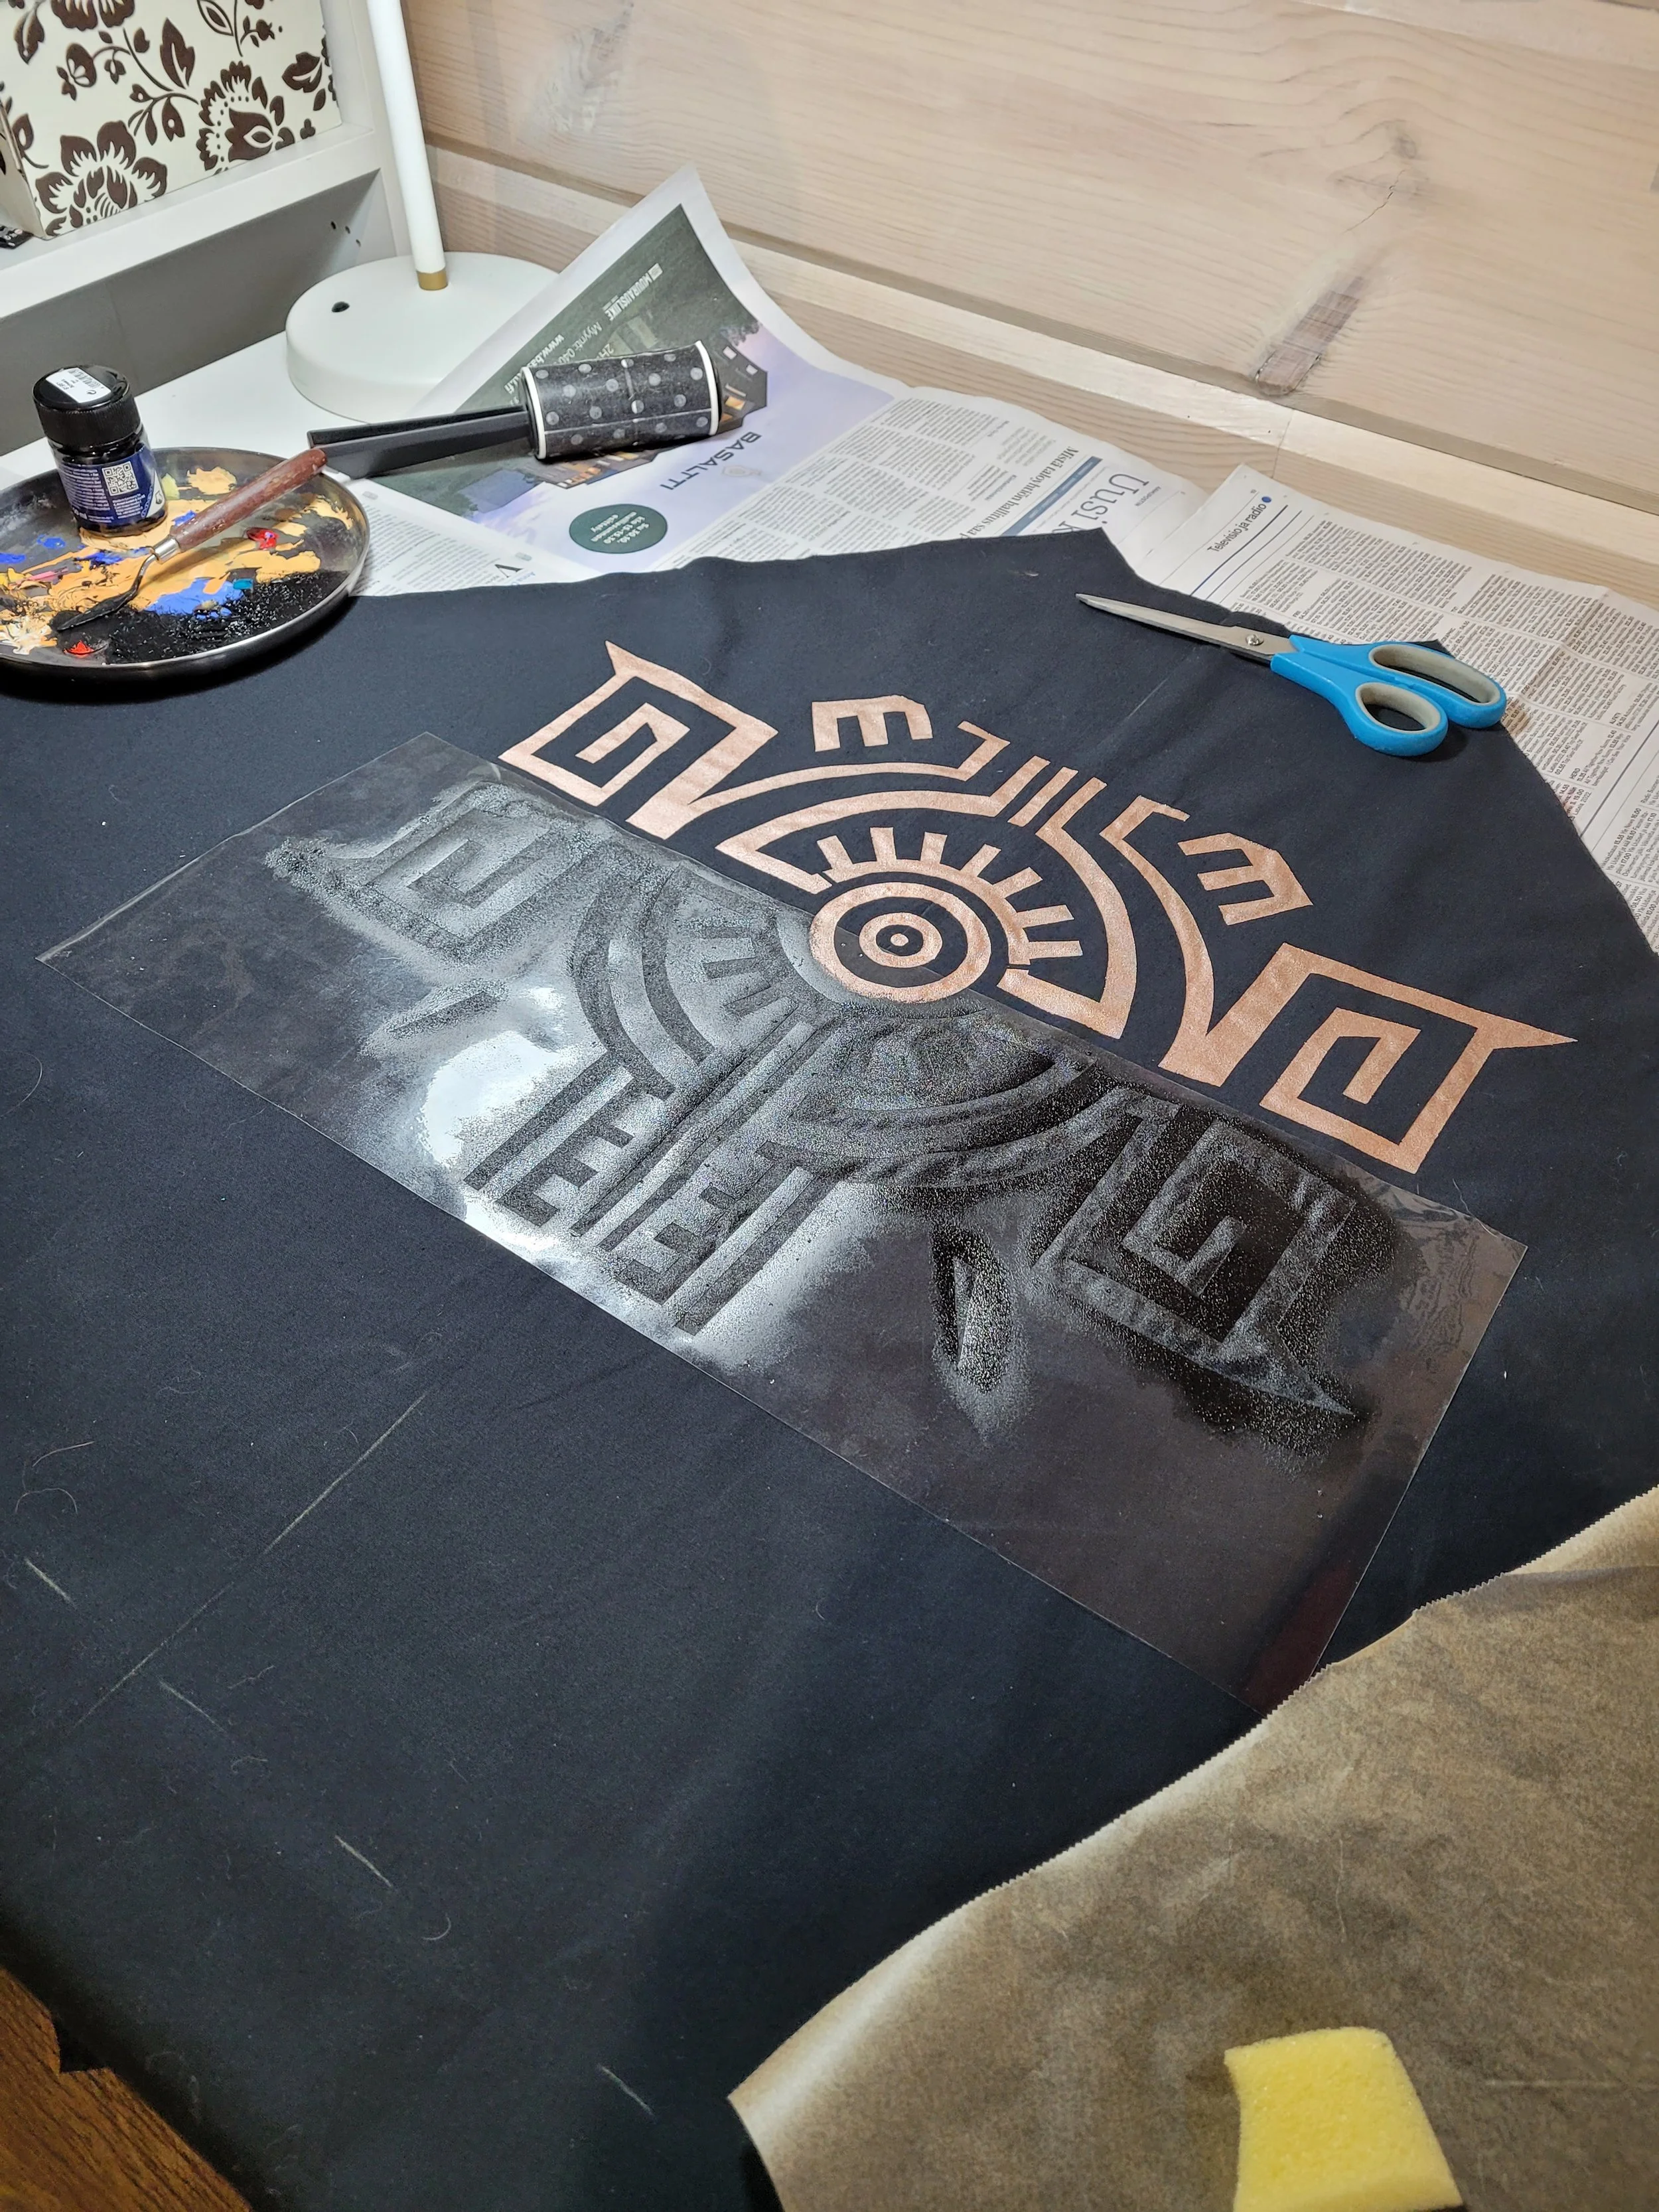
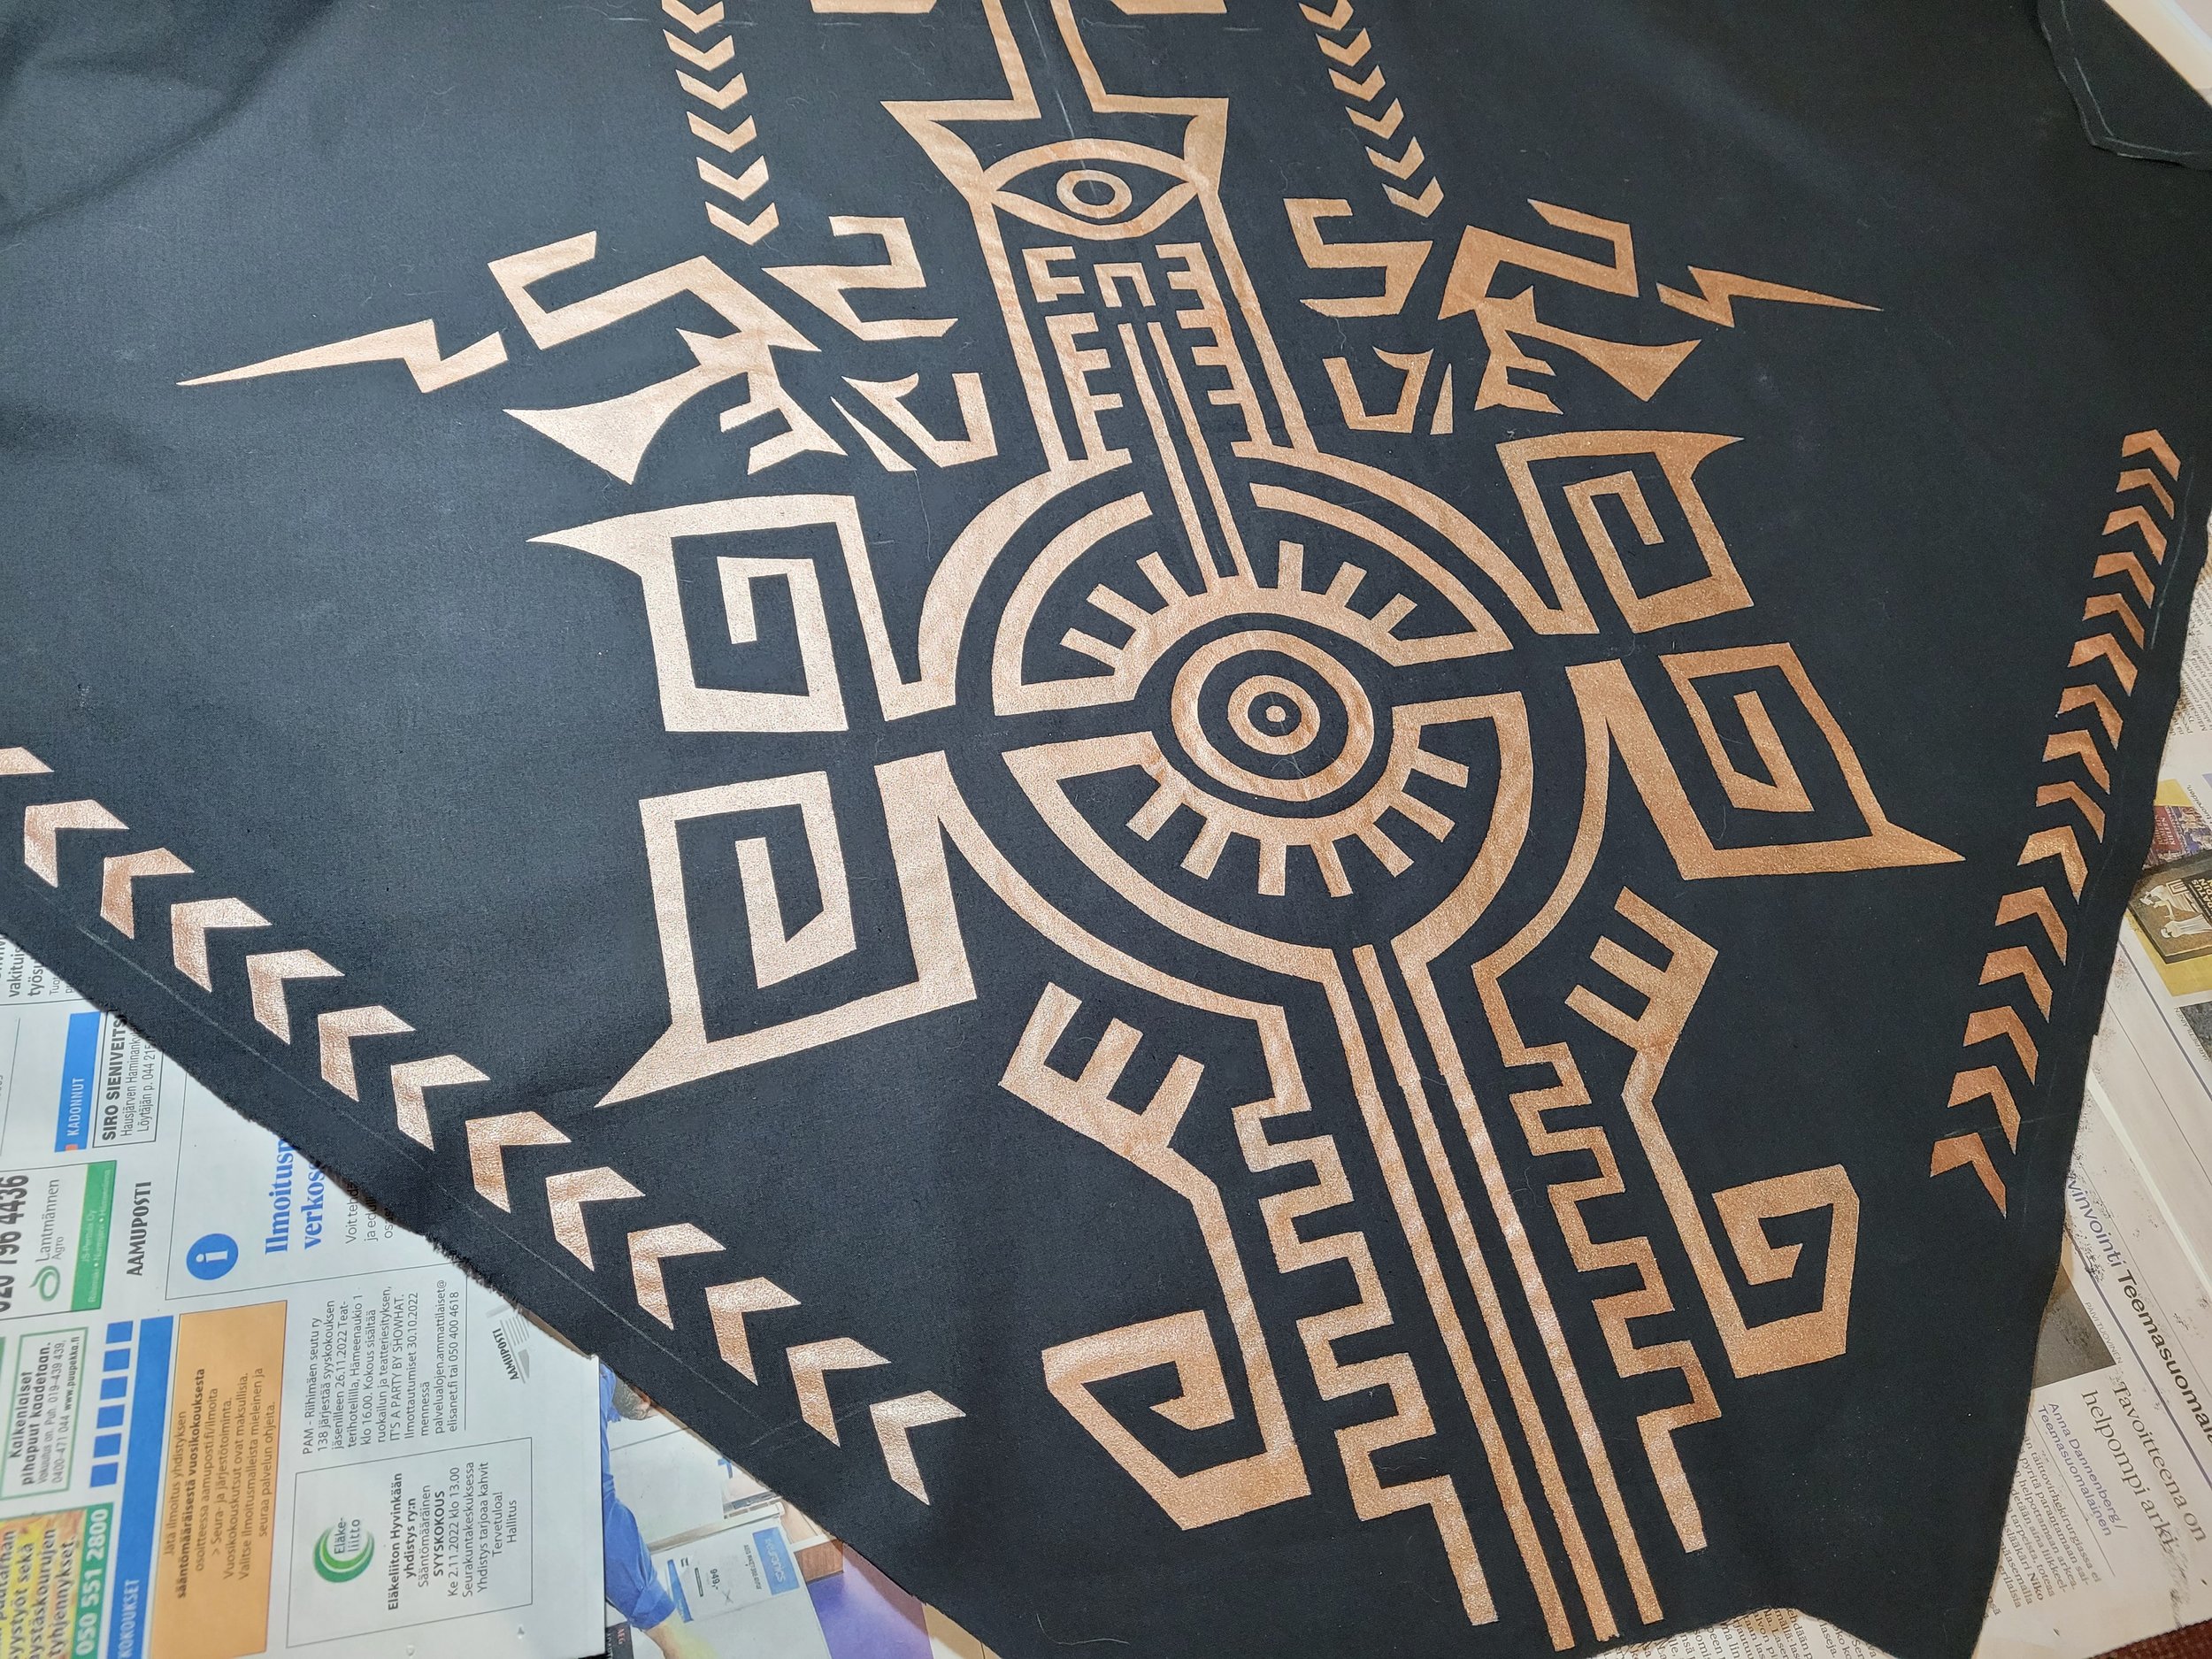
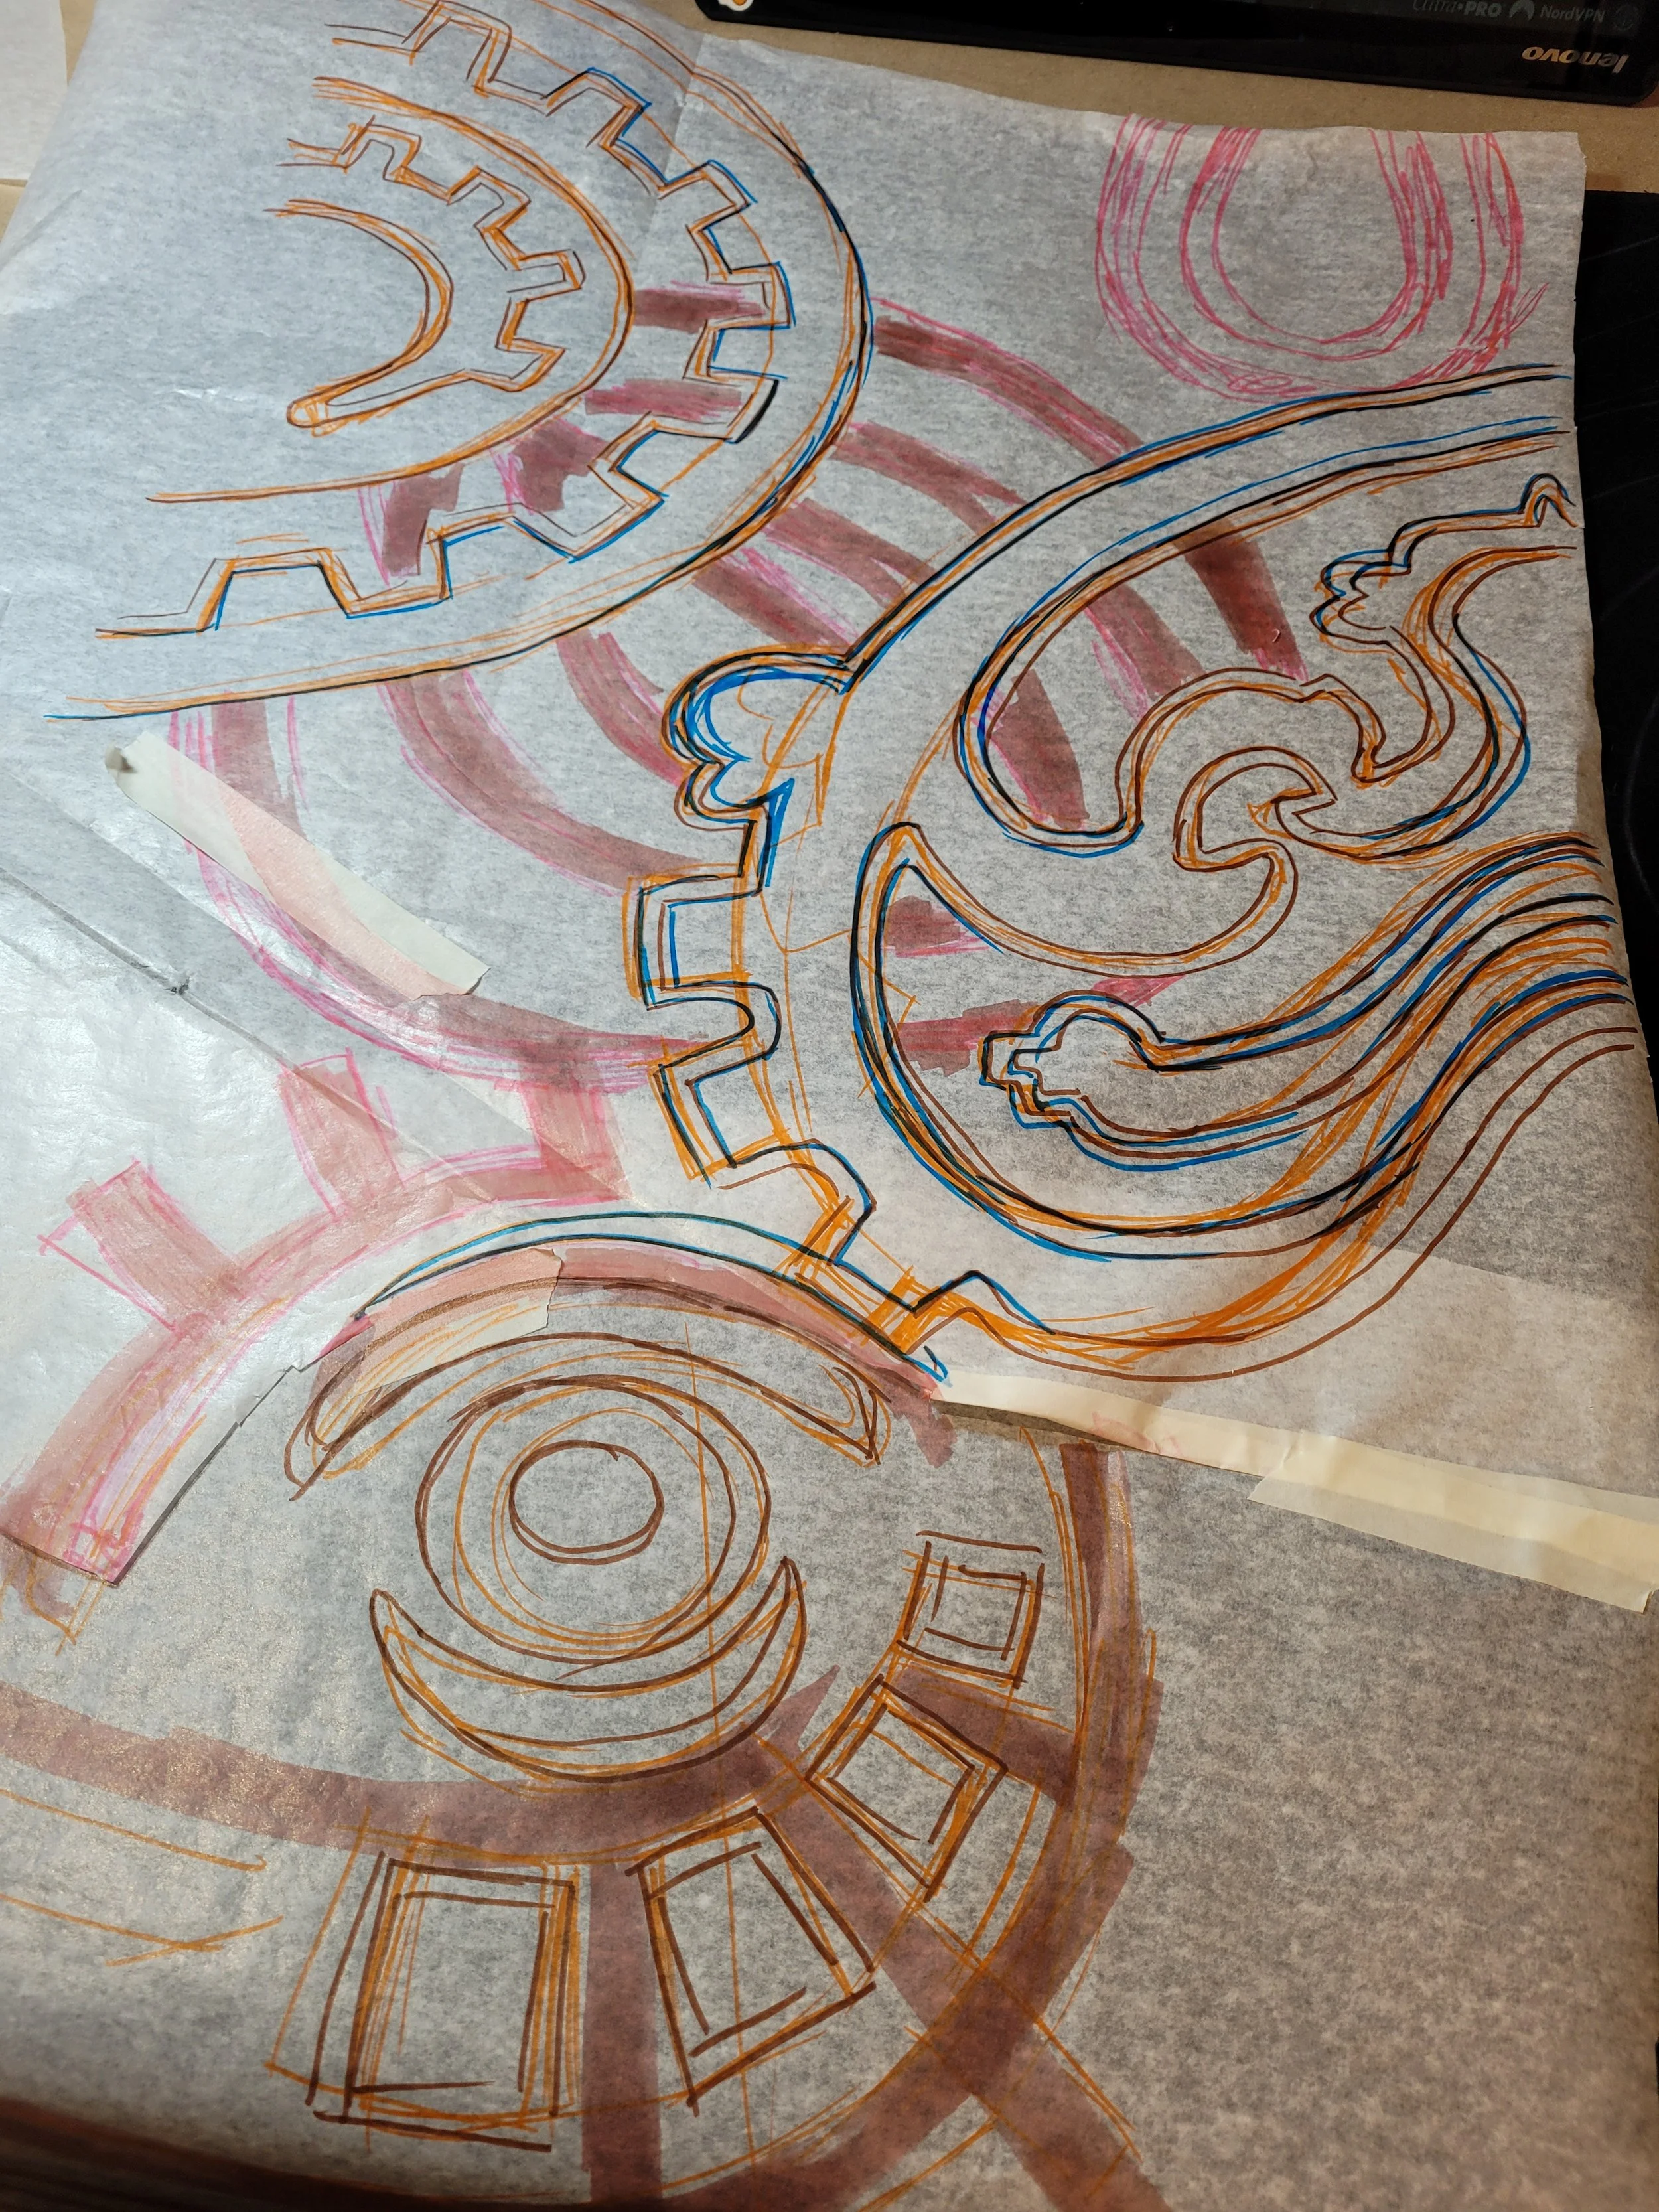
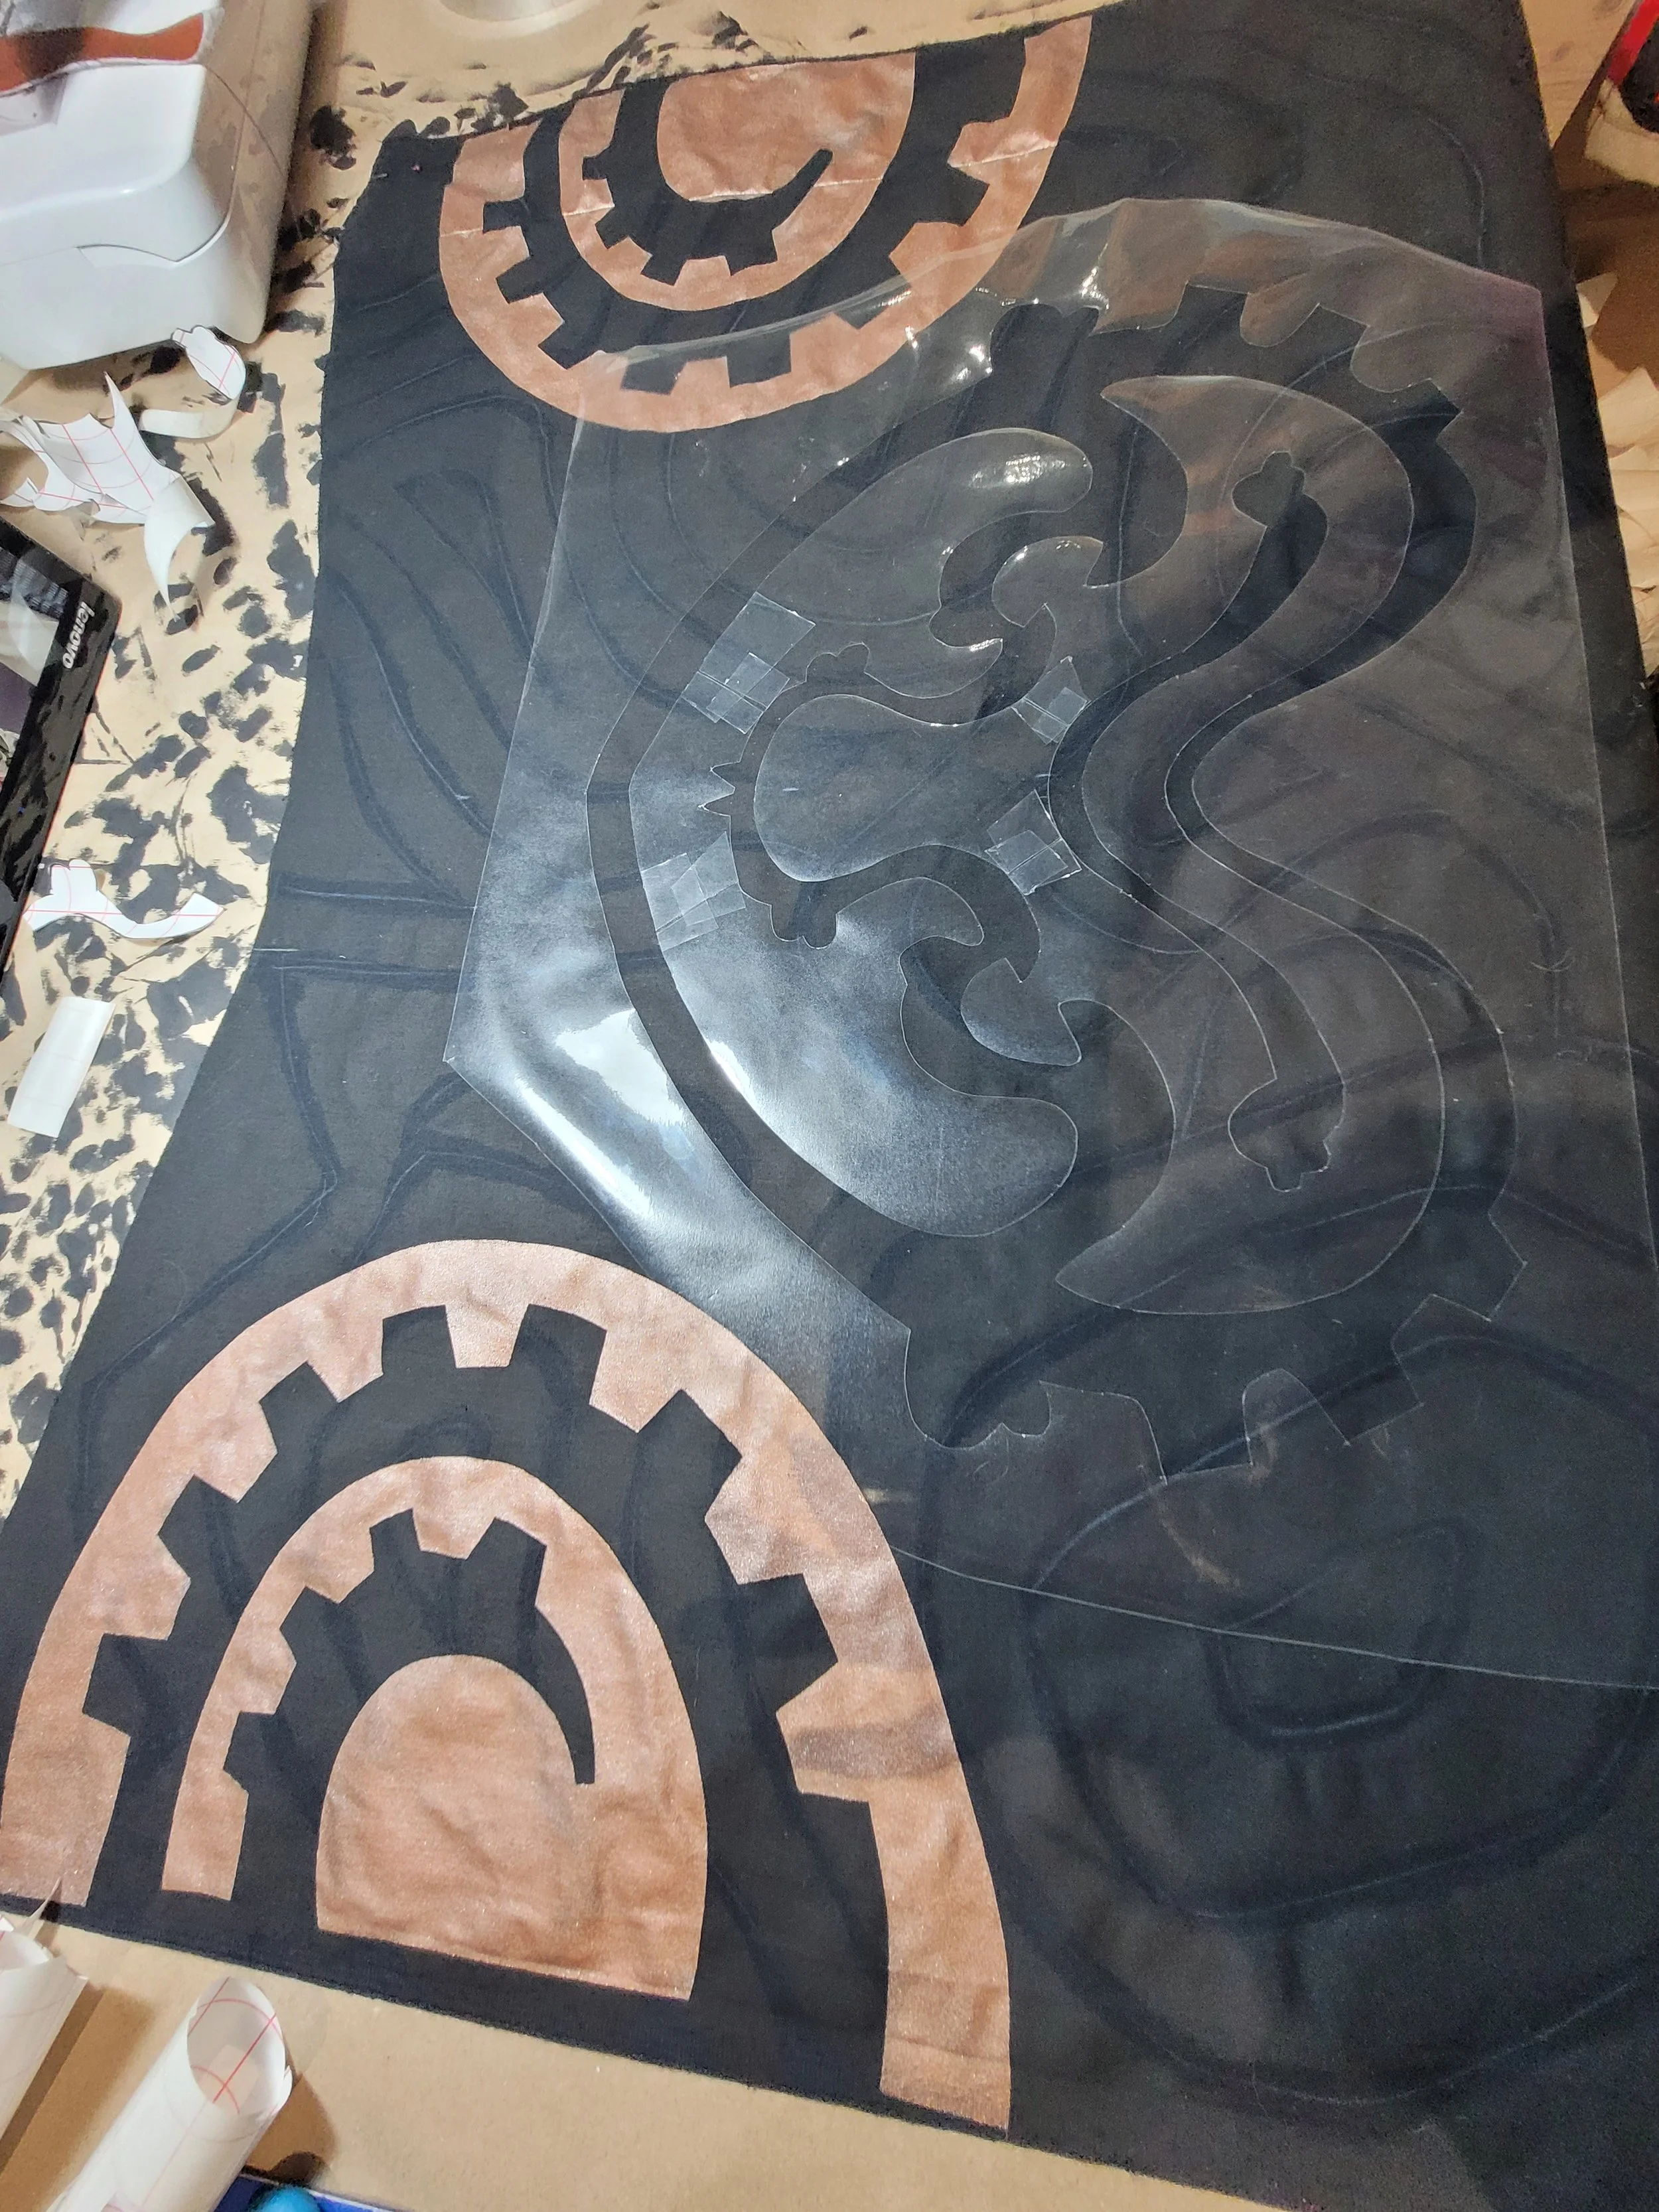
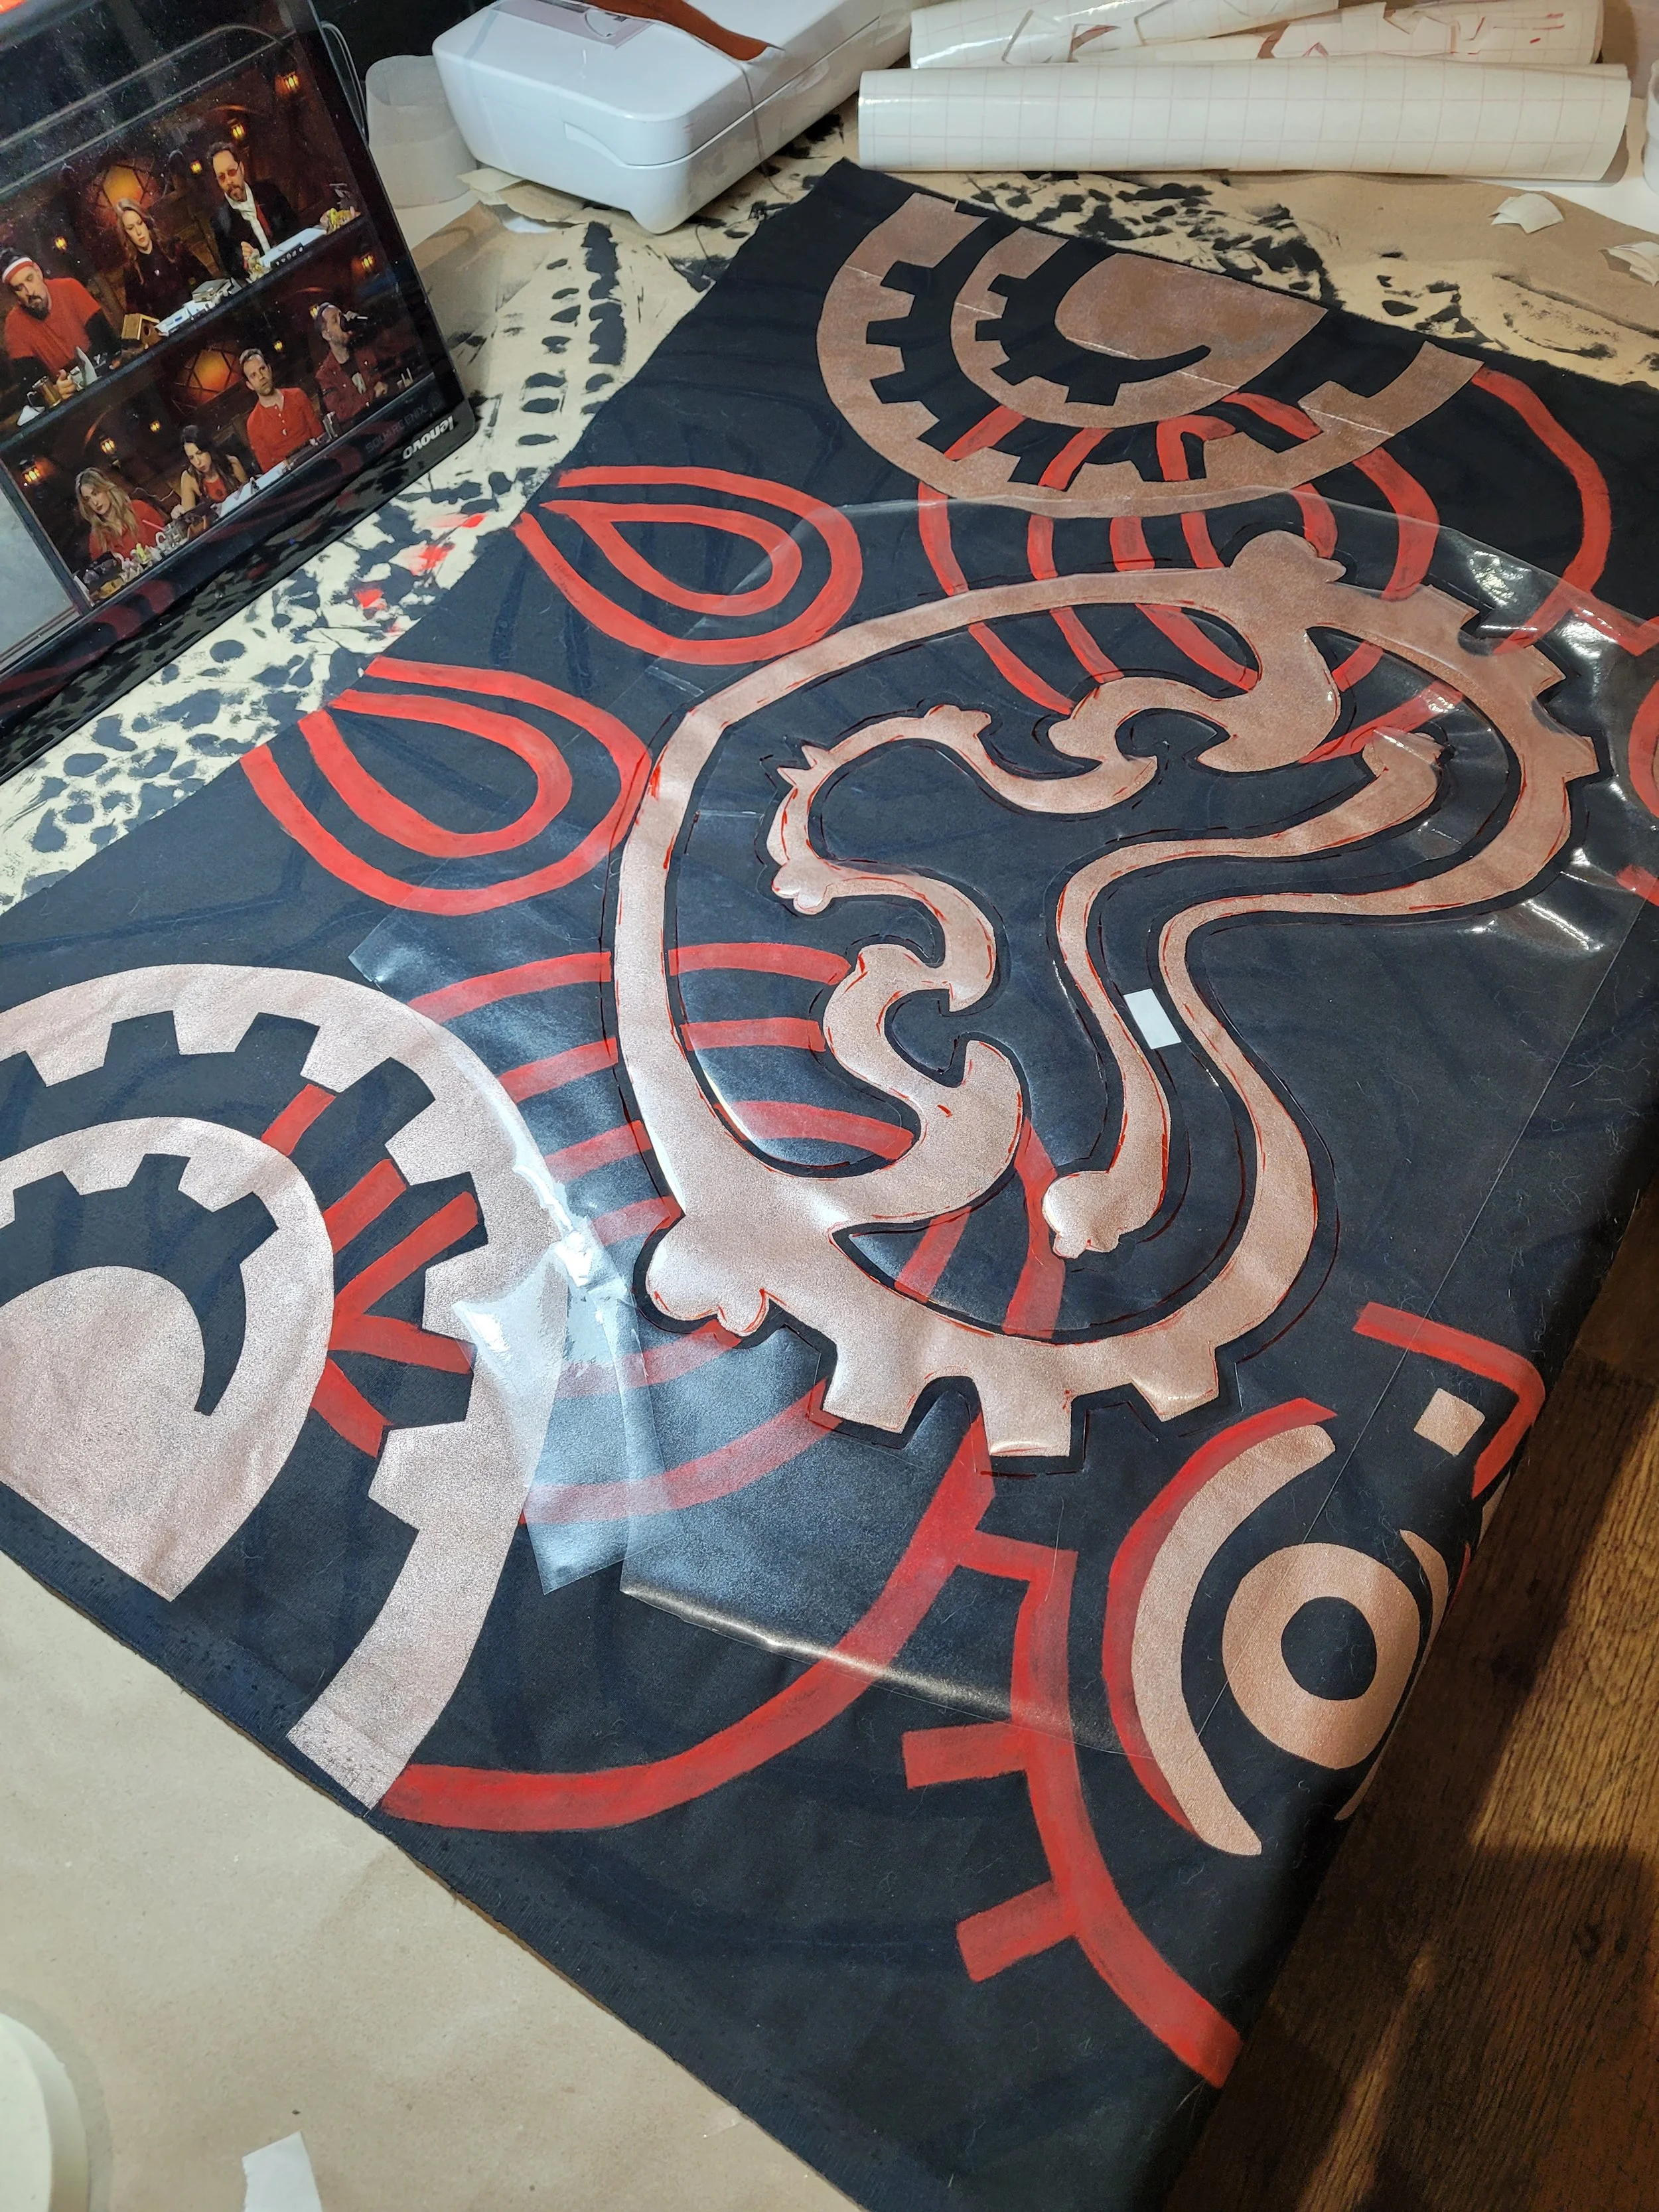
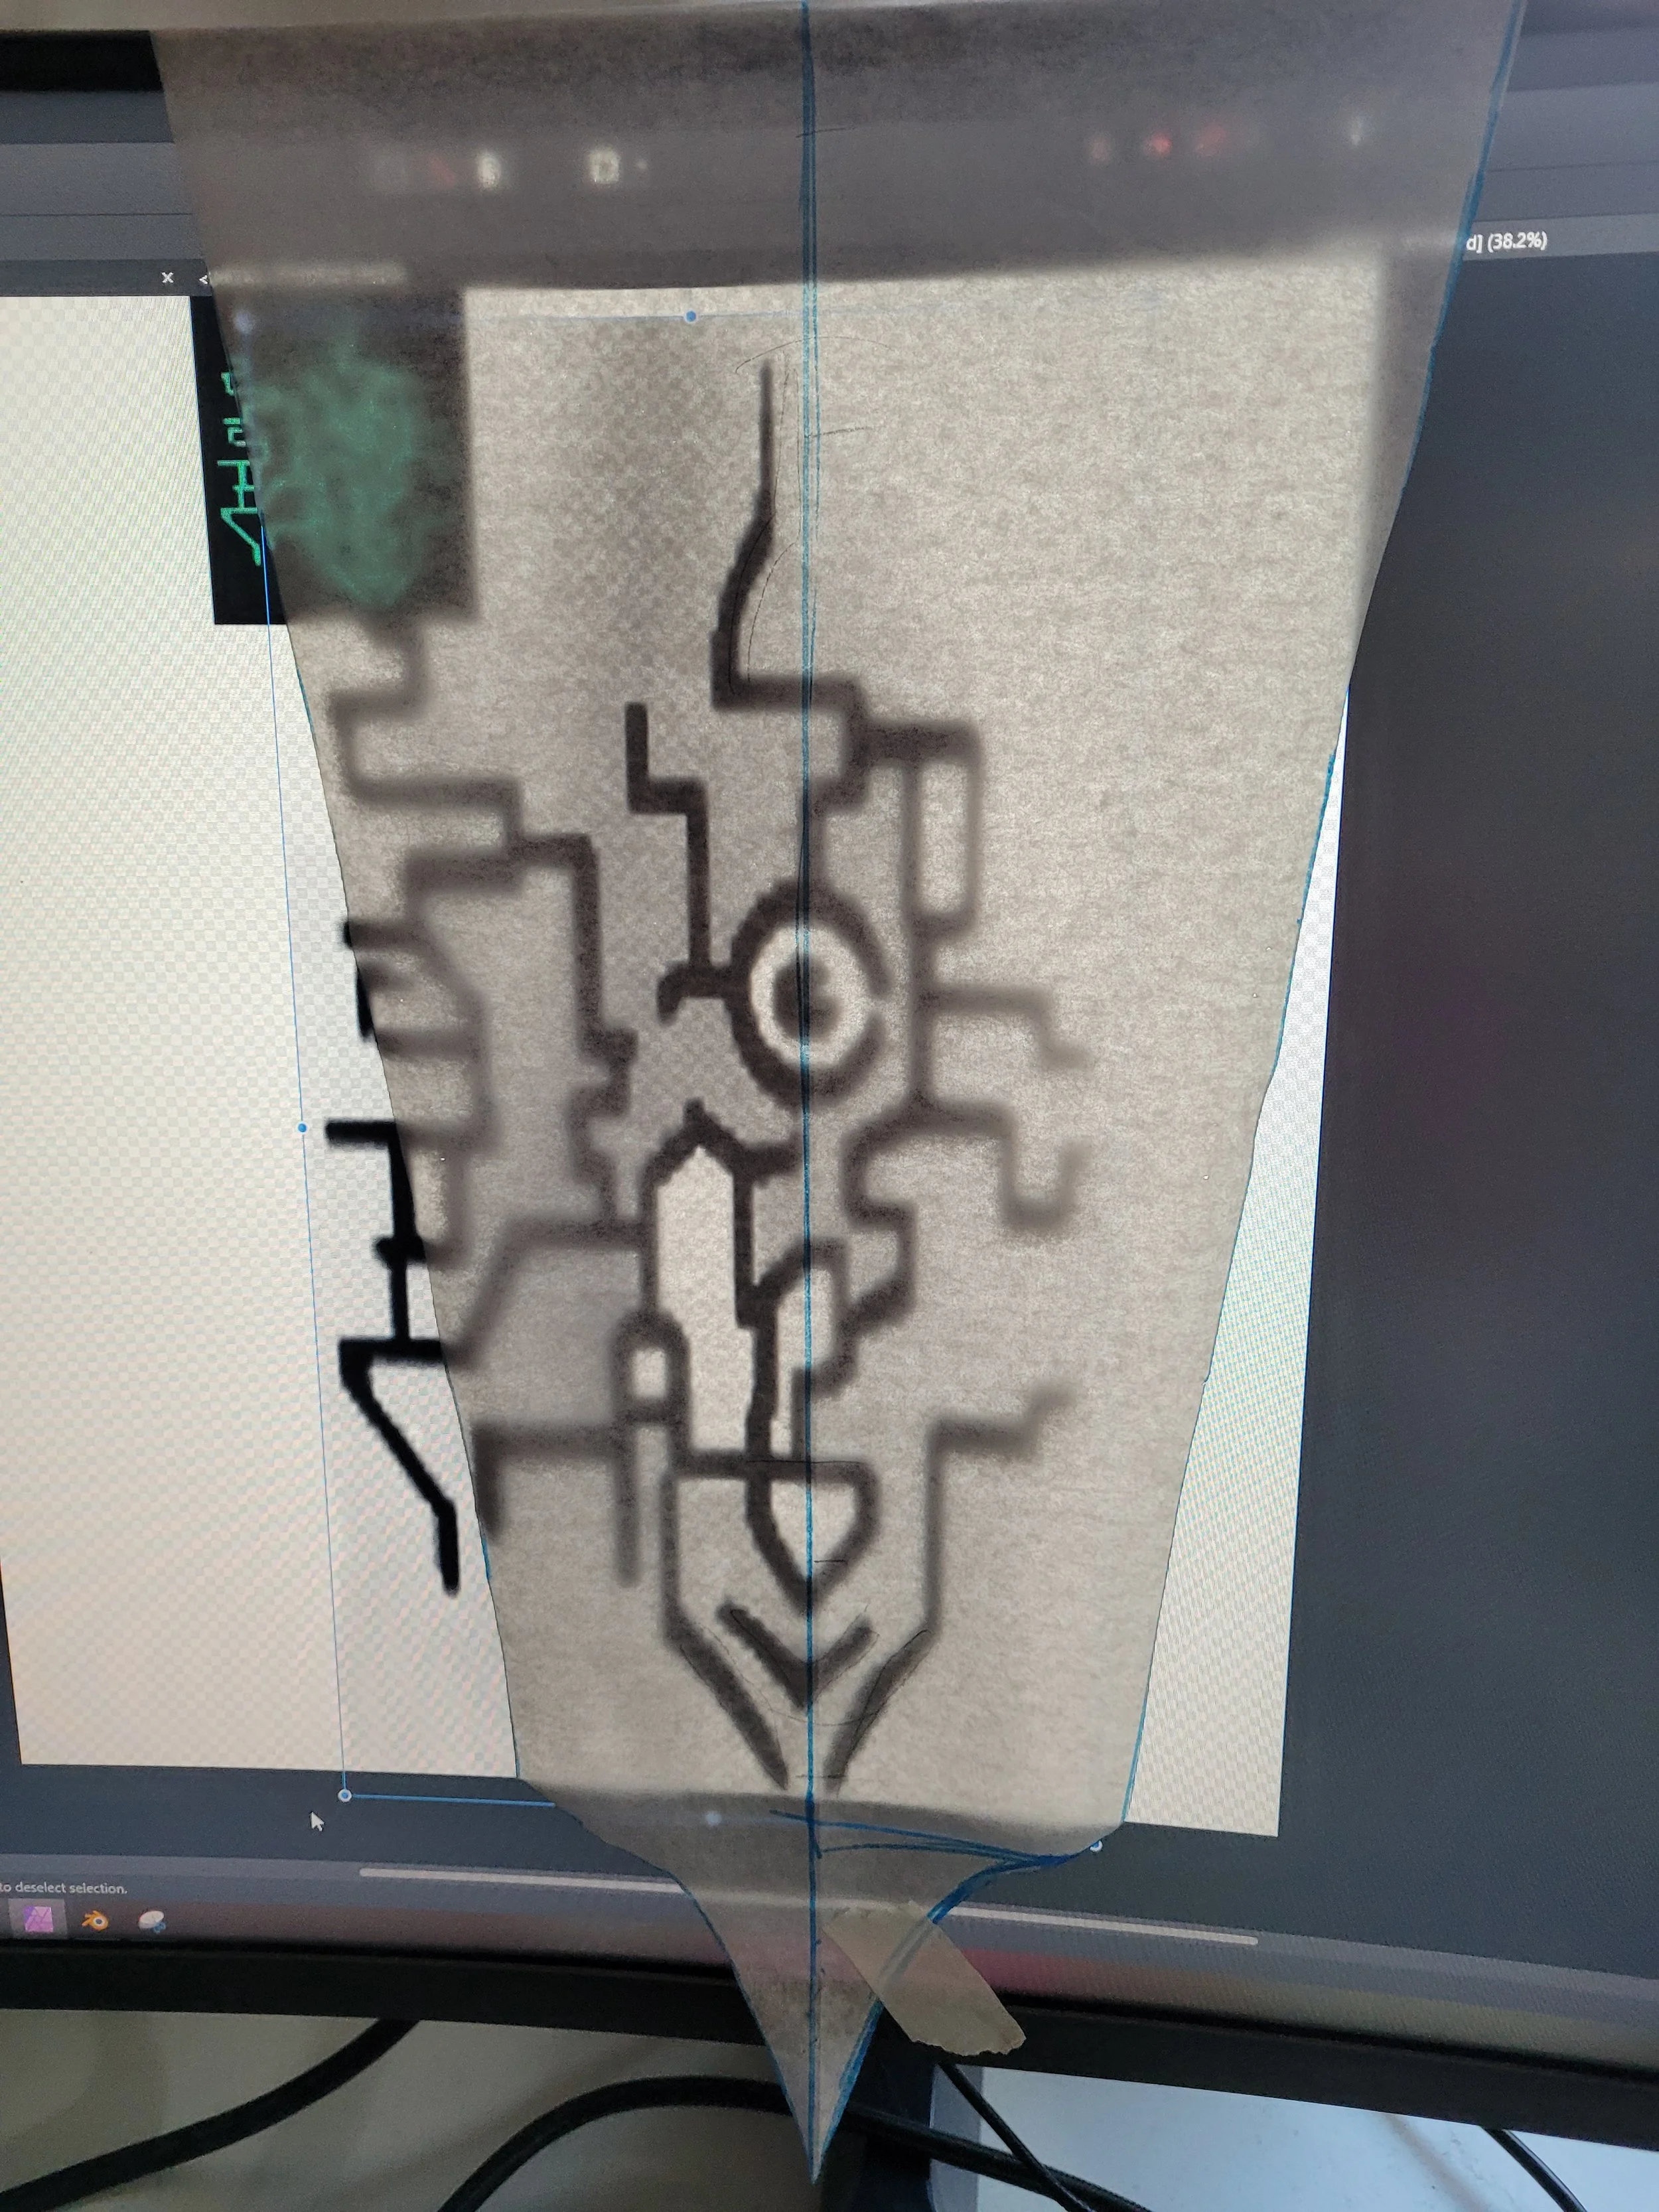
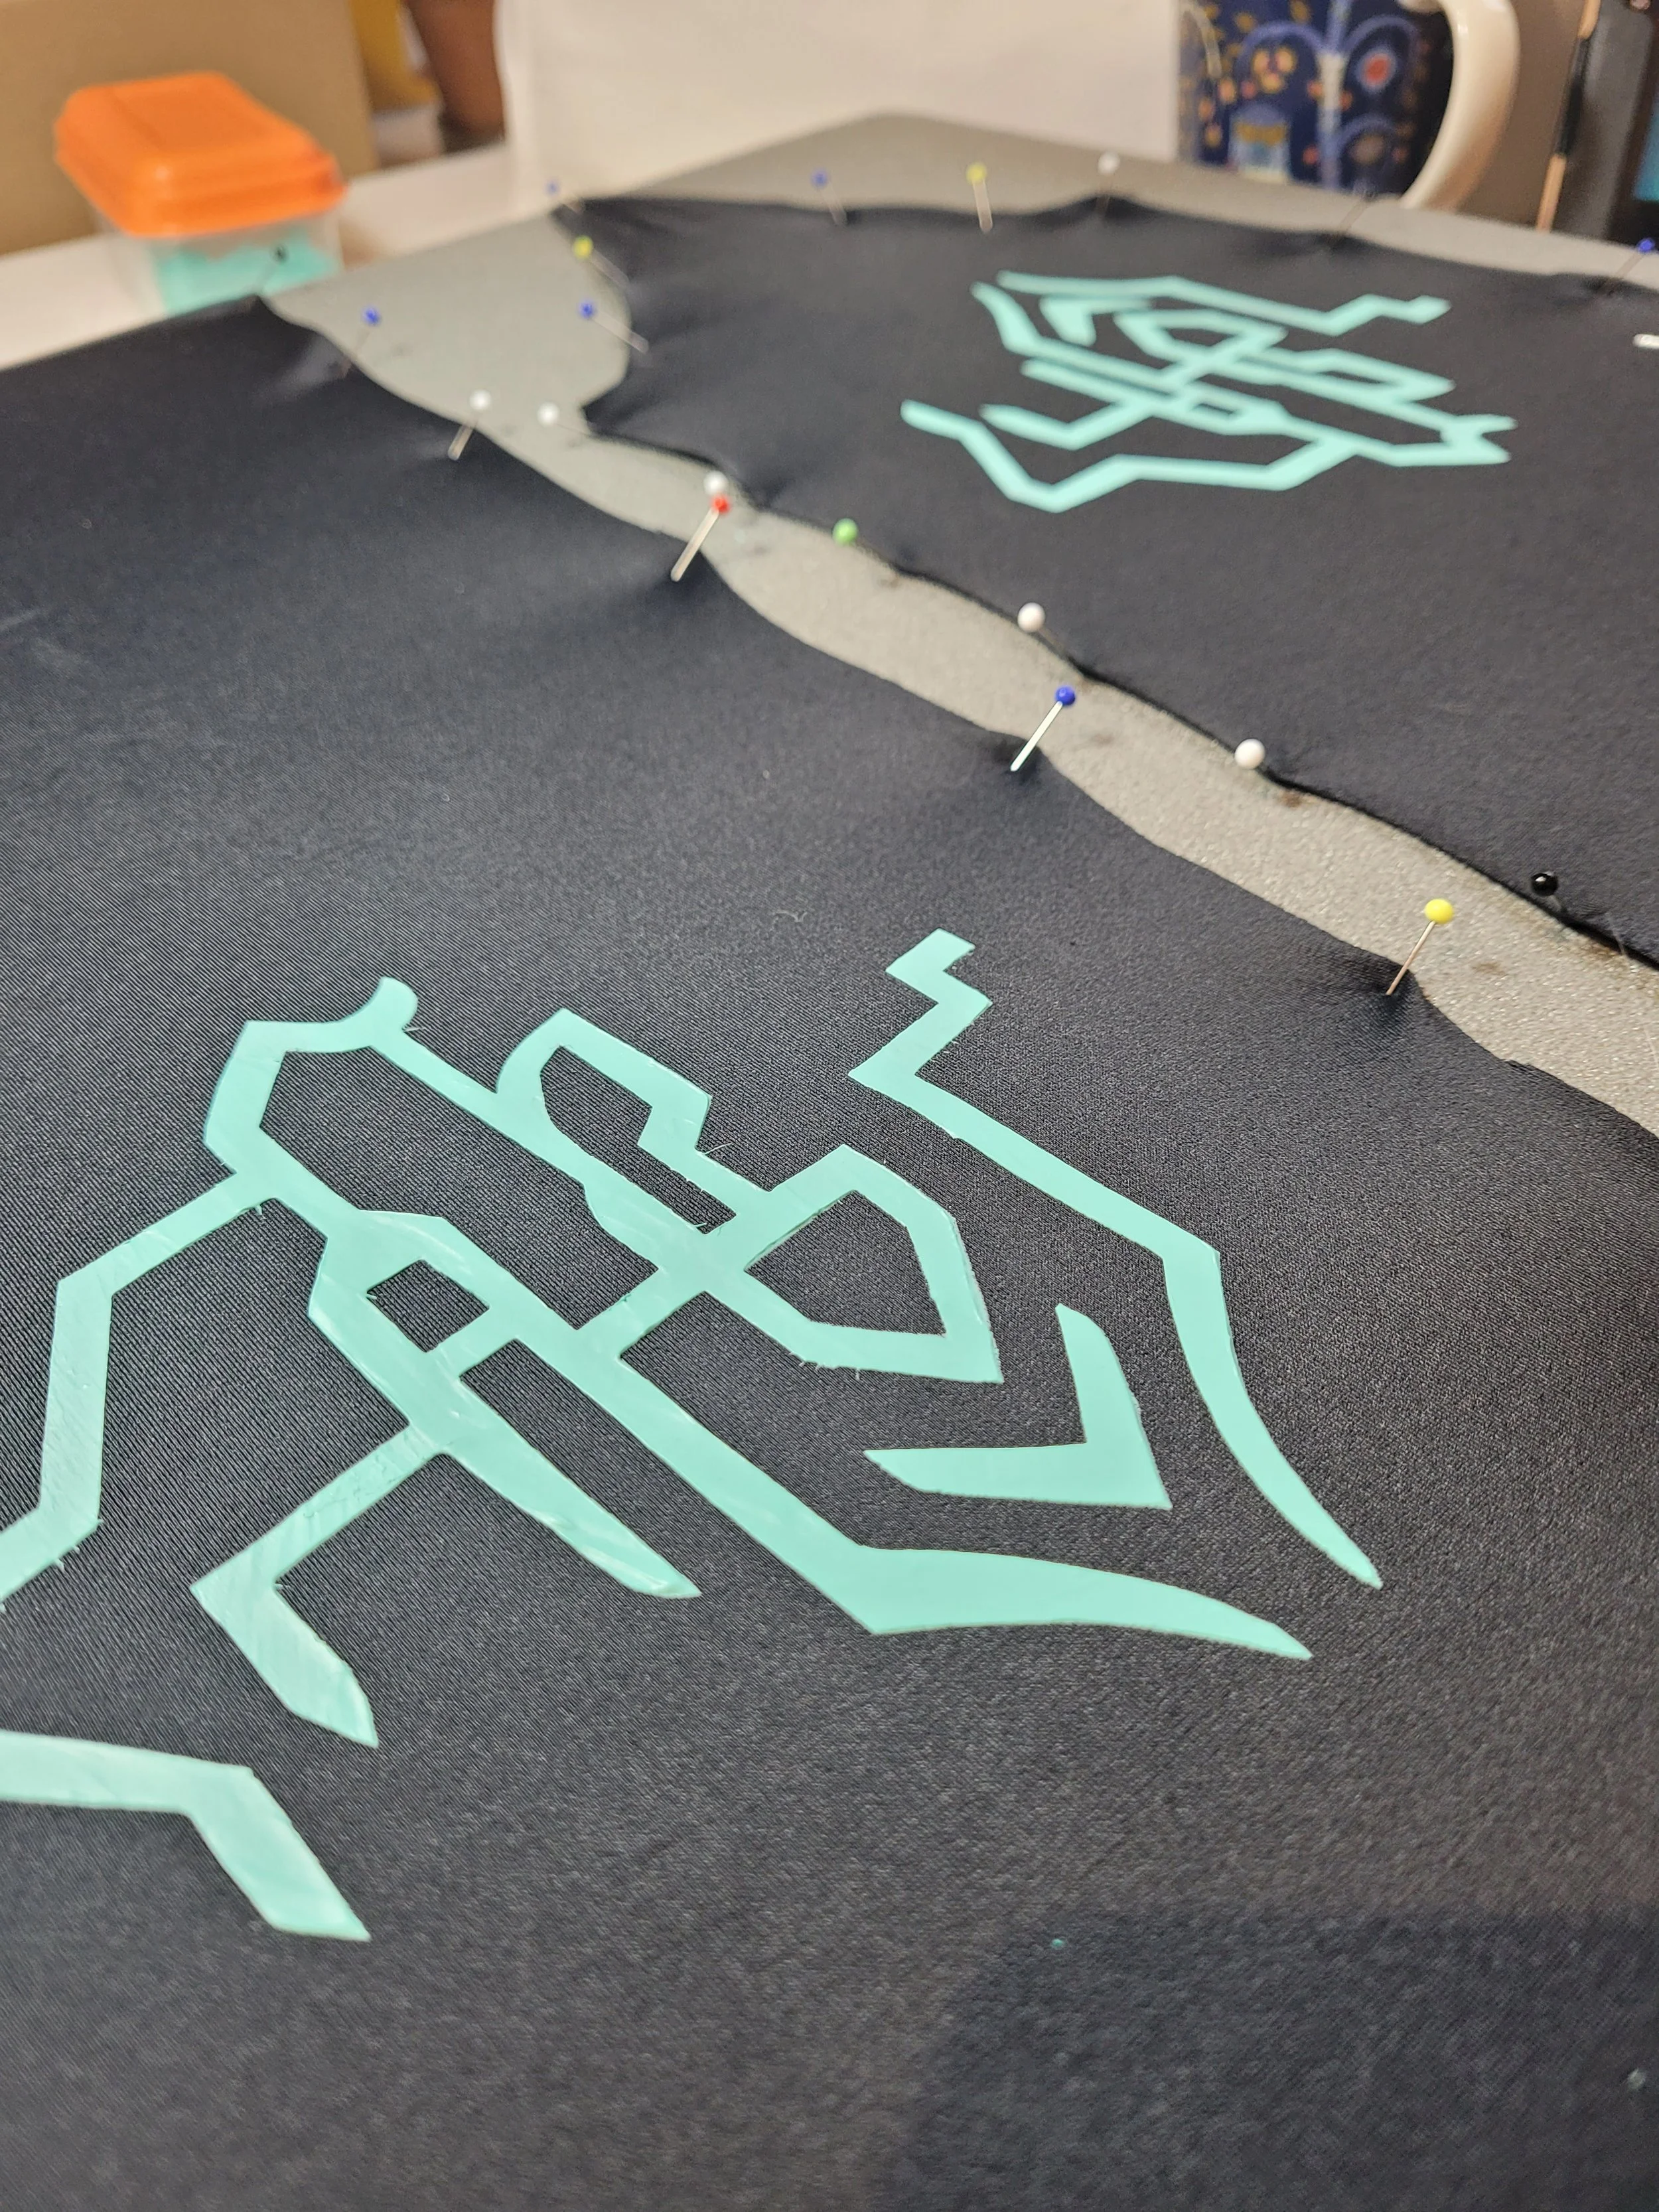
First step was printing the bronze designs. I tried to look for iron-on vinyl in the right color, or even foil-spandex which I could’ve applied with heat’n’bond, but no luck. Printing it is! I did use a whole roll of book covering film for this cosplay… To do a small shortcut, I got Jenangel’s design (link) of the big bronze design on the back and scaled it to my own proportions. The bronze designs on the sleeves I drew myself on the pattern. I thought I’d save some time as otherwise I would’ve just traced the design off the 3d game model’s textures.
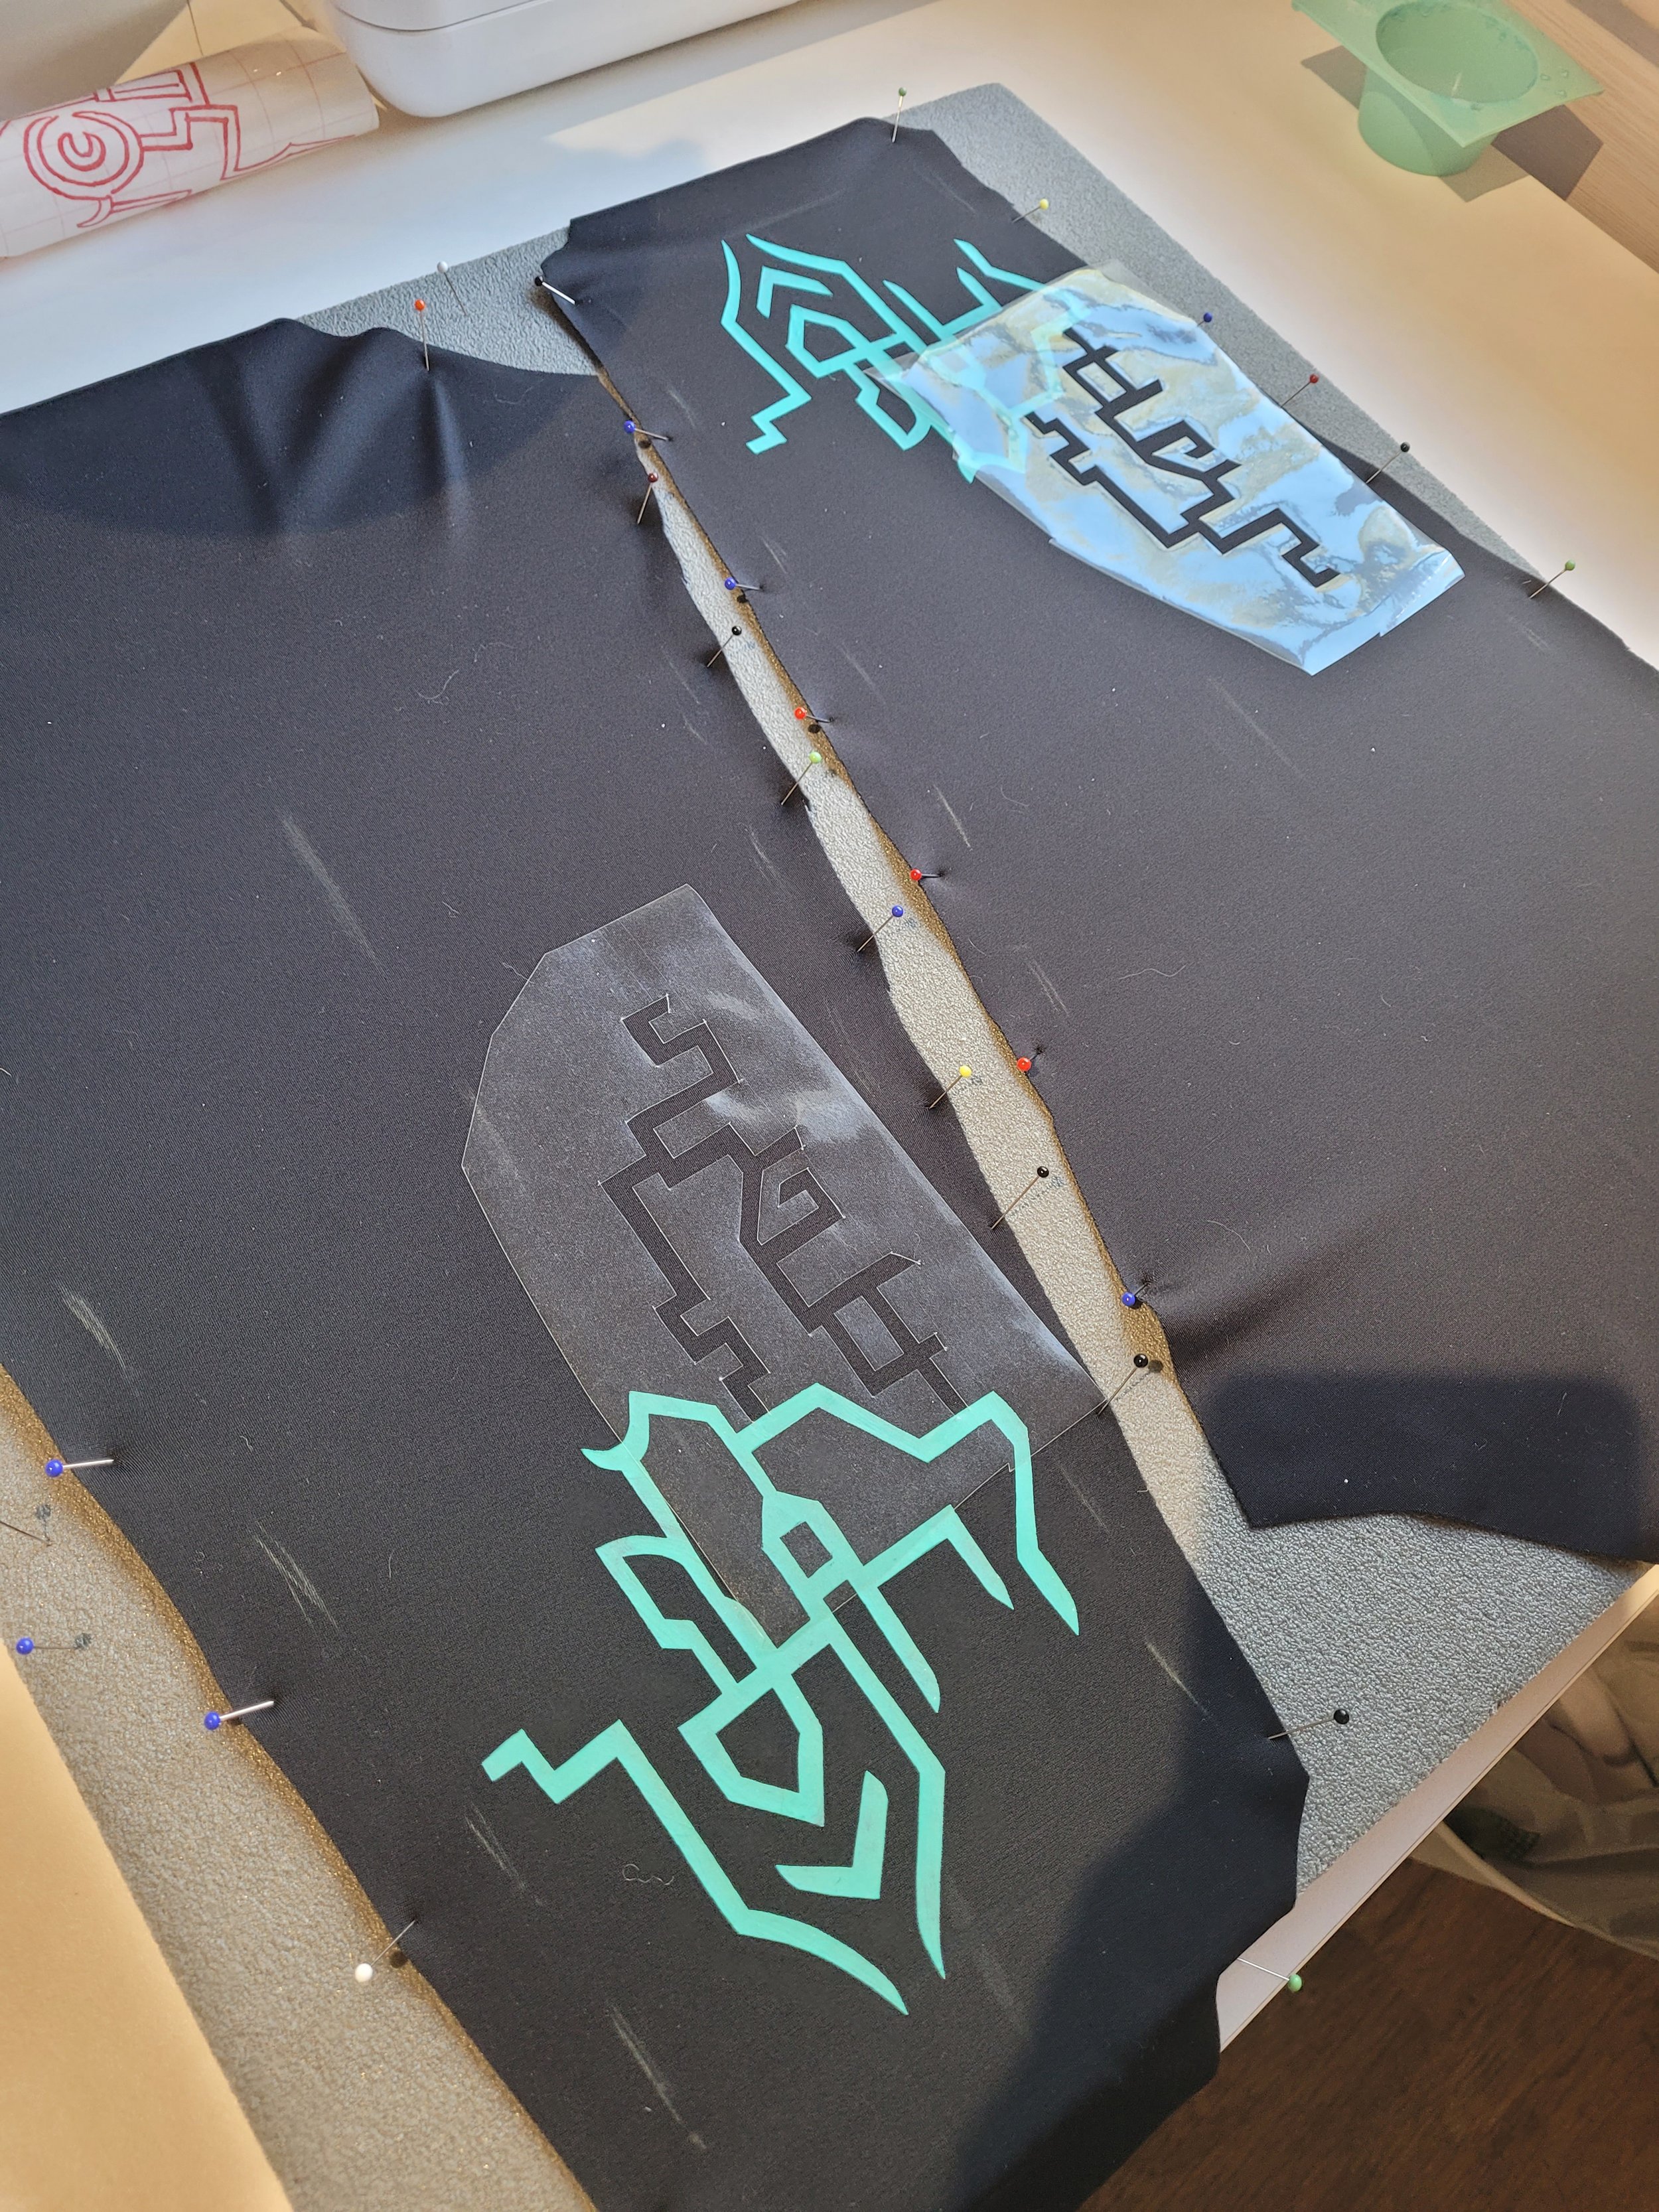
Printing was monotonous. Draw part of the design on contact film, cut with very sharp exacto knife, repeat. After I had all the pieces, I stuck them onto the fabric and started printing. I used piece of a sponge, and first applied a layer of black fabric paint to prevent leaks, second a layer of bronze. I mixed the bronze color out of two bronze/copper/gold colors I had.
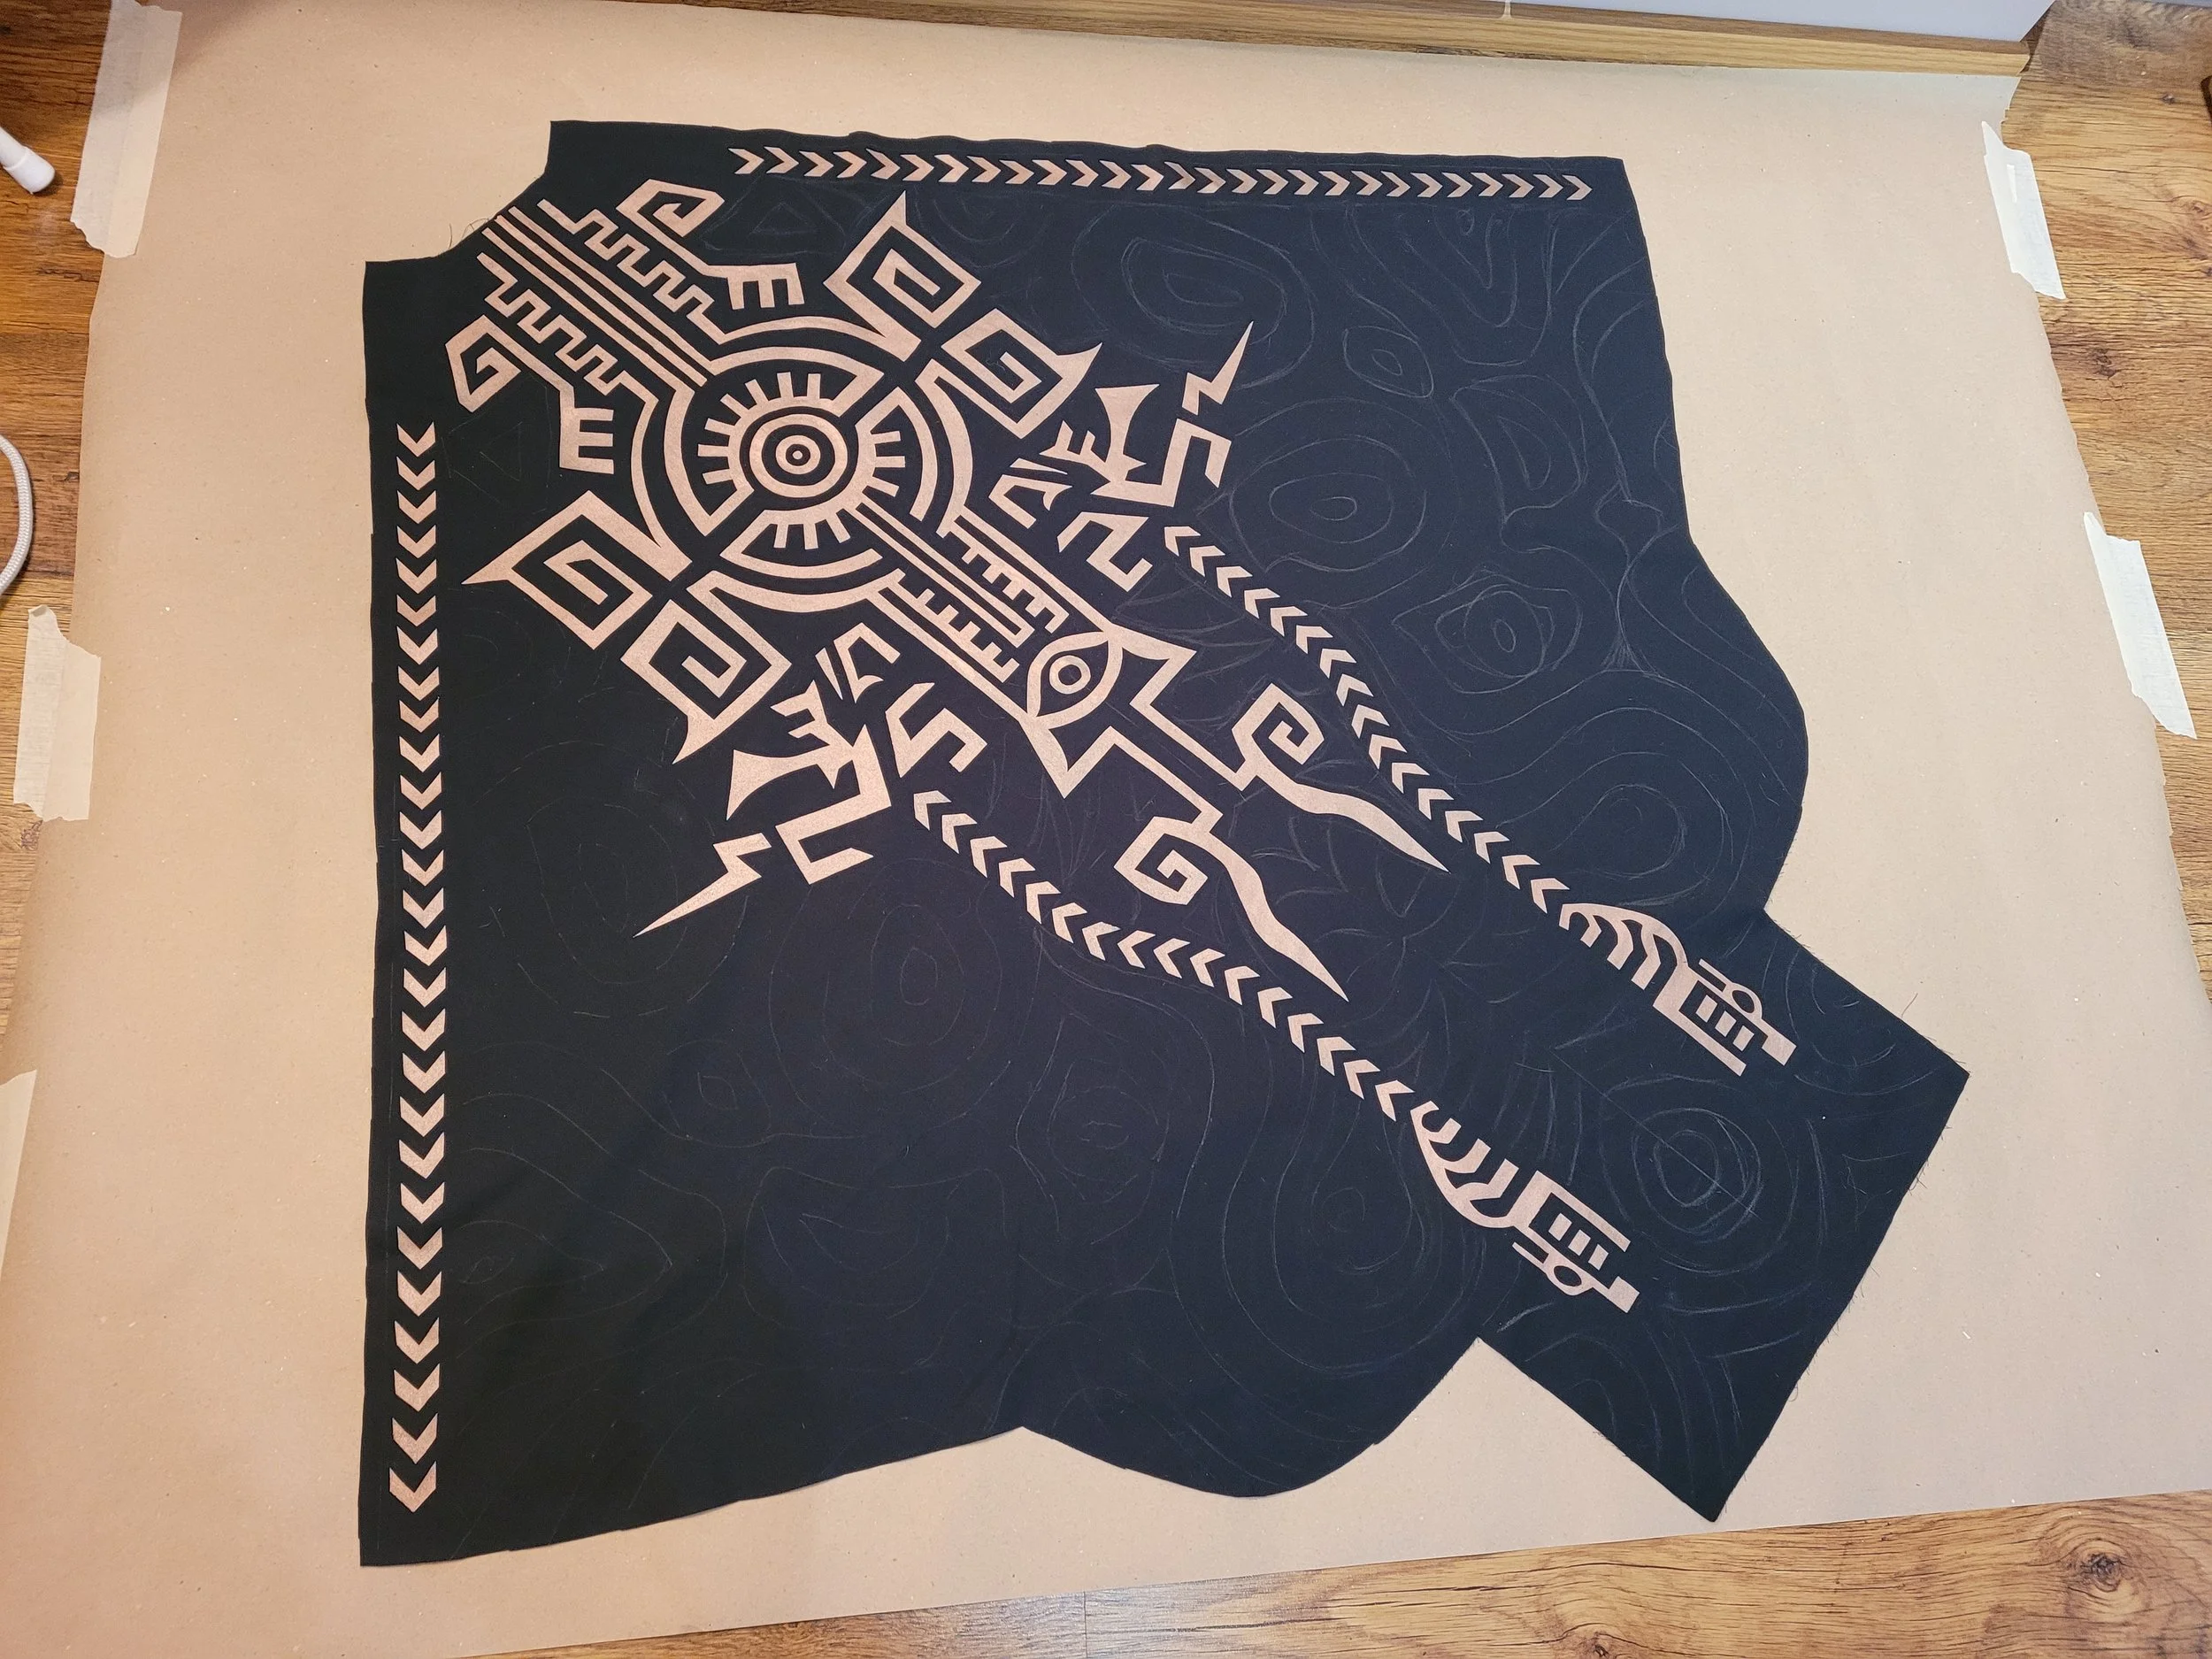
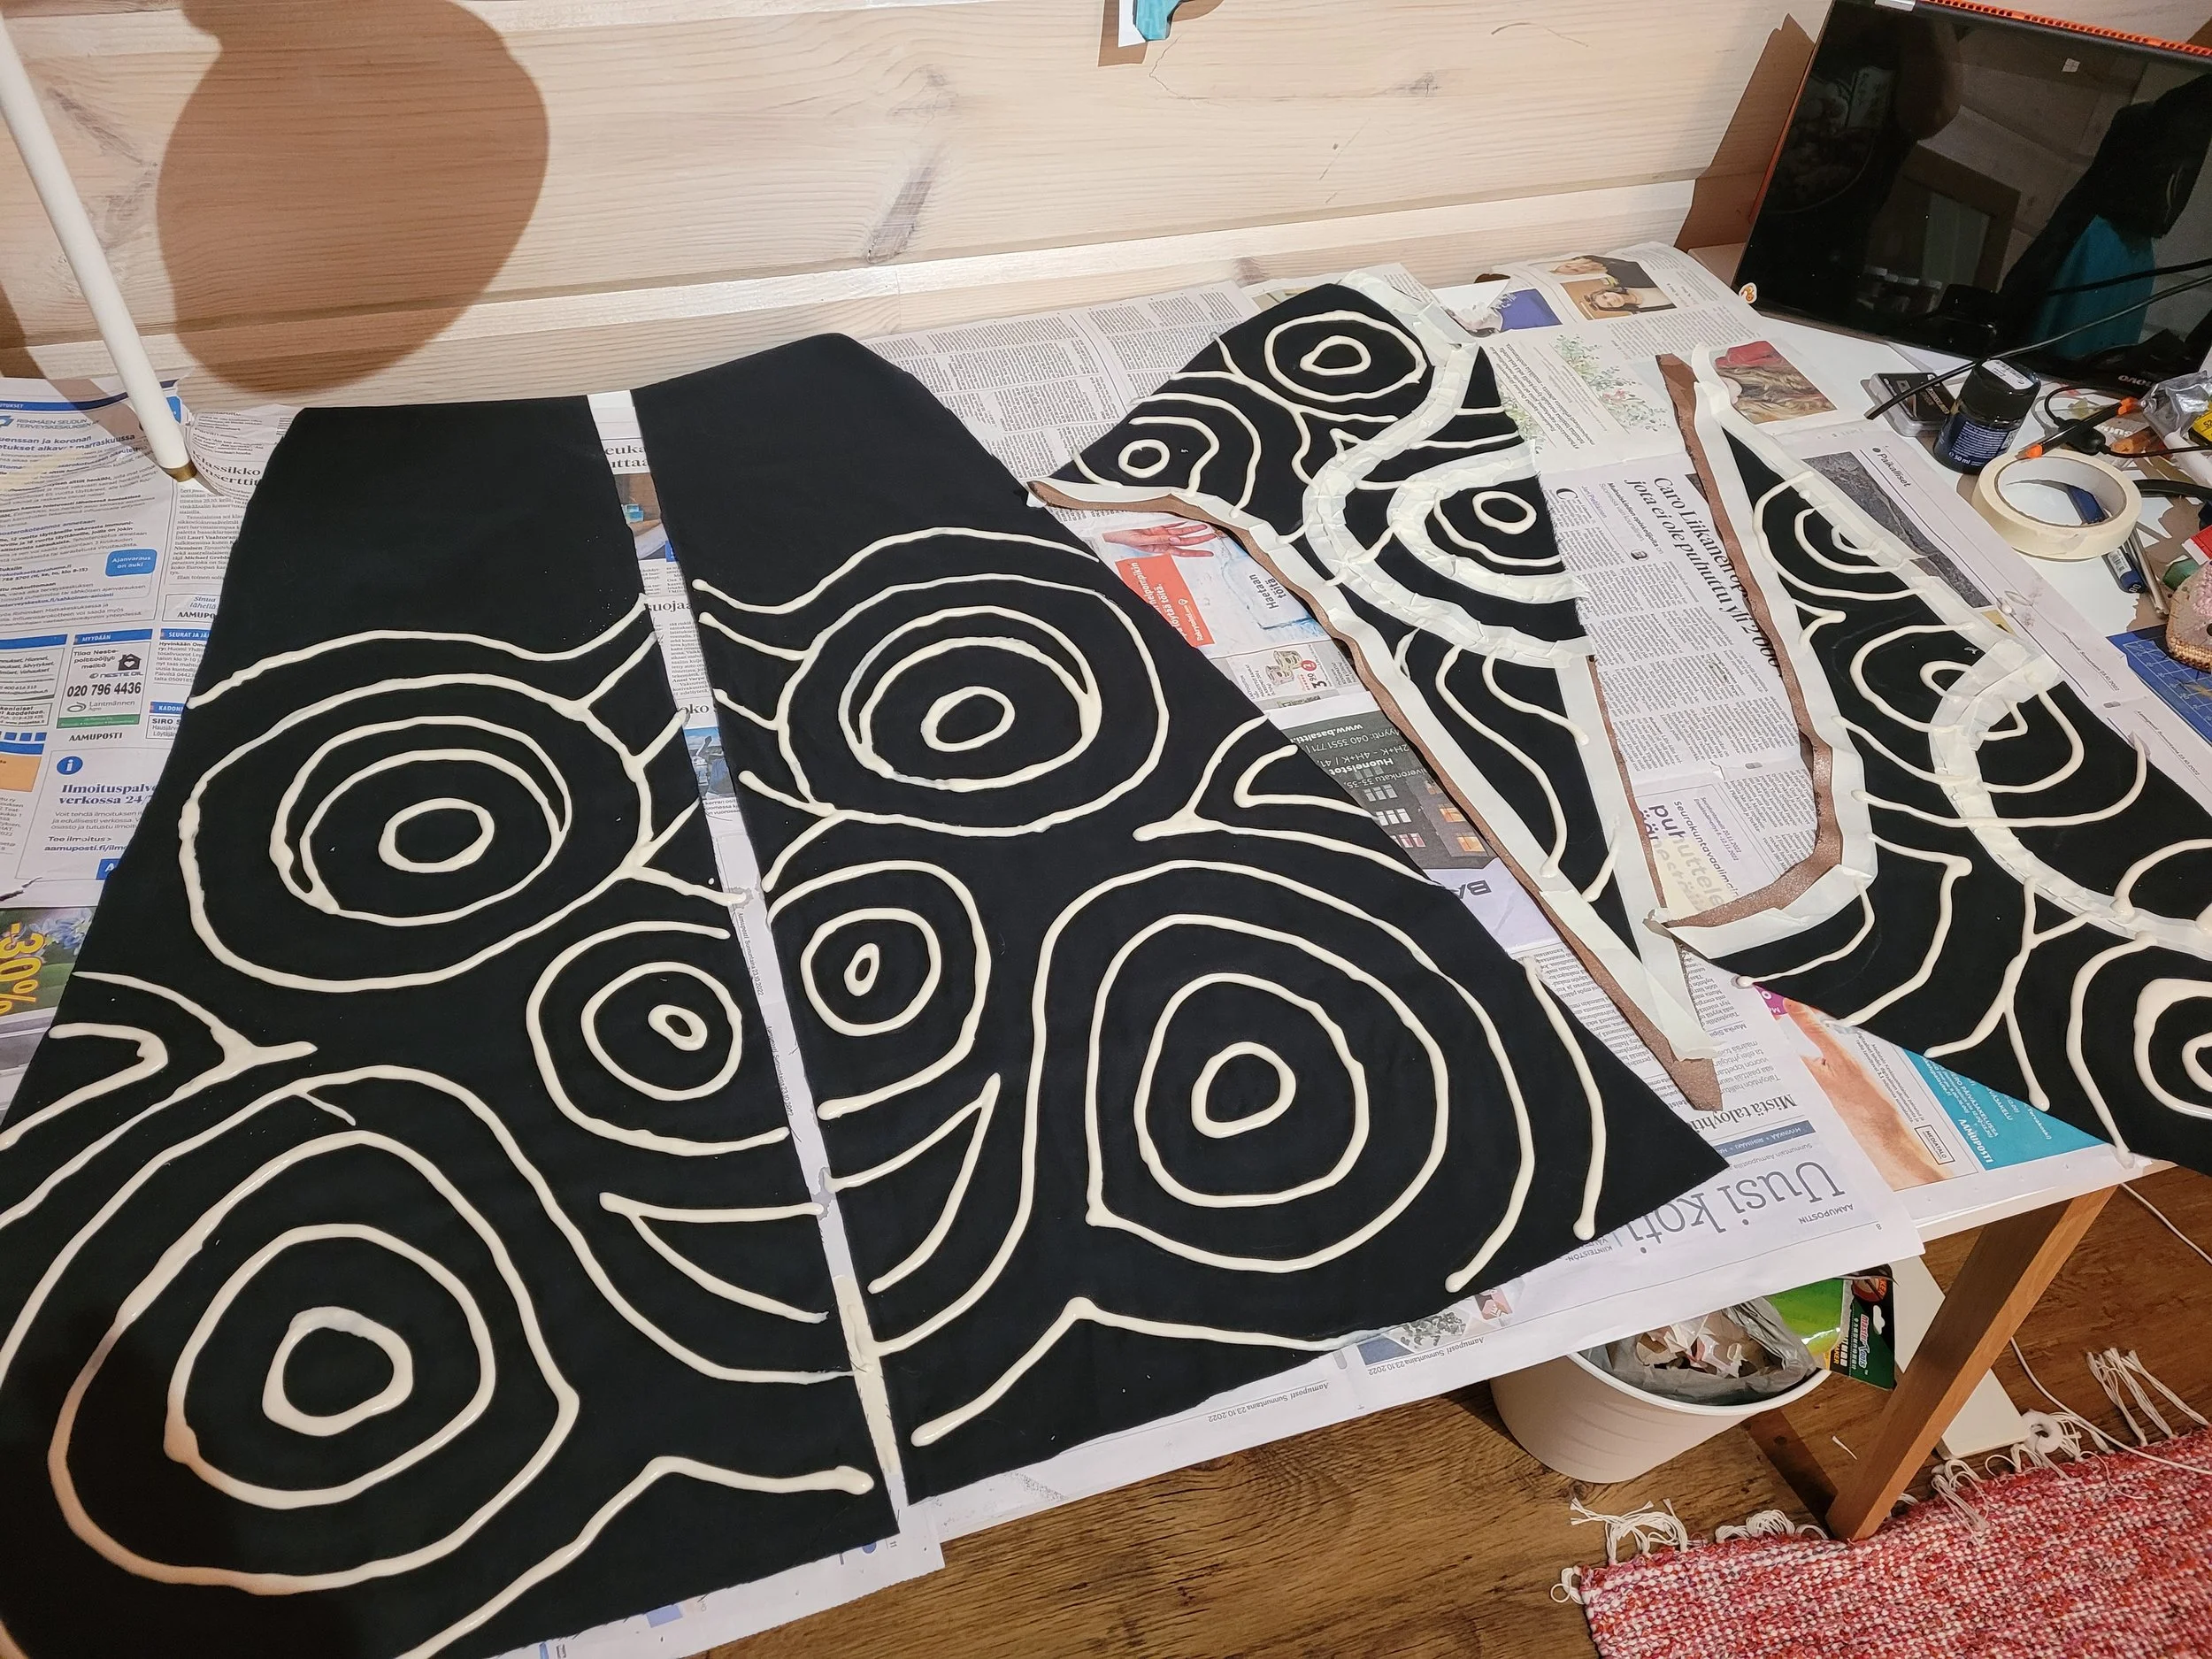
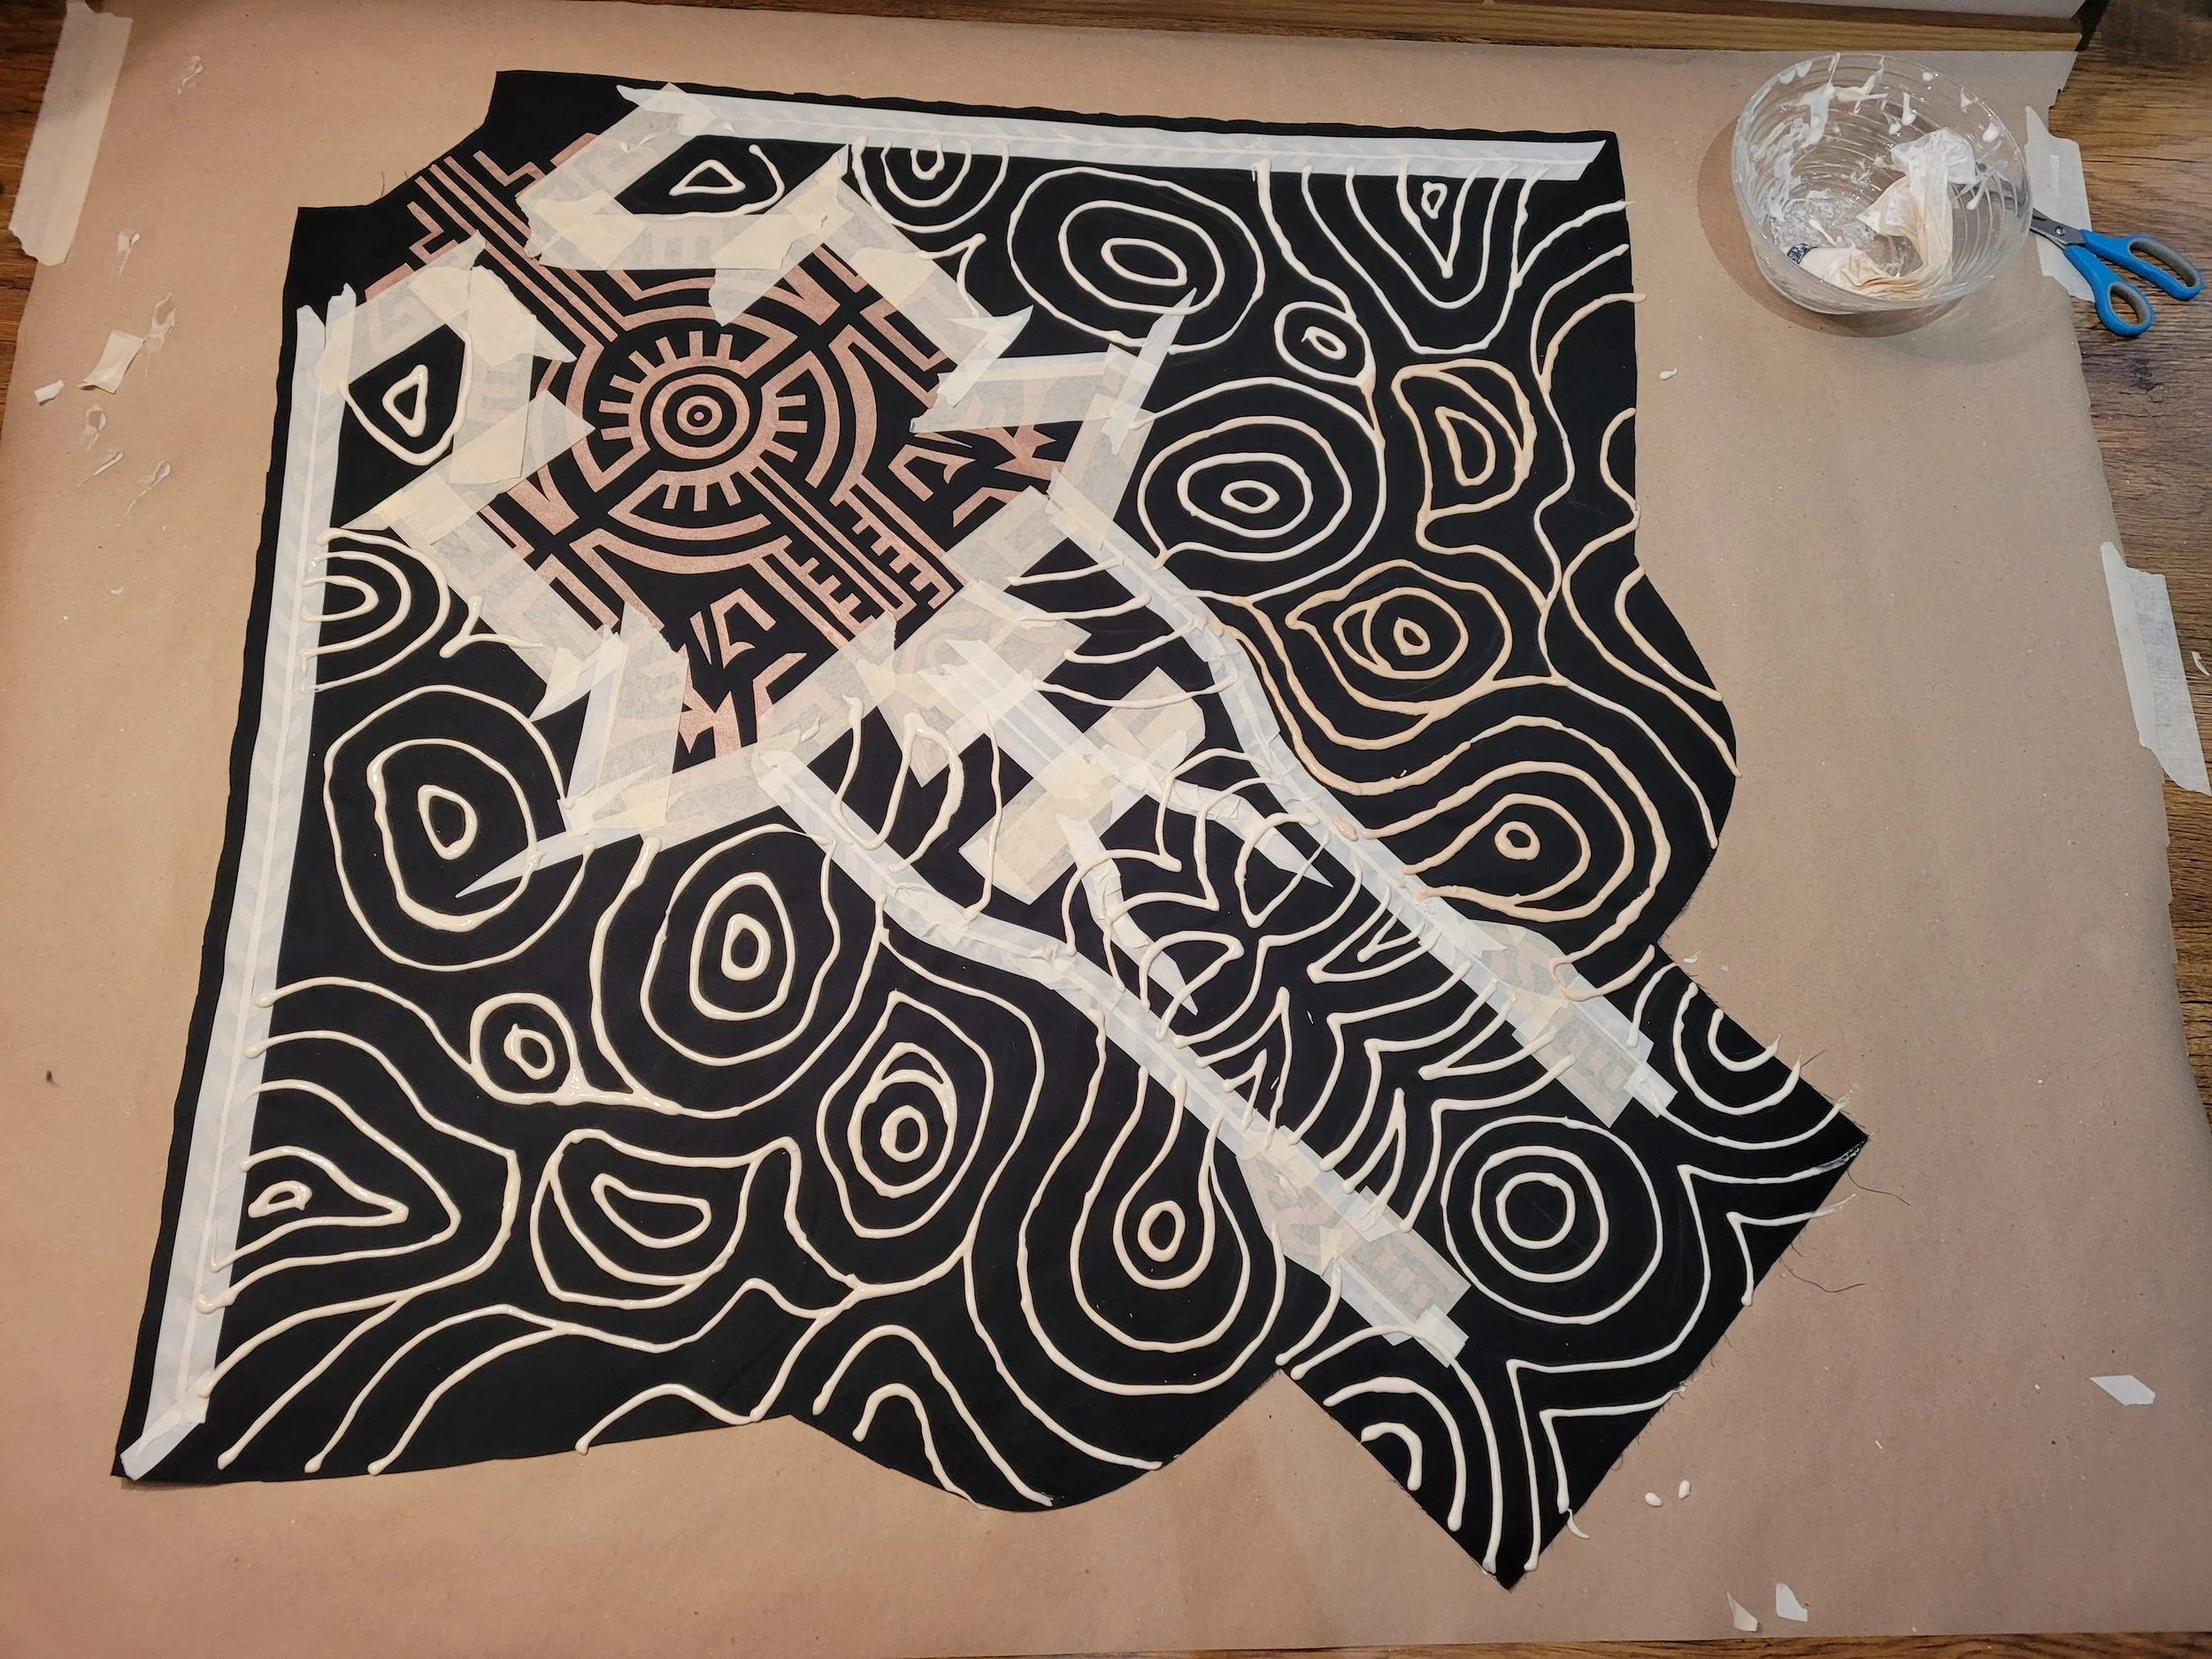
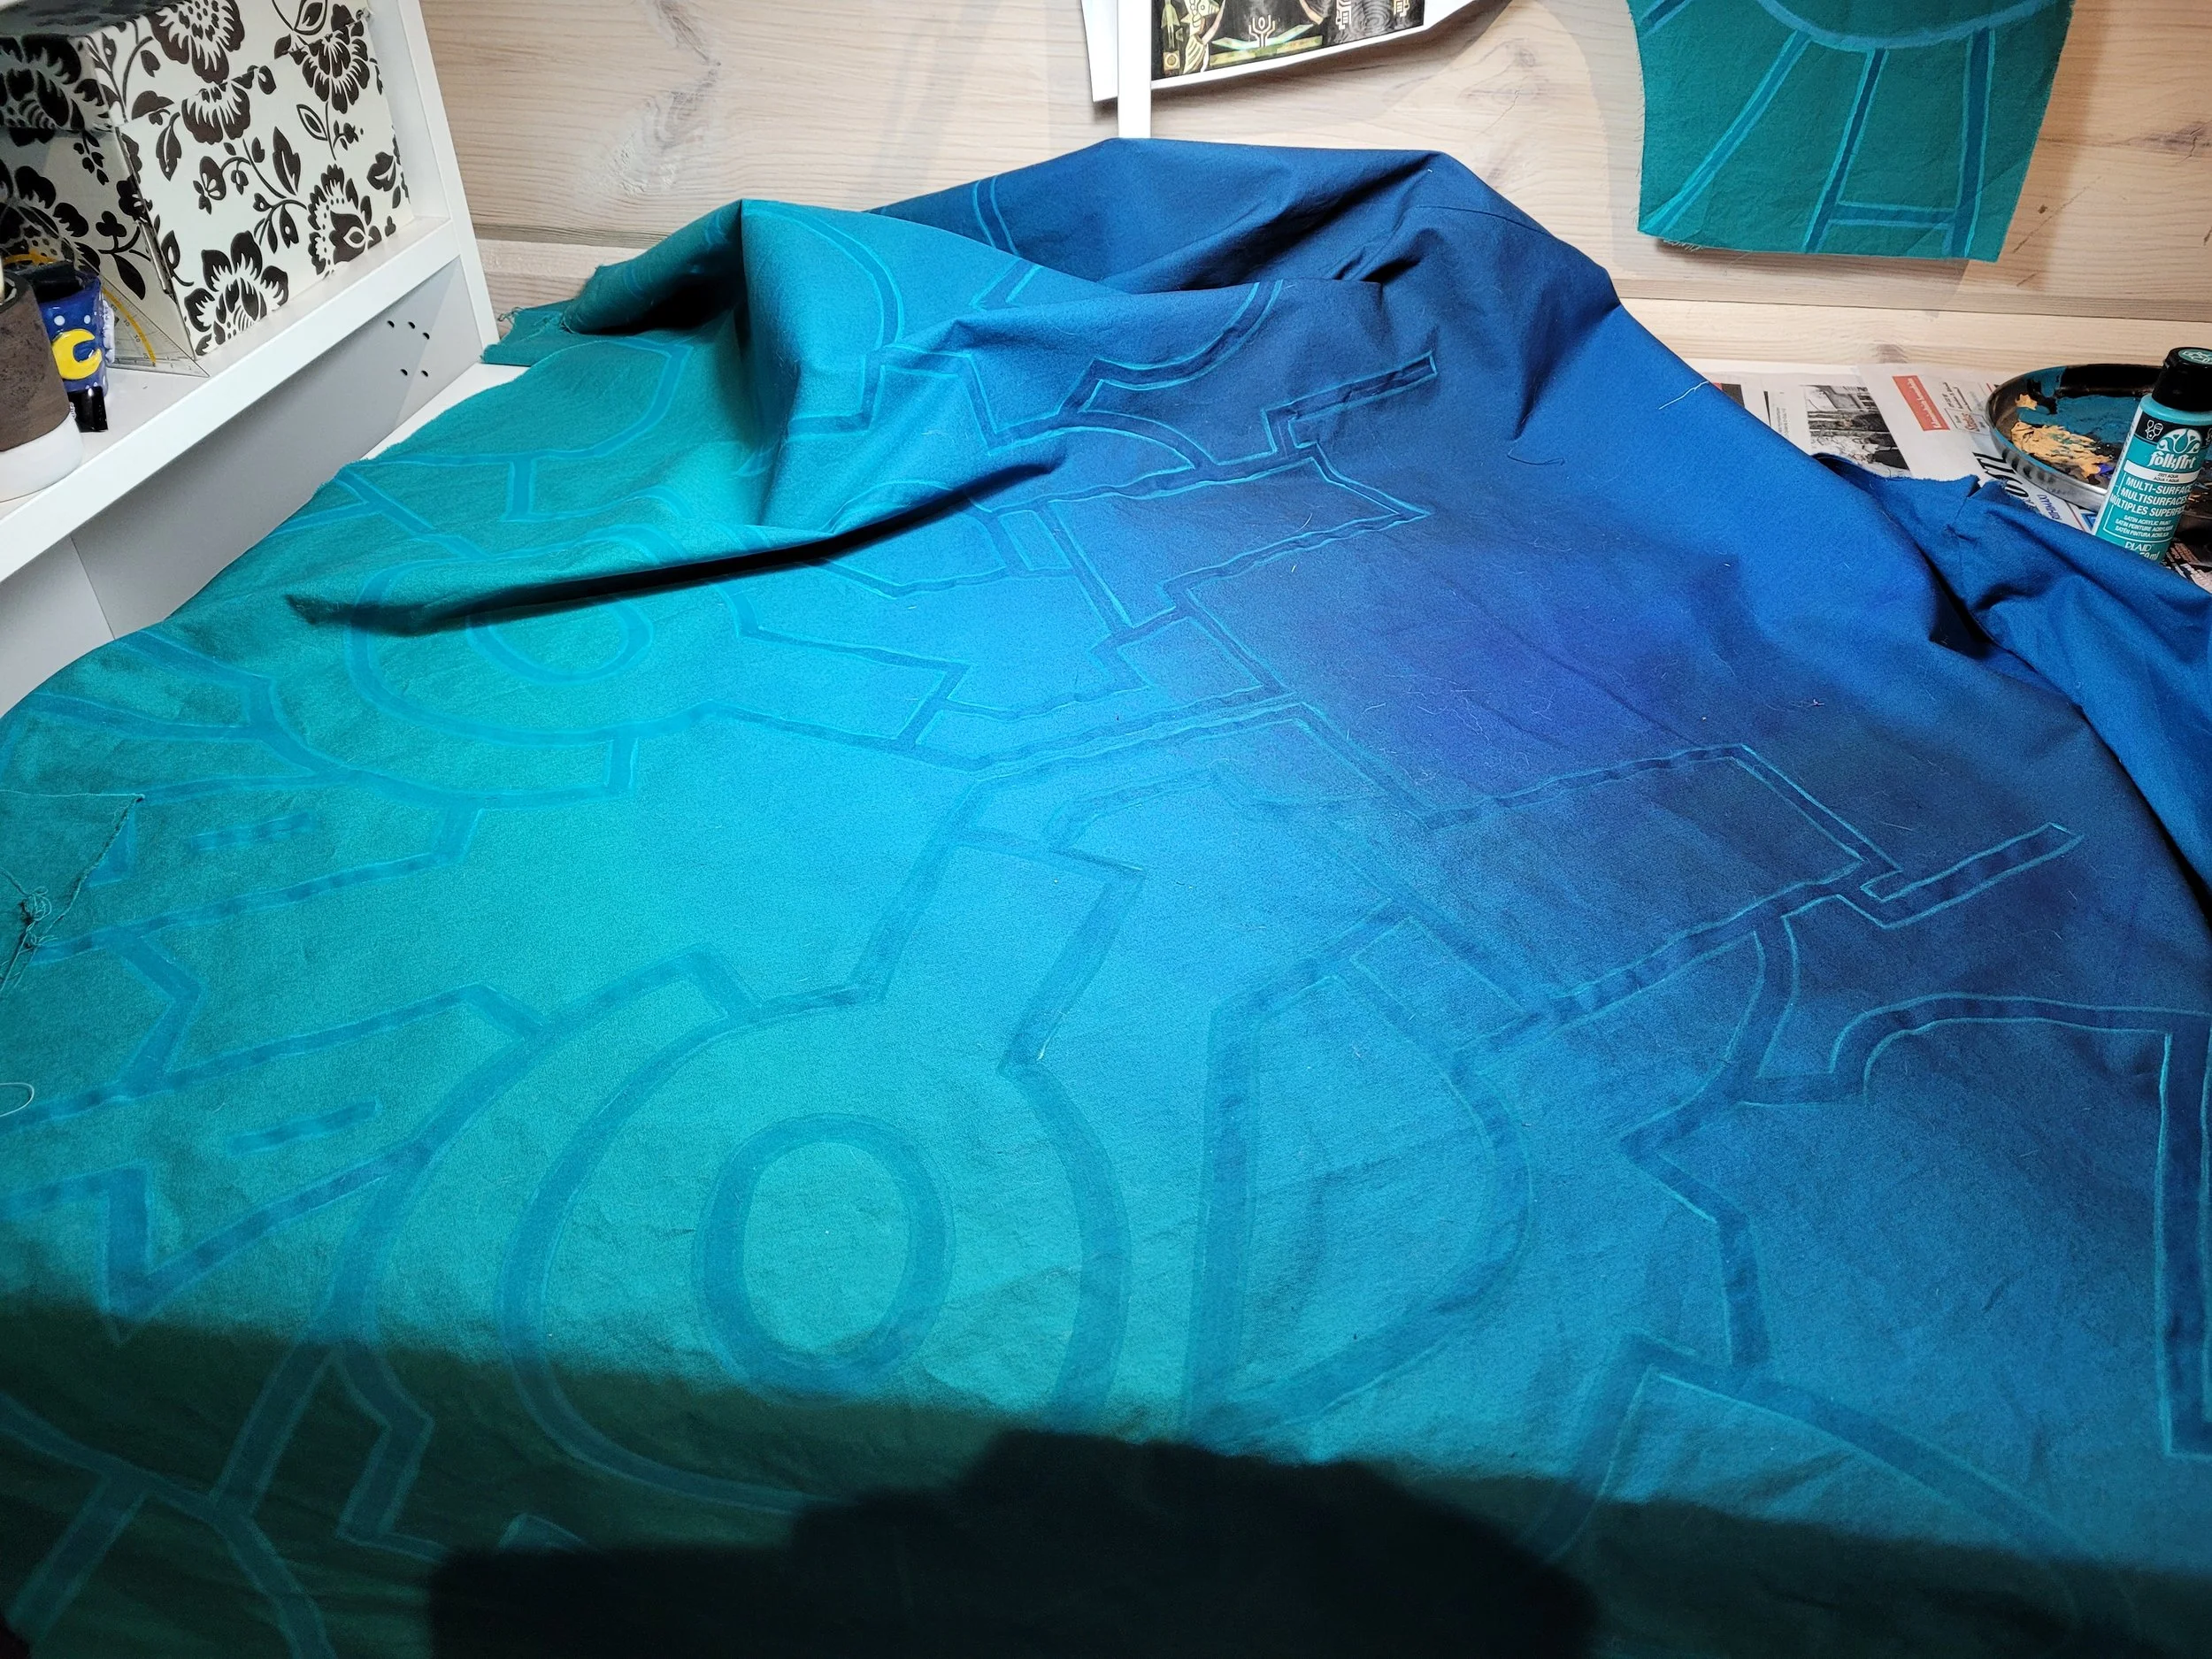
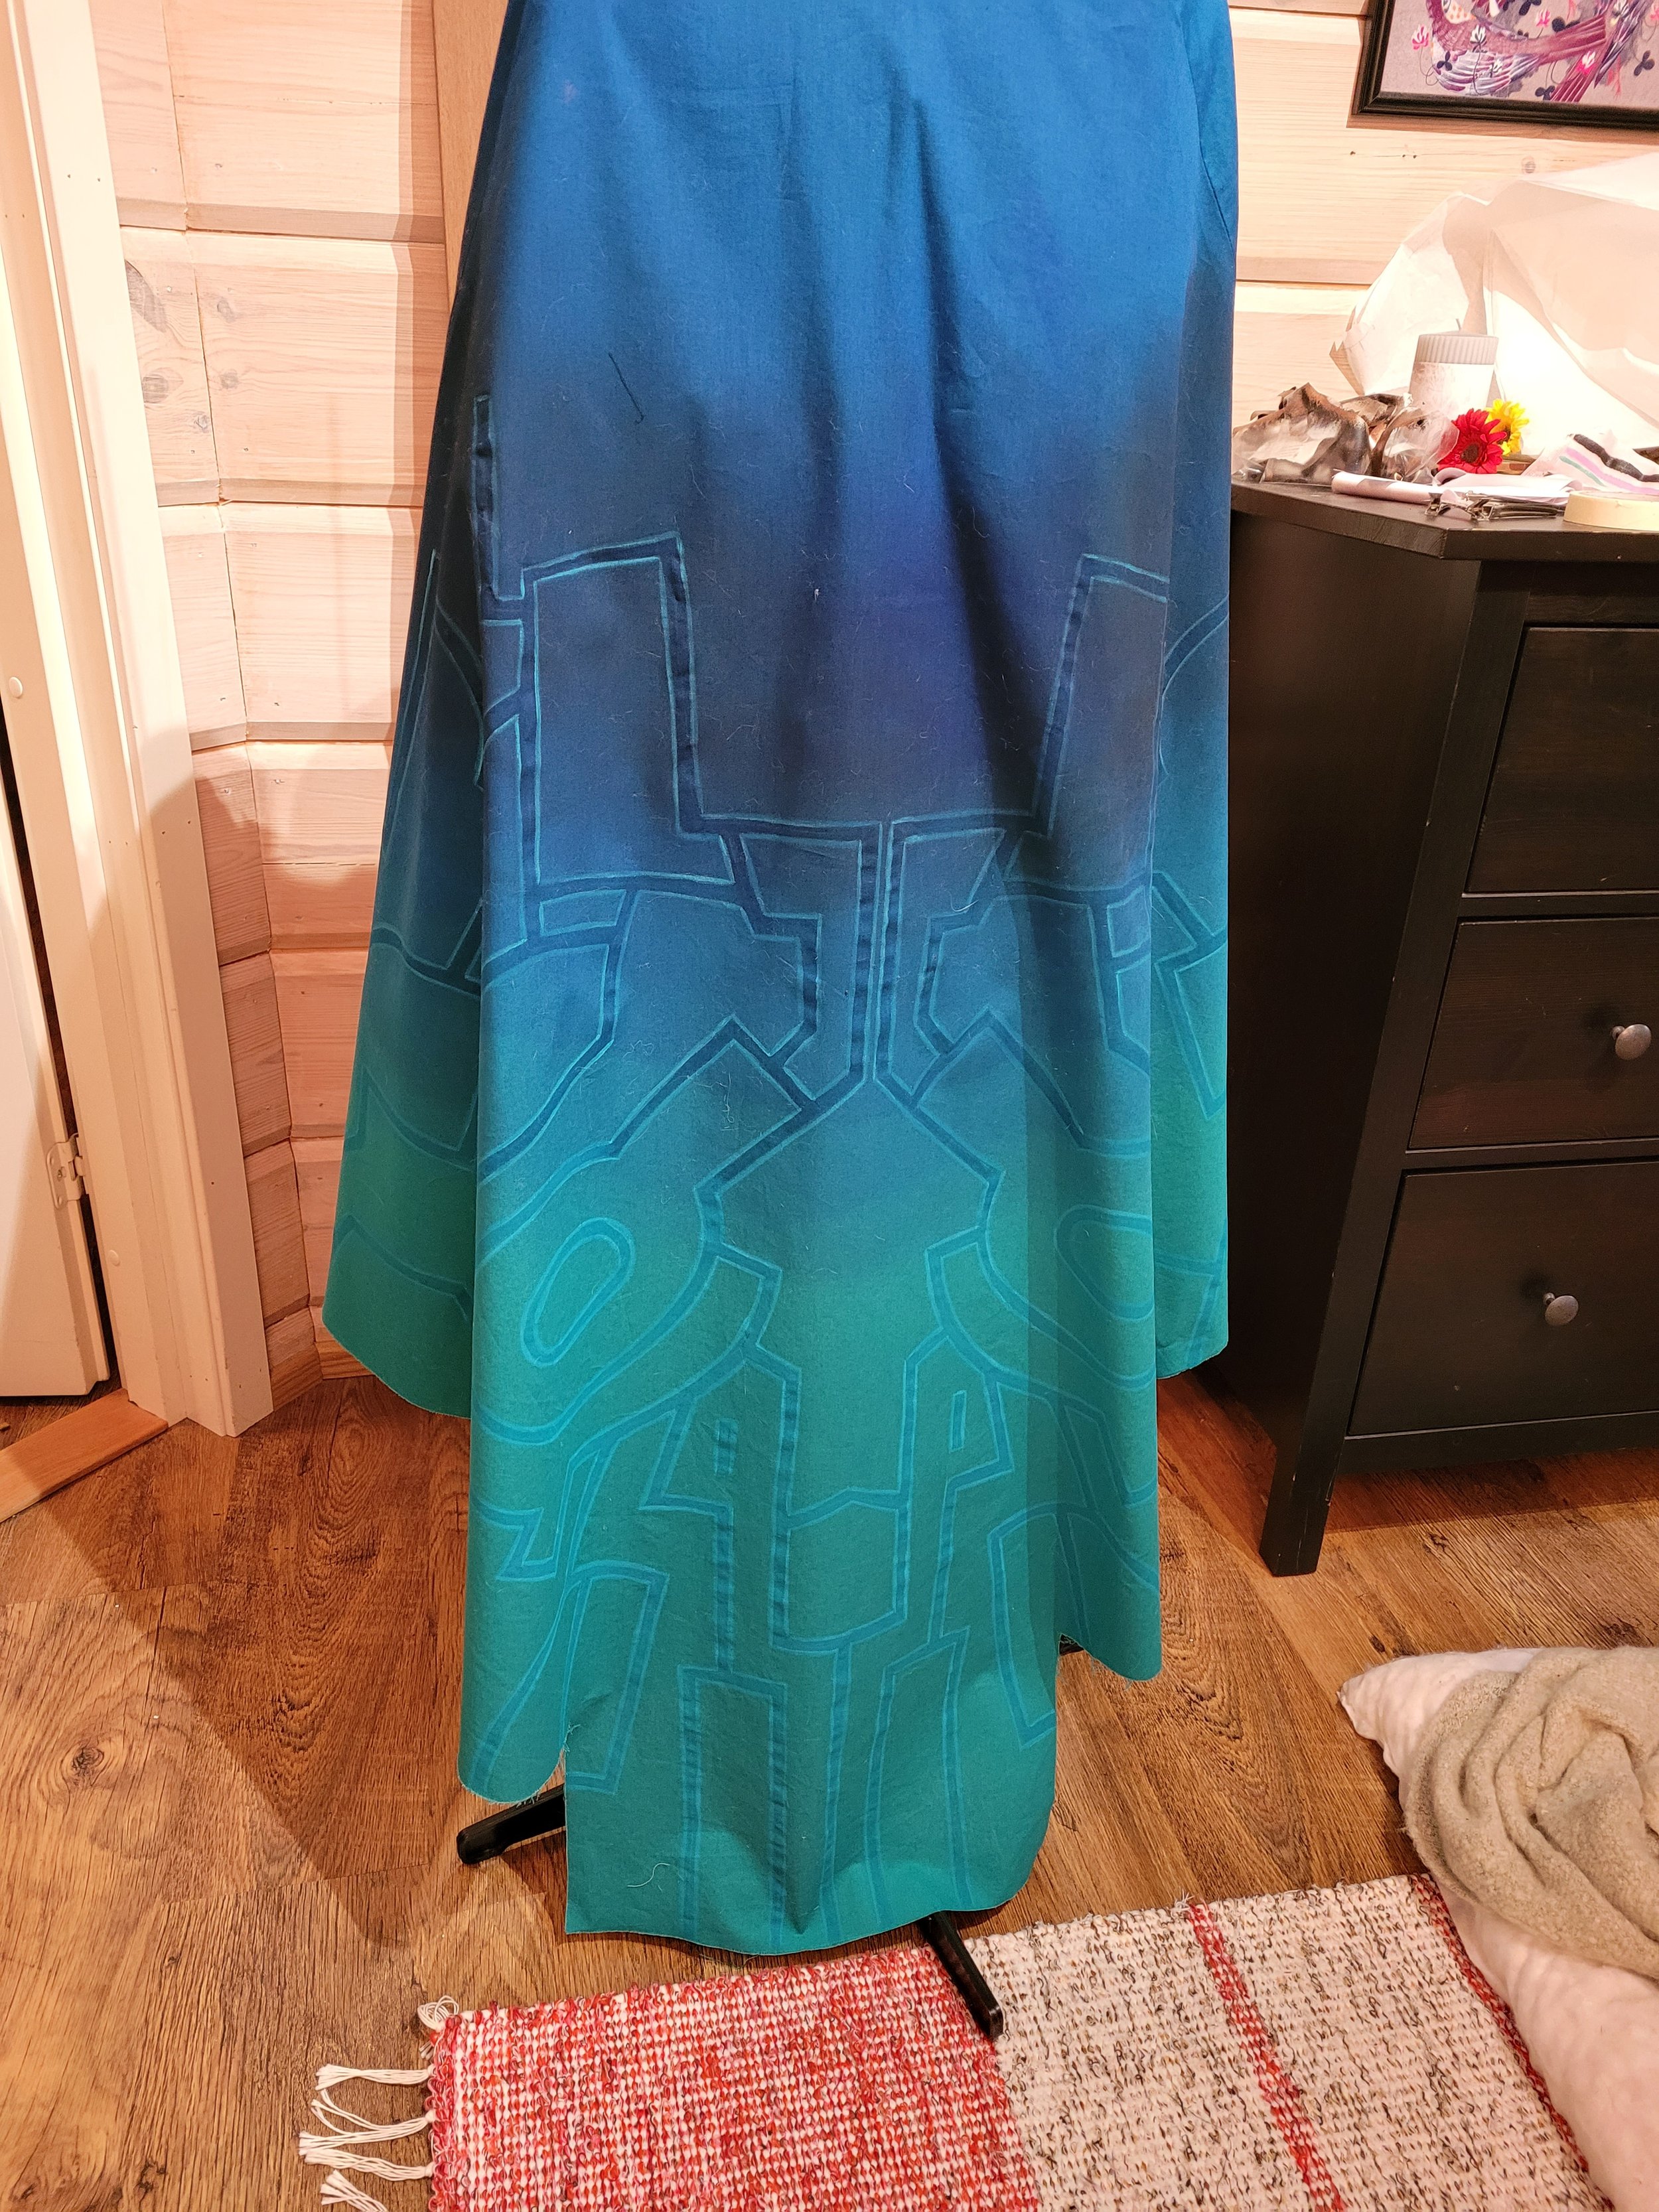
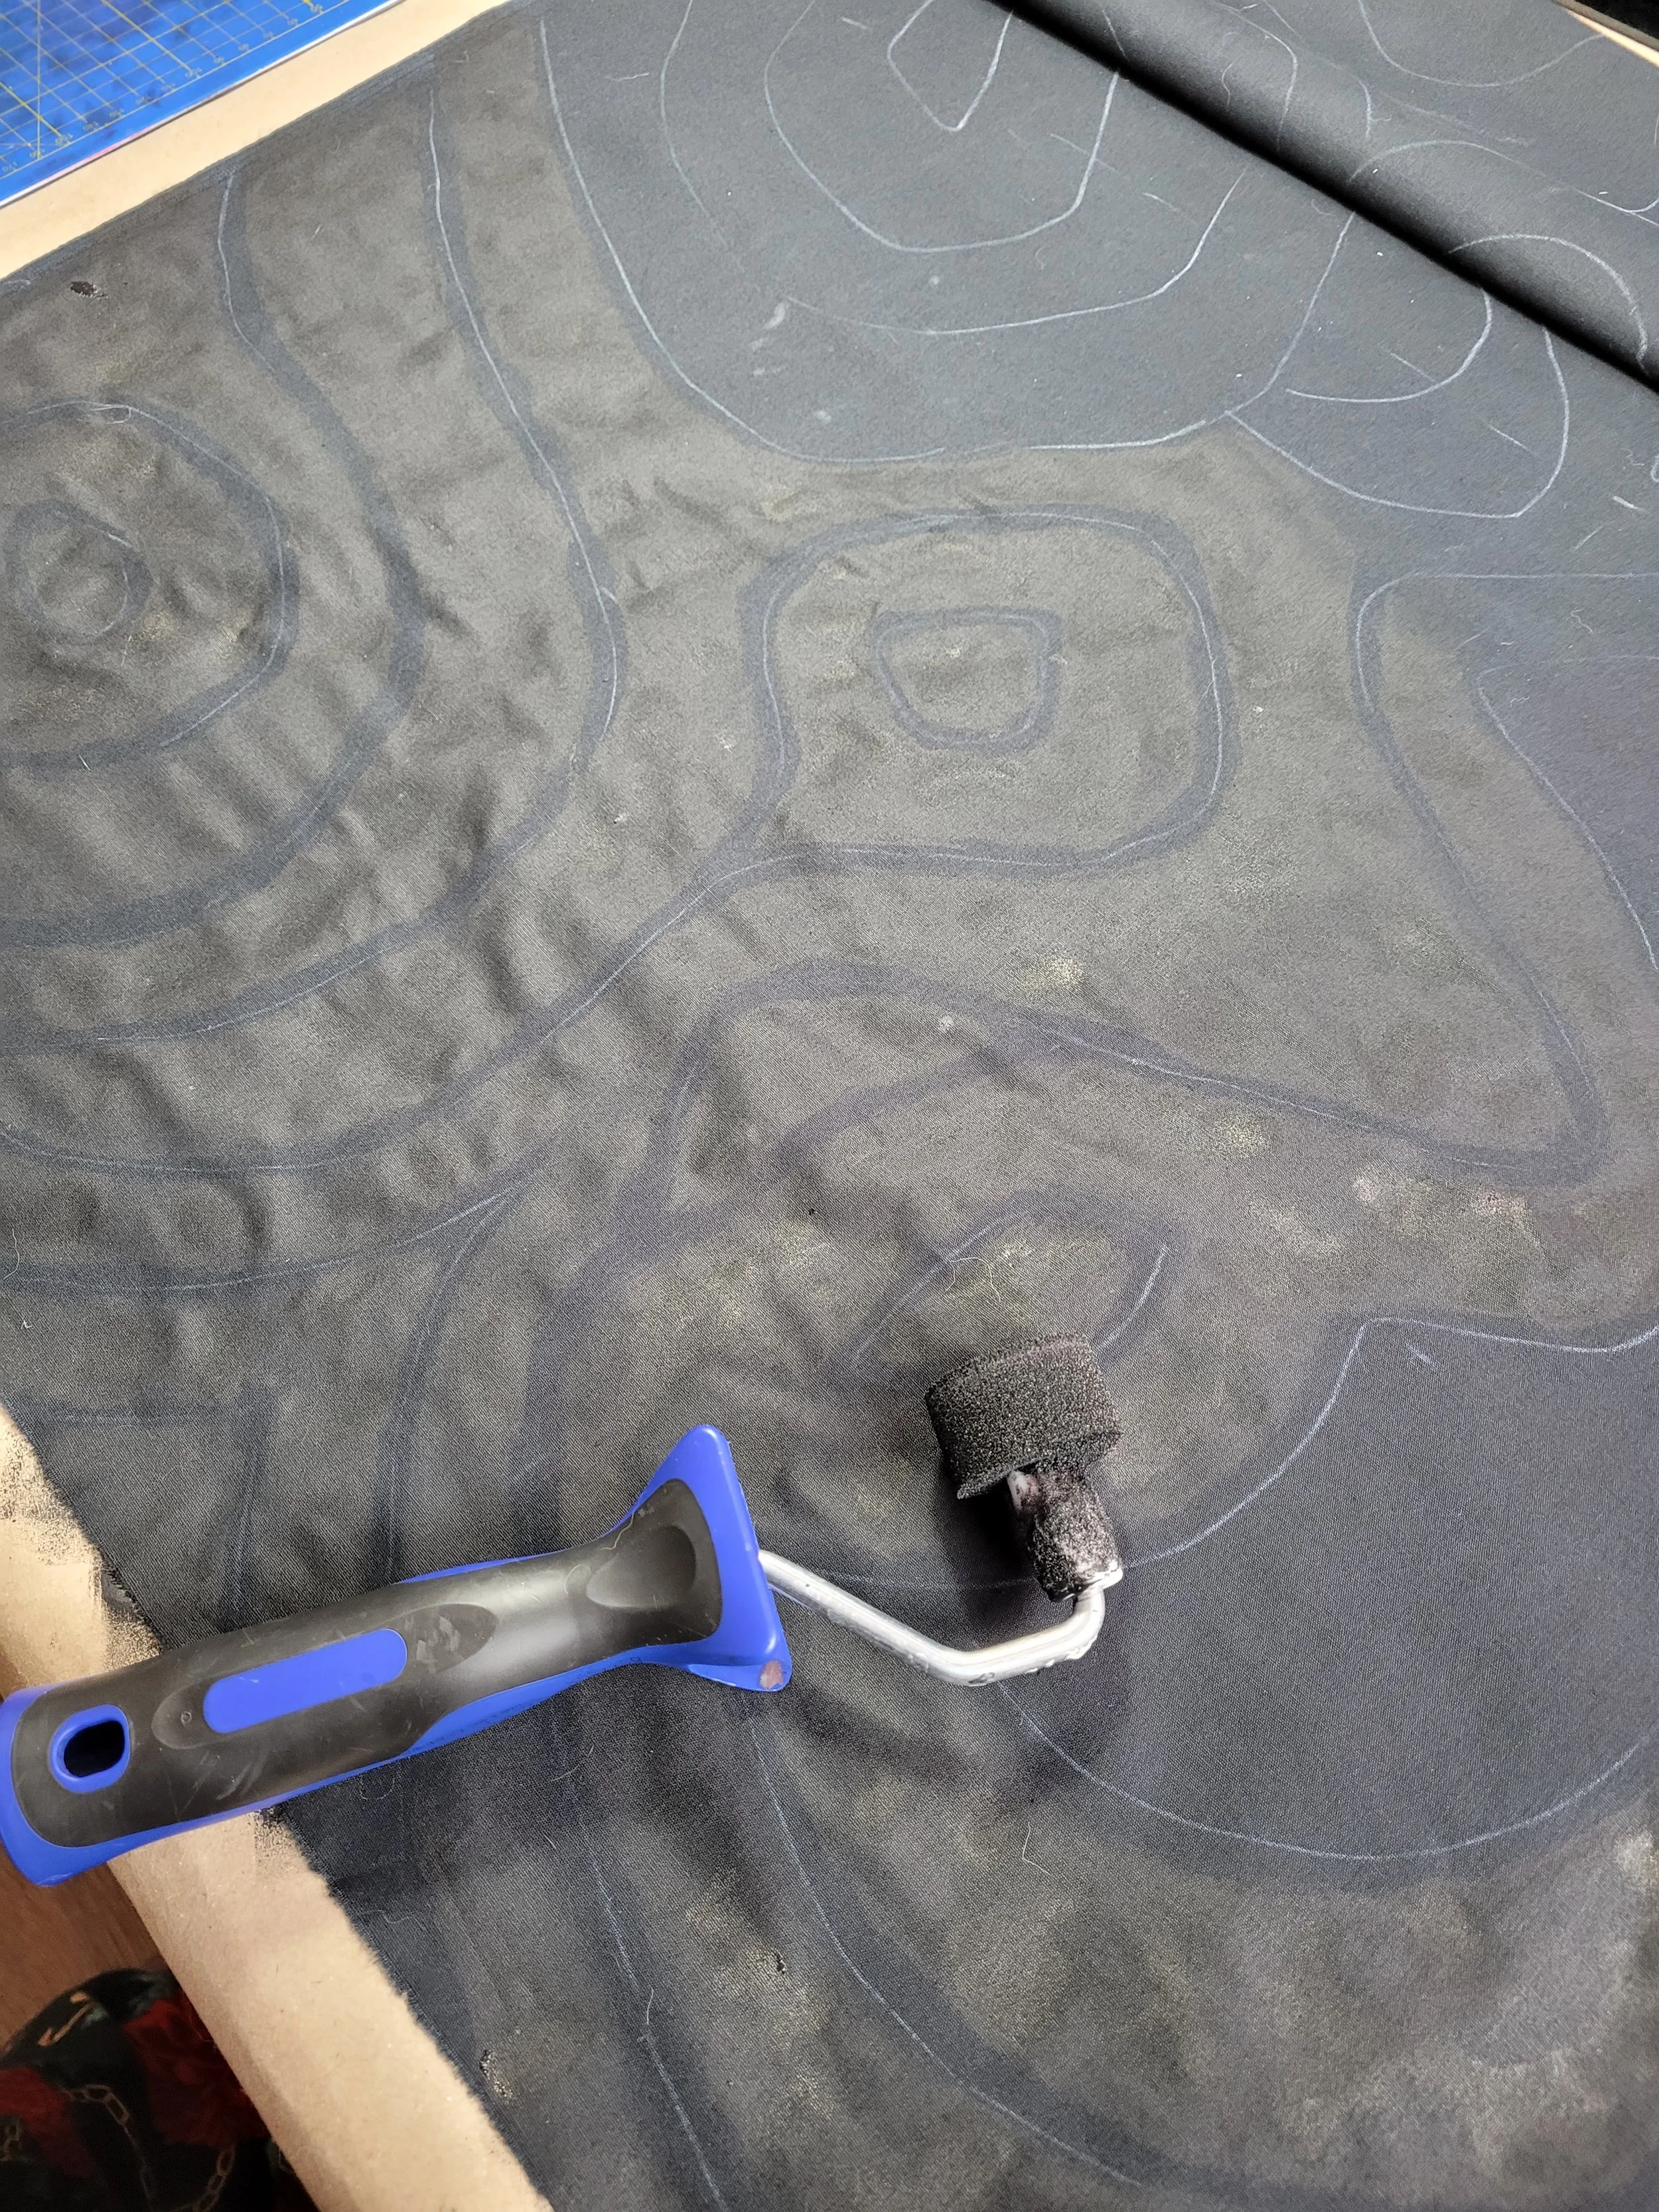
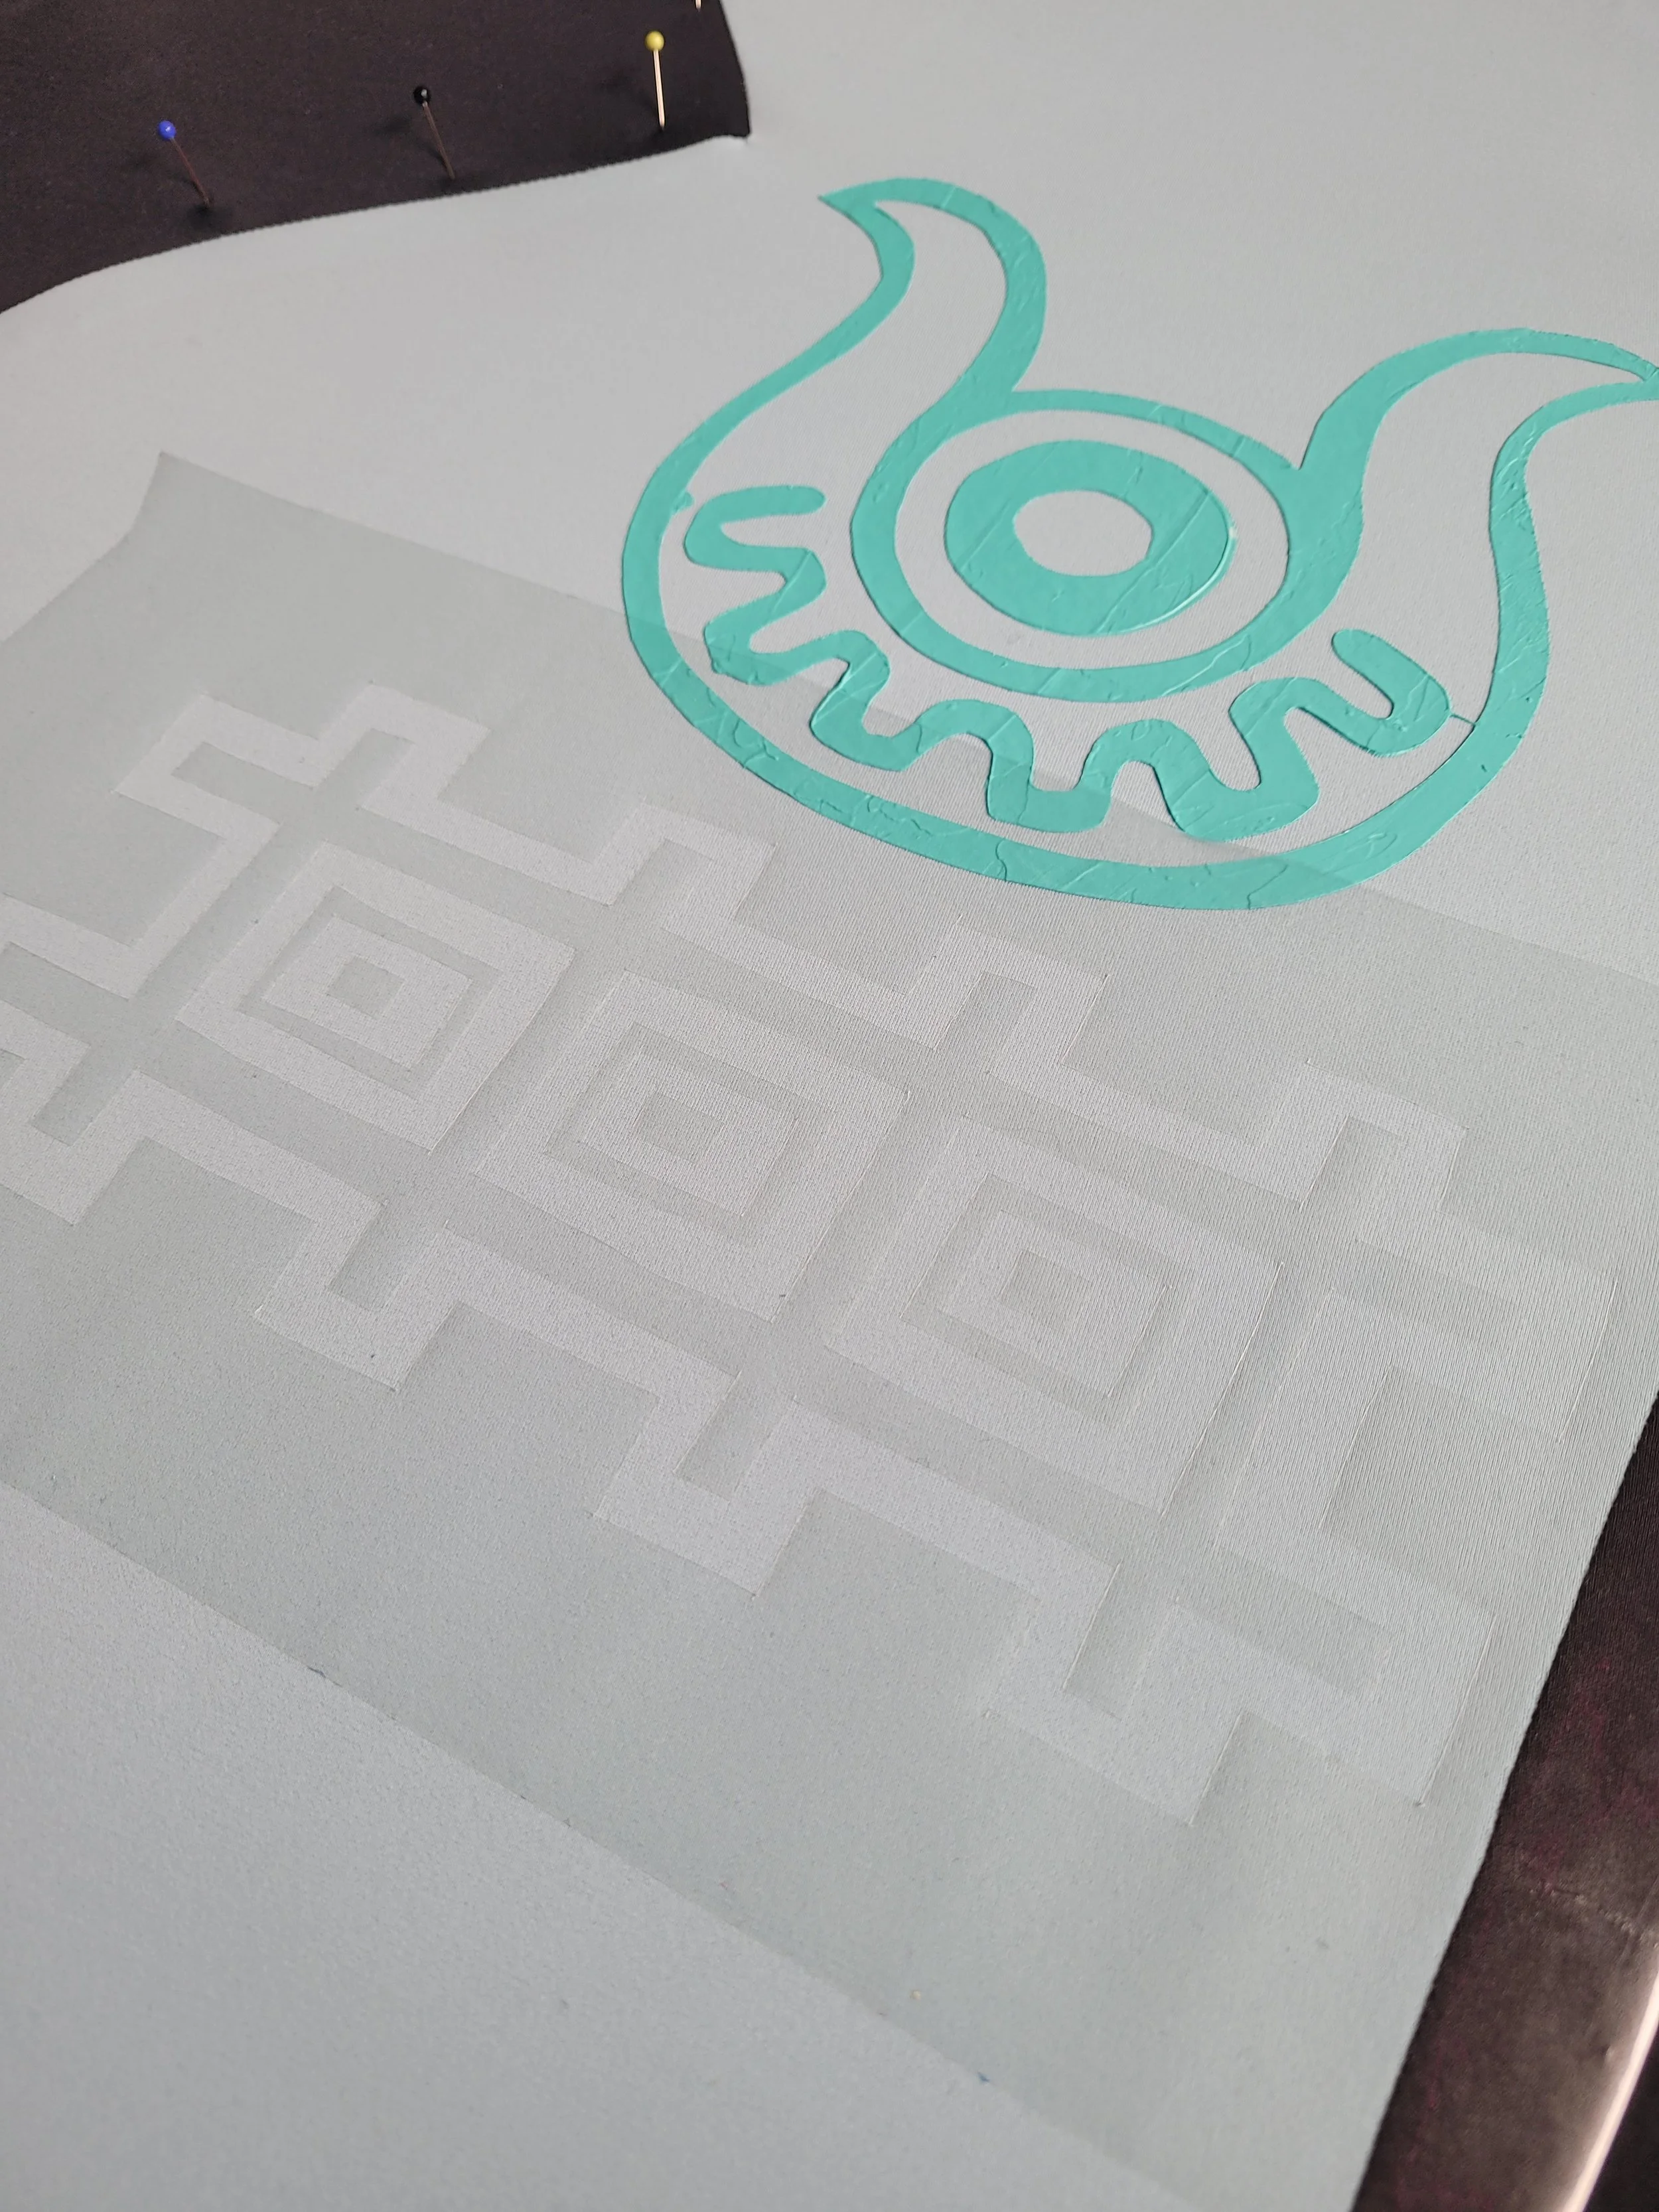
Both the cloak and skirt have very dark grey swirly design on them all over. The designs I drew loosely, mainly trying to fit as many number of circles per part of the cloak instead of aiming for 100% accuracy. In normal light the grey is barely visible. For printing, I researched a bit, what techniques to use, as I really didn’t want to make stencils for such big designs. I chose to use technique called Resist printing. Essentially you have a paste which you apply to the fabric and it prevents the paint from sticking. So after sketching the design on the black cloak pieces, I mixed up a paste out of wheat flour and water, and applied it with piping bag.
Which was the beginning of my mistake number one. The flour paste, after drying, sucked in the fabric and wrinkled it. I didn’t pay mind to this as I couldn’t foresee the effect it caused… After the flour paste was dry, I rolled over the fabric with sponge roller. Because of the wrinkles, the paint came out very patchy, I almost had a breakdown, but ended up fixing it after washing off the flour multiple times. I did get smarter with the skirt!
As seen here, the grey is barely visible there. And also, especially the shoulders are very patchy thanks to my mistake…
Lining
For the lining, I did a blue gradient on the already sewn-together lining fabric. After the gradient was done, I airbrushed some black to the portion which would maybe show bahind my back, but didn’t bother with the very top as that part only would rub off against the skin suit.
After those two steps were done, I hand-painted the designs on the lining. I did the patterns bit darker on the upper part, trying to match the gradient.
Skirt
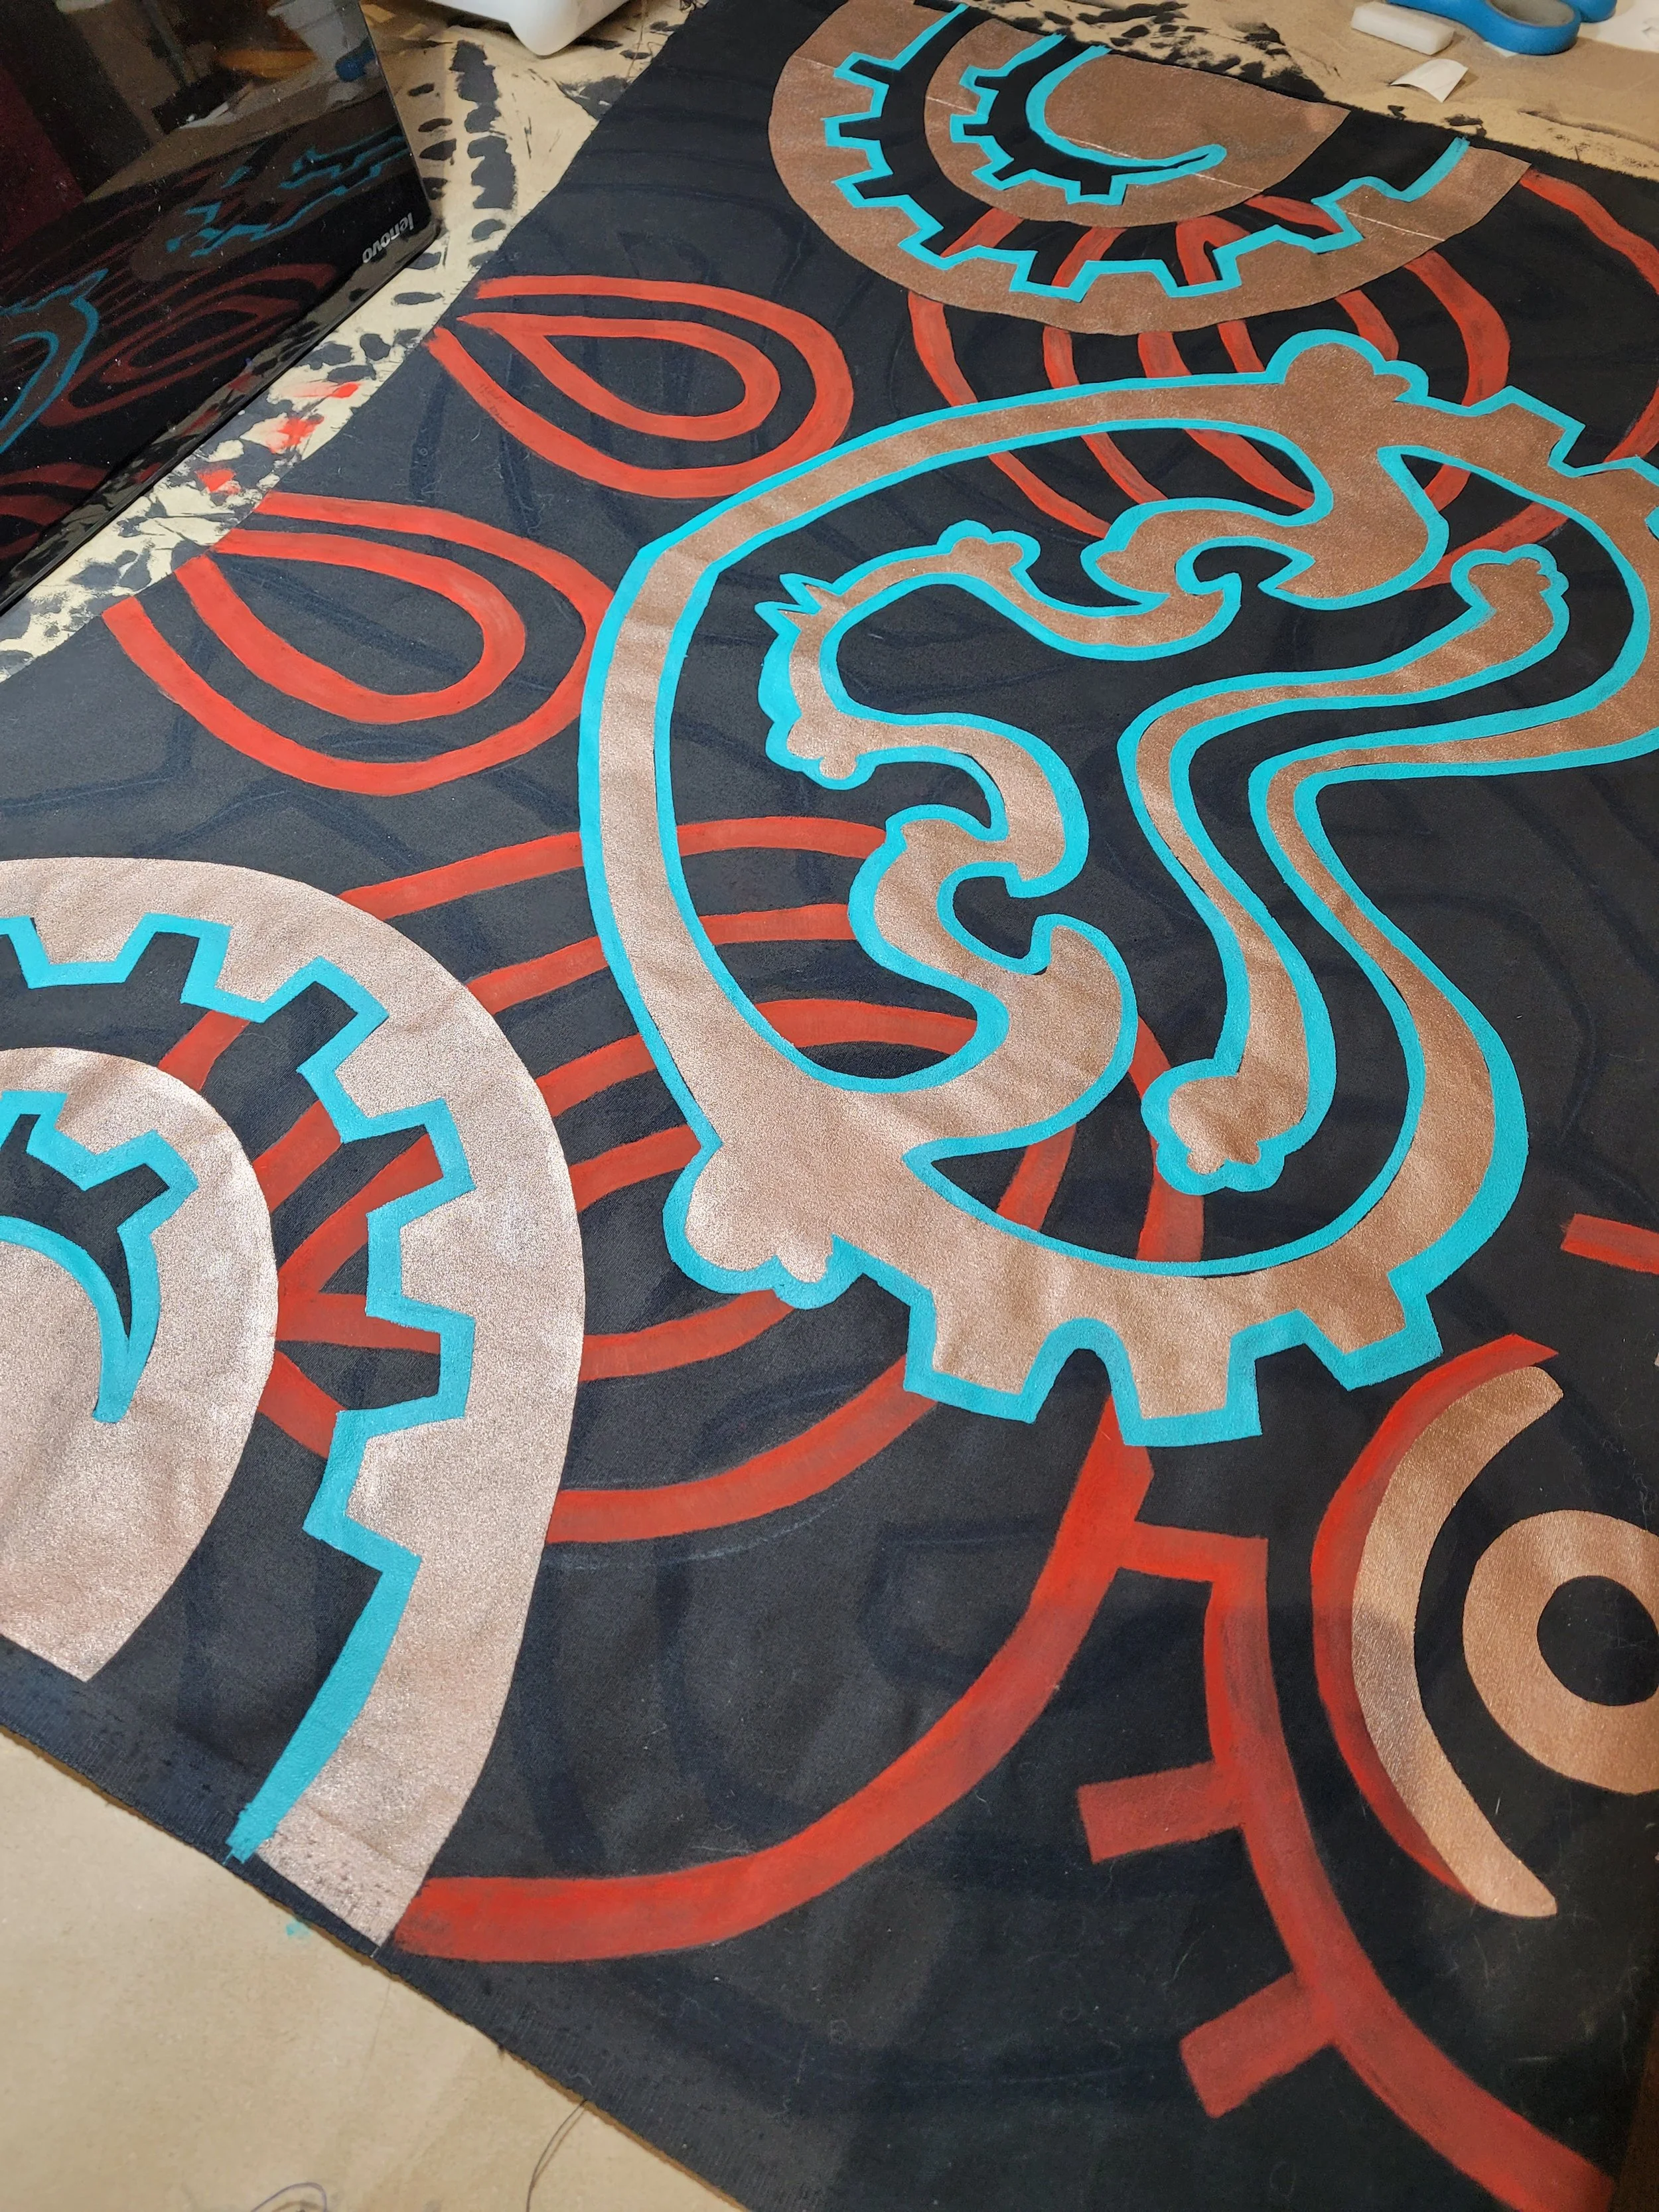
Skirt was done later, but using pretty much same methods than the cloak, with the exception of the grey pattern. This time I cut a foam roller narrower and just rolled on the swirls free-hand. Everything else is made with the same book covering film -stencil method. Skirt pattern was really just a square, with very small pleat at the lower hip part to make it sit nicer. I tried to make the turquoise designs pop a bit by mixing acrylic paint with puffy paint medium, but that didn’t really work out. Oh well.
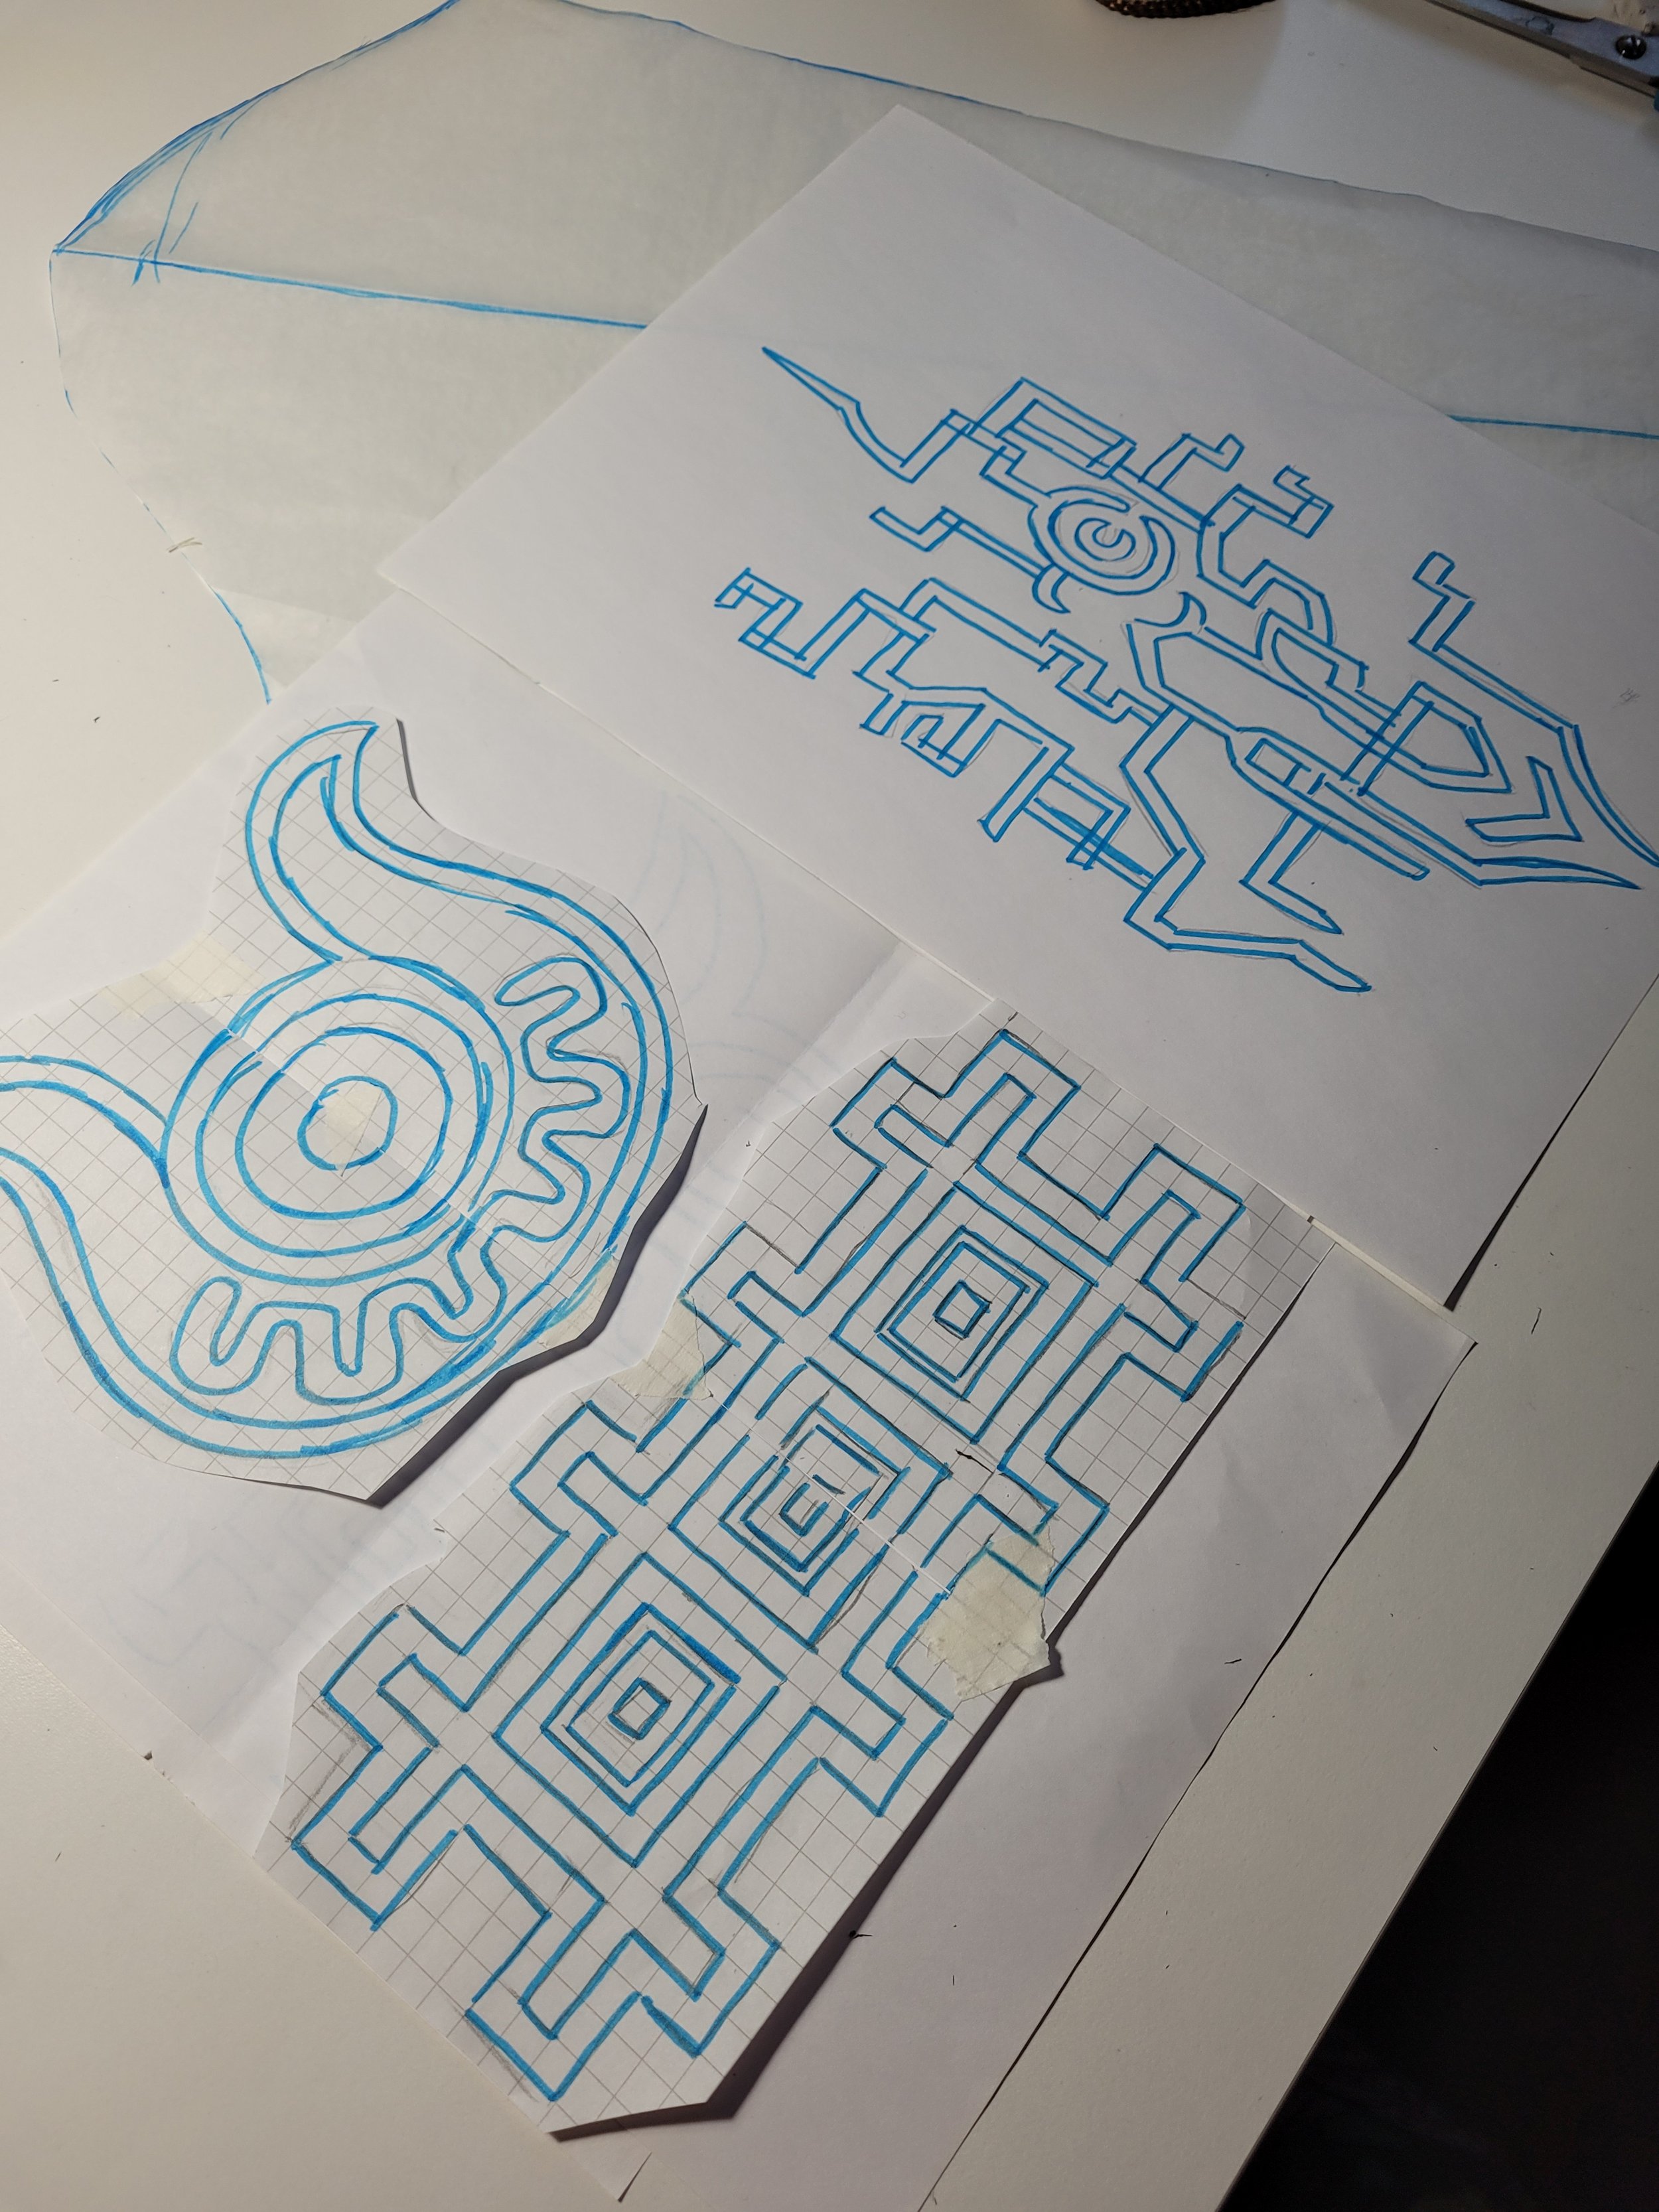
Yes, my sketches are always super messy, sorry!
Skin suit / body suit
I have to admit, I was dead afraid to start on the body suit. Thankfully my Zelda partner Nevara had acquired a PDF book called The Hero’s Closet, which had many cosplay focused patterns, including a seamless skin suit. I wanted specifically this type of pattern without side seams, so the small pattern sketches the book had were a lifesaver. I didn’t have the pattern itself, but scaled the tiny pattern reference picture to human size and started sewing prototypes.
I did end up sewing a skin suit four times, don’t ask why. Well okay, first one was HUGE. I had to reduce like 30cm from height as I’m short and lots from waist, arm holes etc. Second one fit way better.
The reason why I sewed the bodysuit patchwork-style was, that I had seen many airbrushed suits online and the black of those just wasn't intense enough to my eye. Also, longevity.
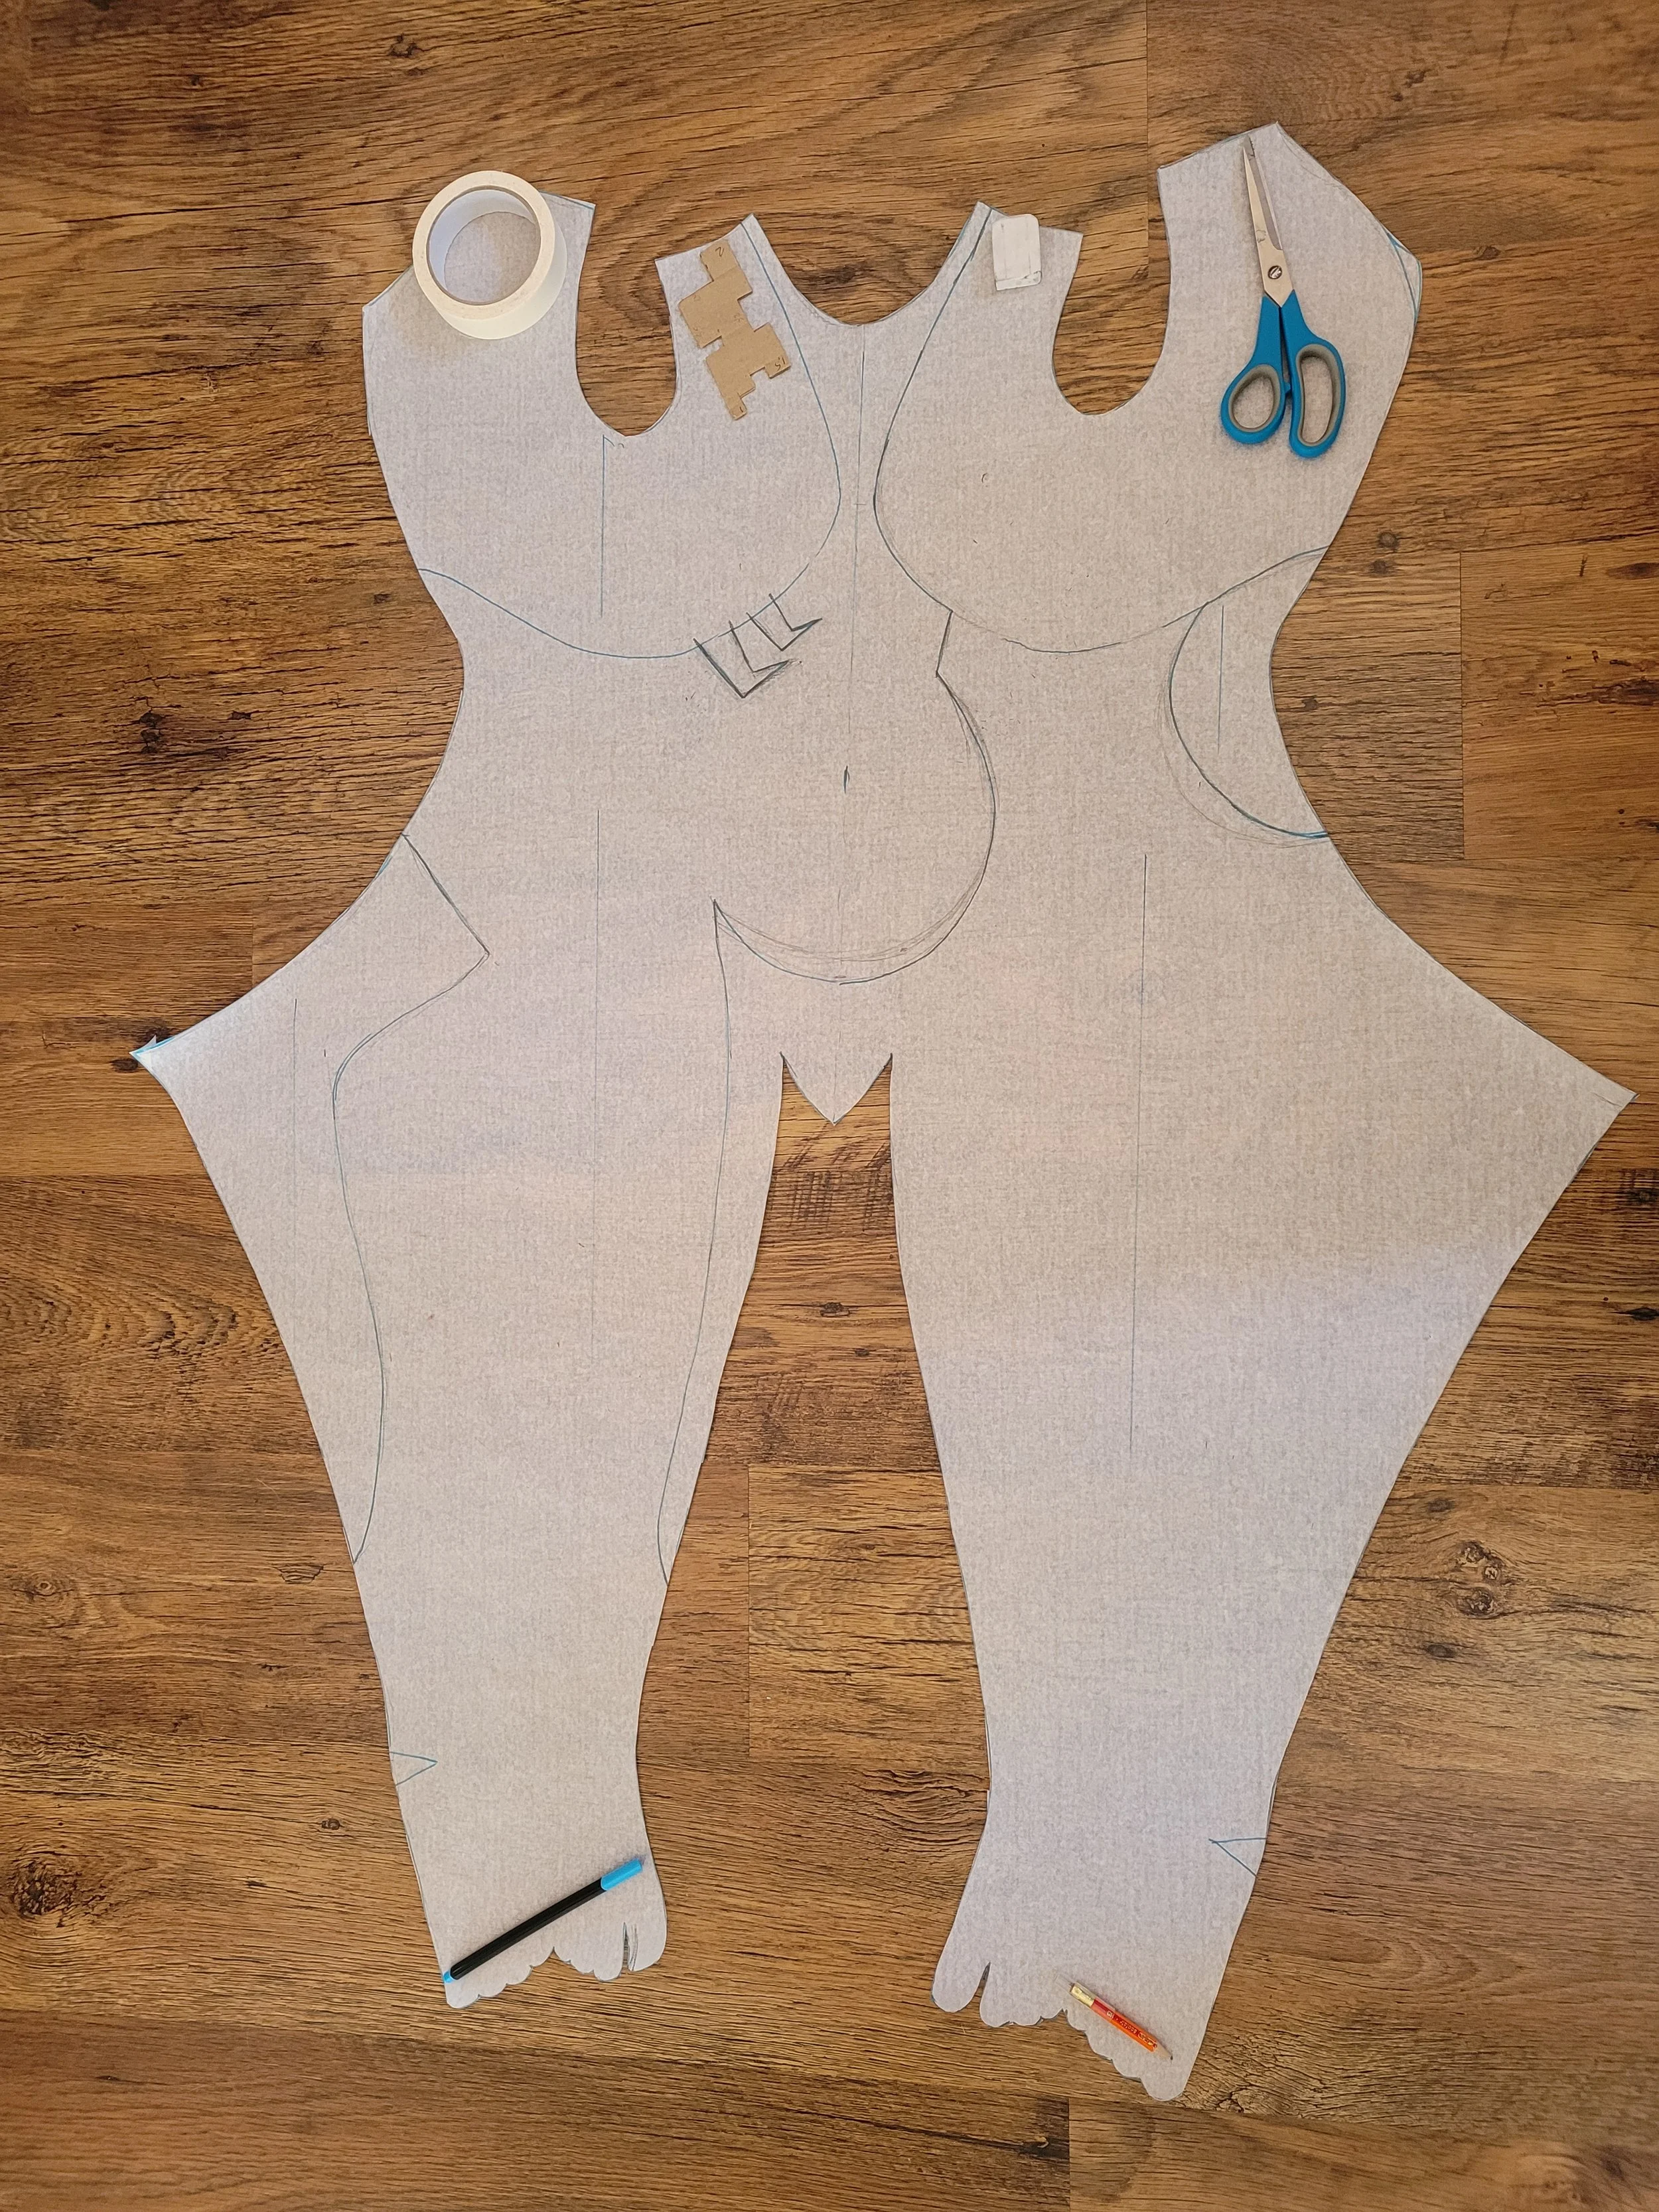
After getting the suit proportions right and everything fit nicely, I traced Midna’s body patterns on the latest prototype while I was wearing it. After taking the suit off, I compared the piece of clothing to my pattern and traced the designs on the pattern as I didn’t want to cut the prototype to pieces.
I decided that severing the big toe was enough insread of sewing a foot-glove, and added some extra fabric with a pleat to the heel.
Body suit fabric, printing and sewing
I first ordered the black and light grey fabric online. When the fabrics came, I was very much cringing as the light grey was very, very purple in shade. I tried to shade it with turquoise iDye poly, but the end result was…bad. At this point I had the cloak pretty much completed so I could compare the body suit fabric to the cloak and the colors looked absolutely awful together.
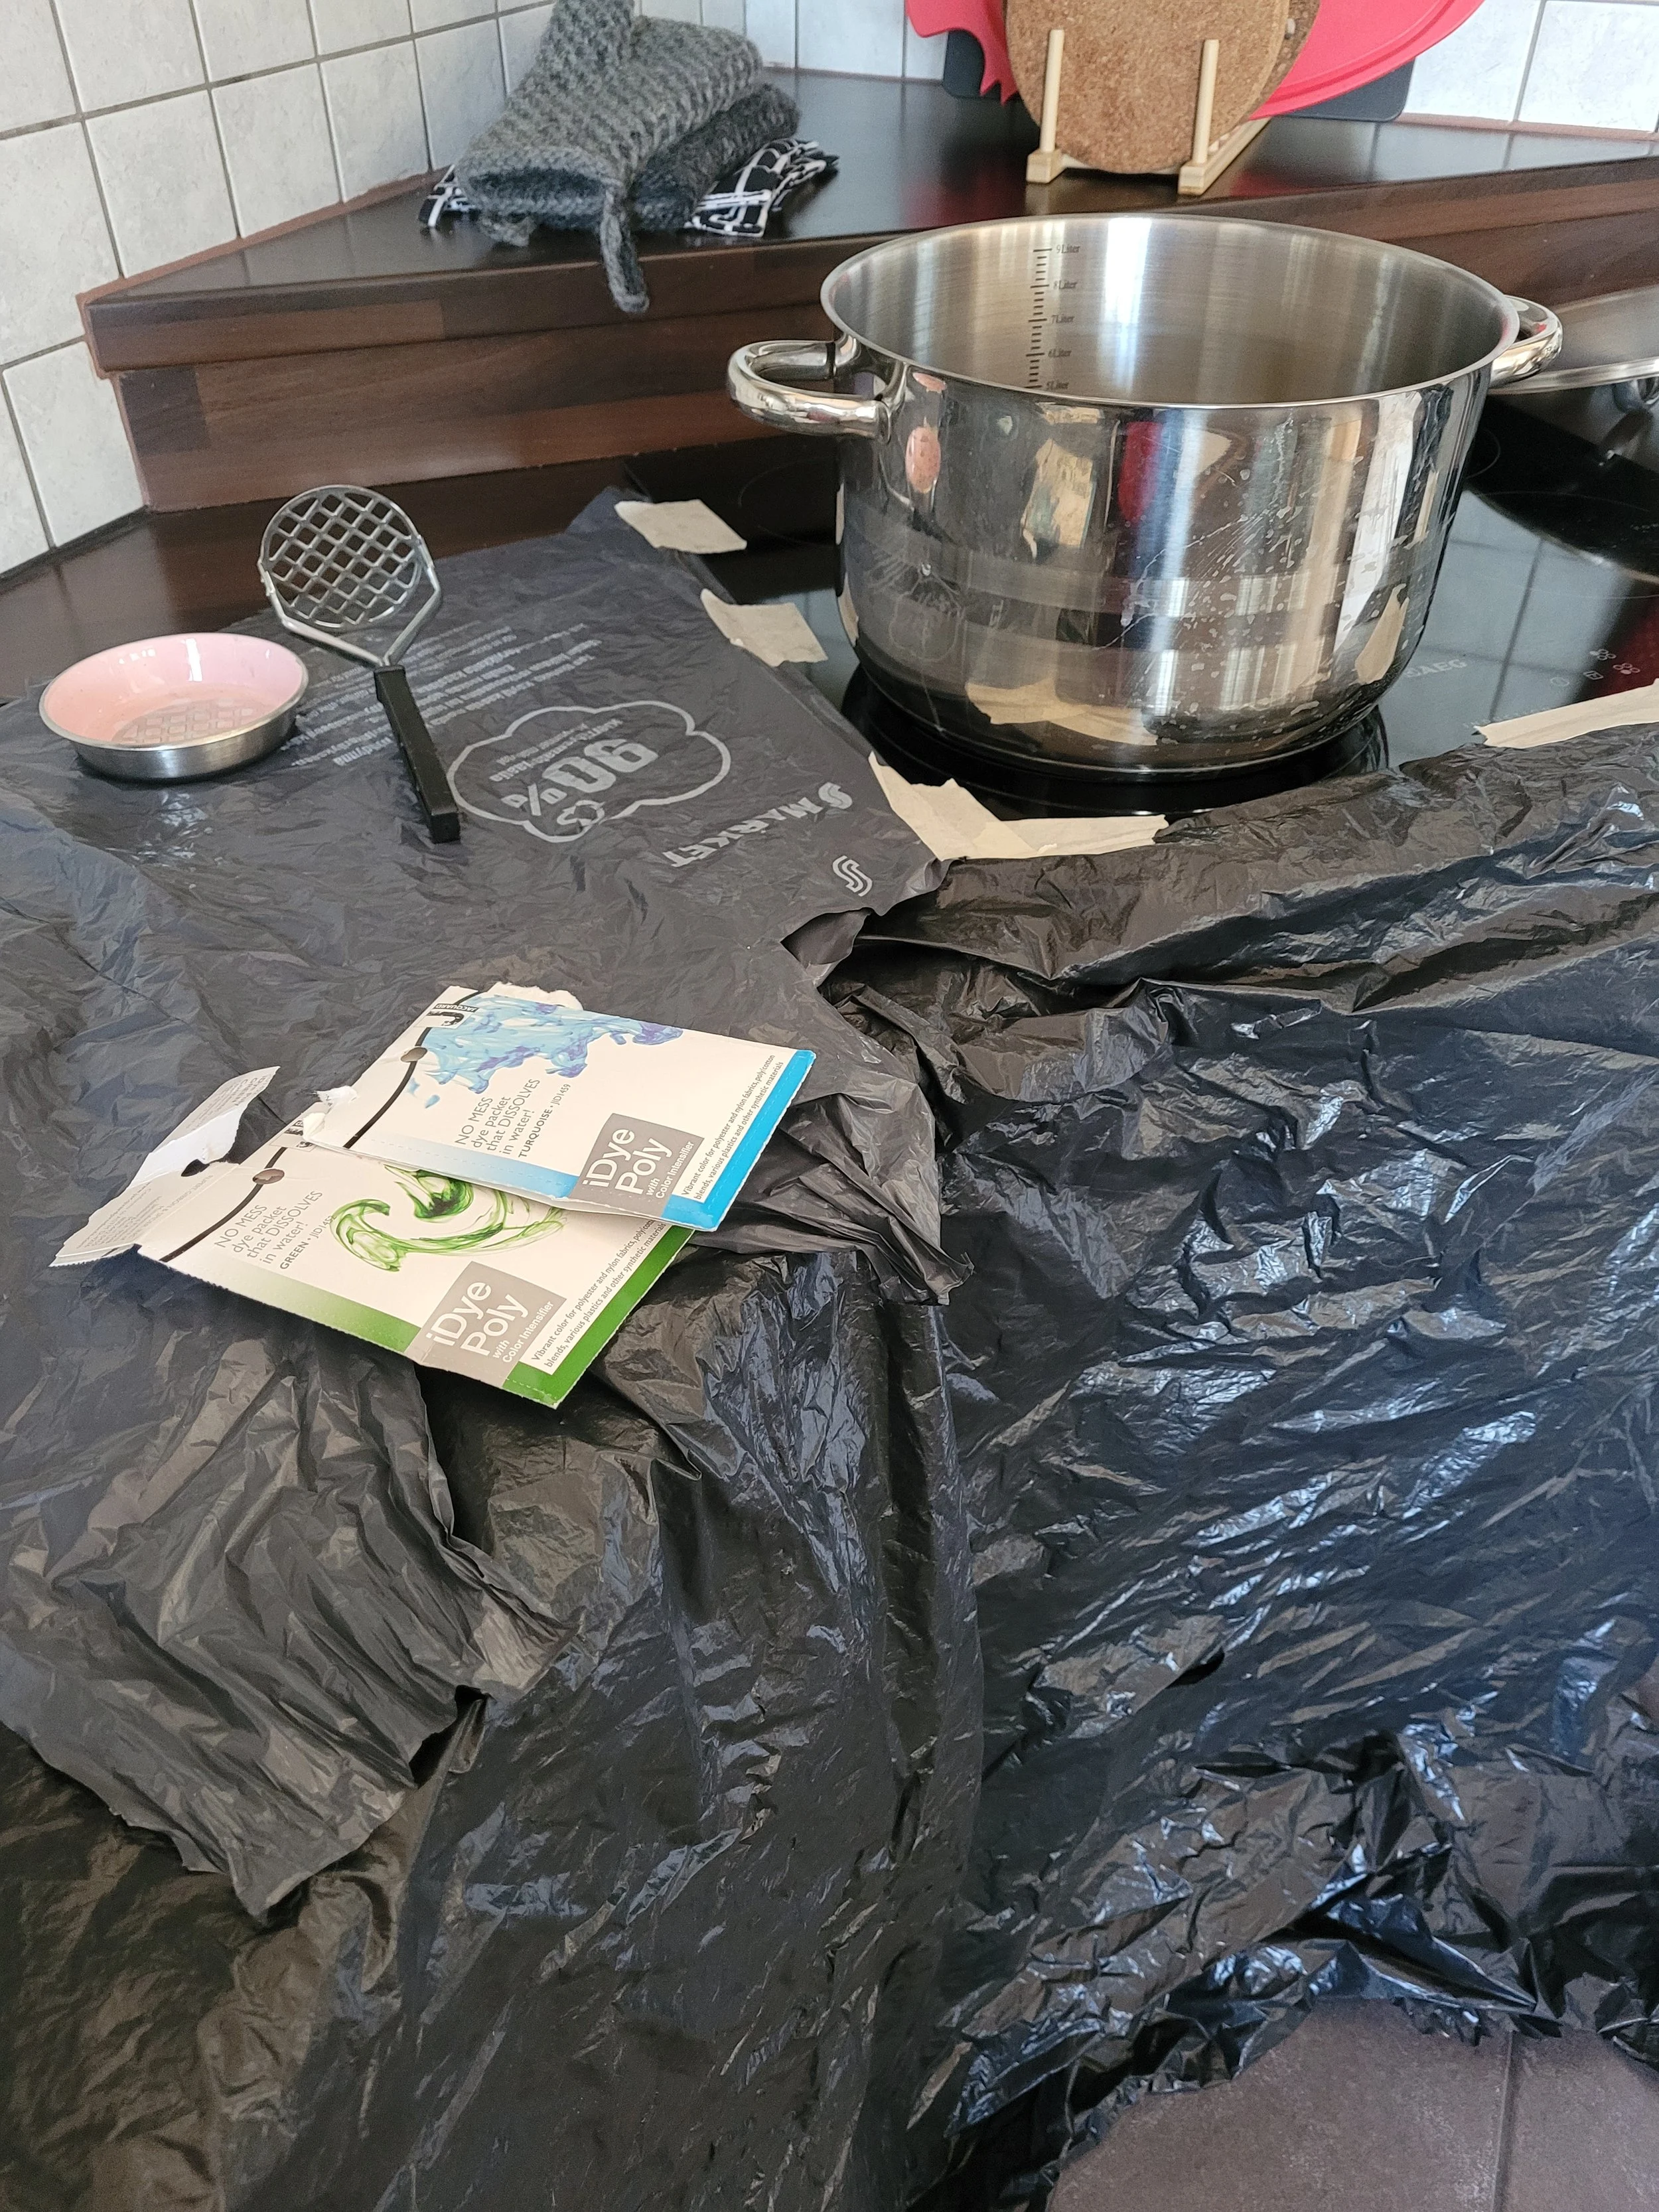
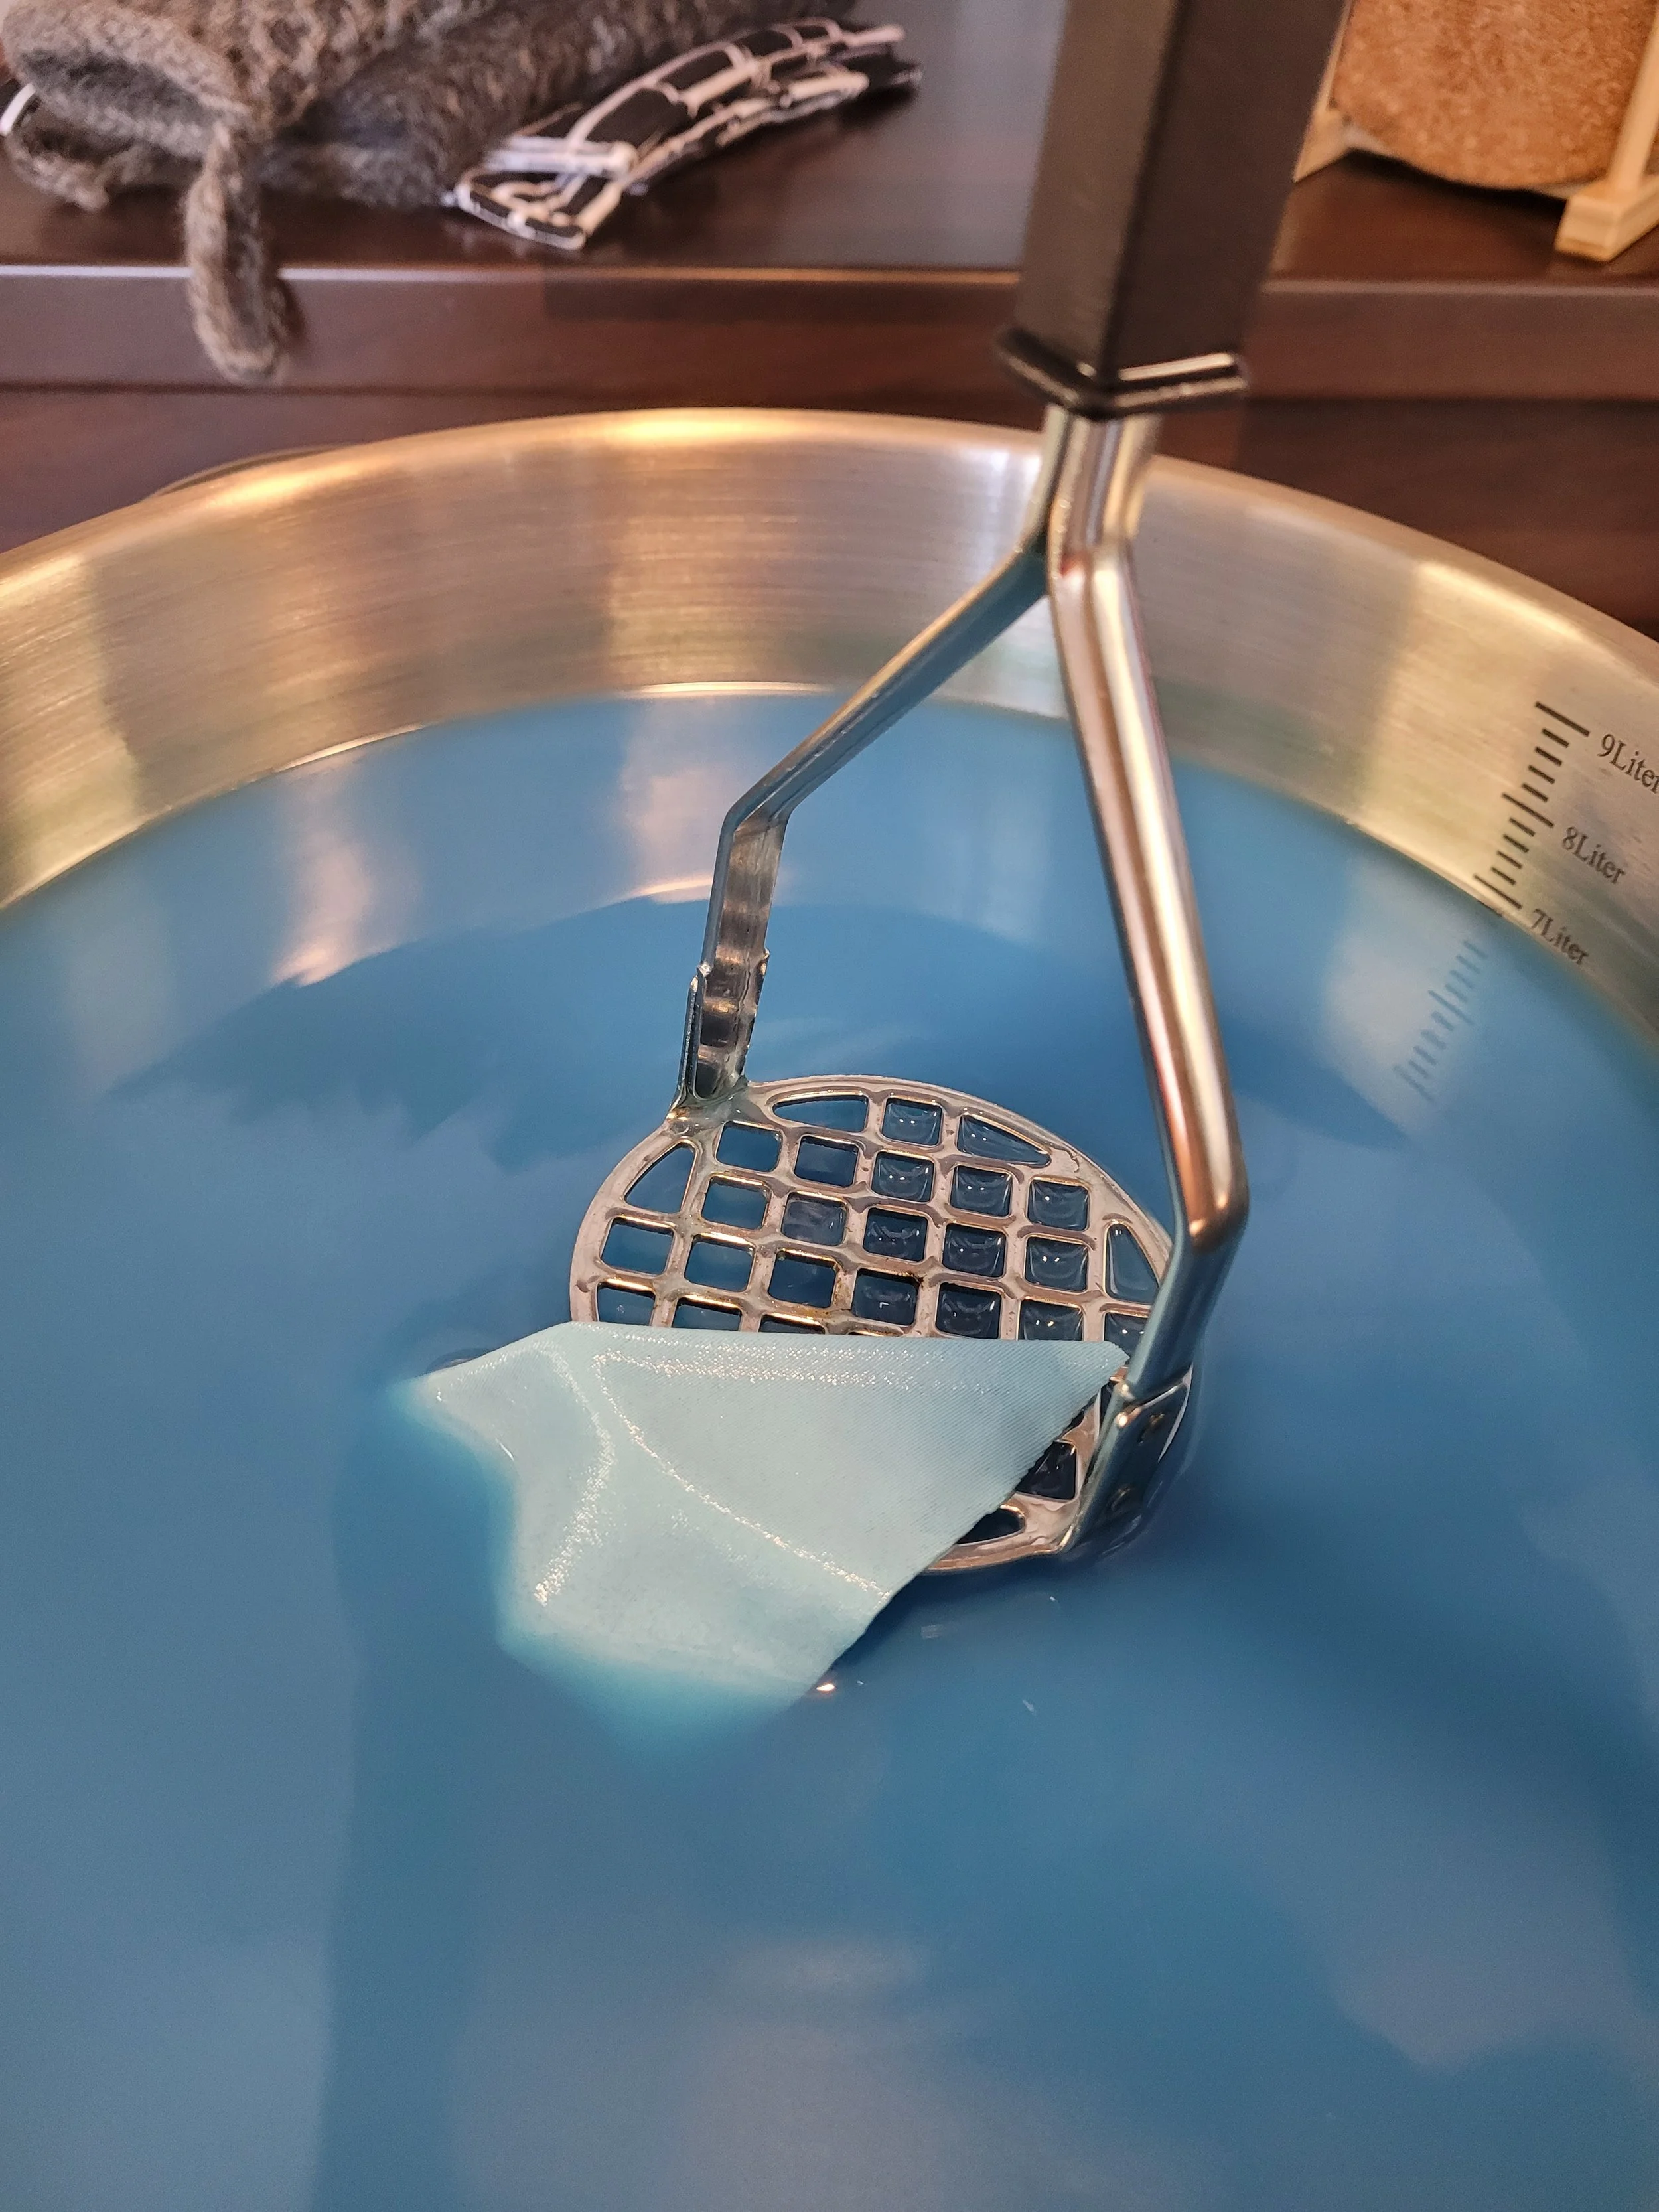
So I went and got the thickest white lycra I could find, and proceeded onto dyeing.
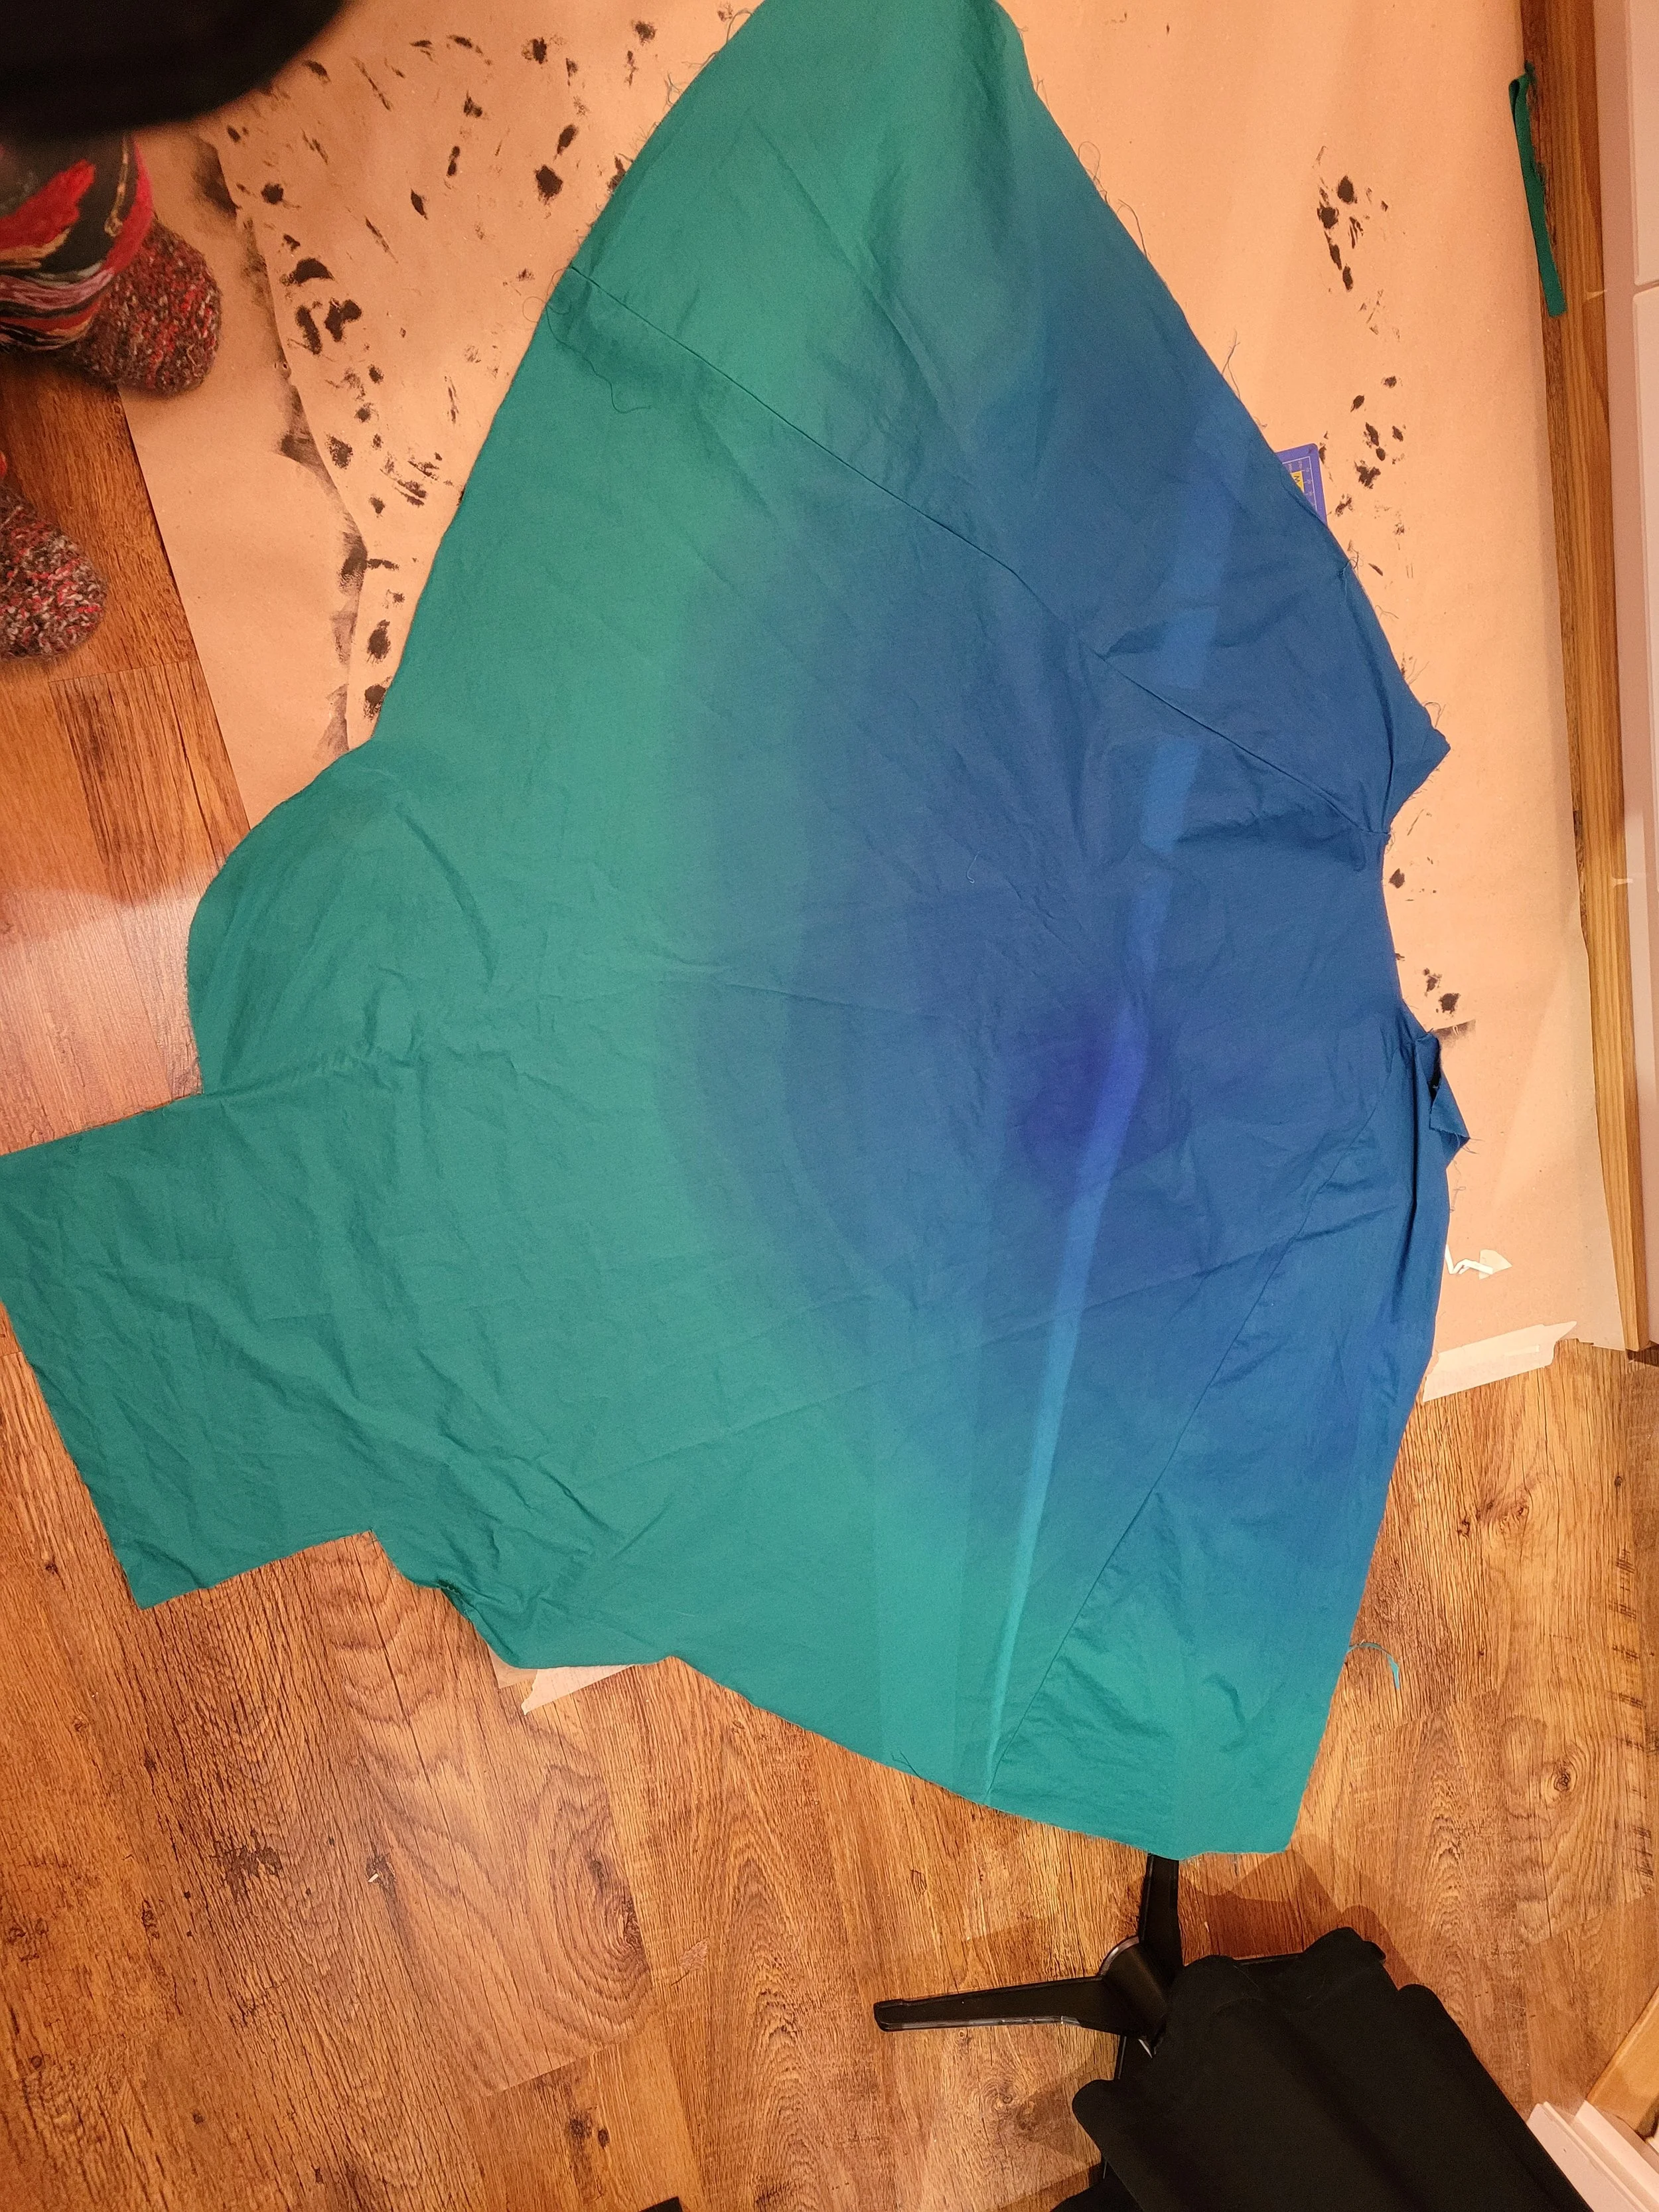
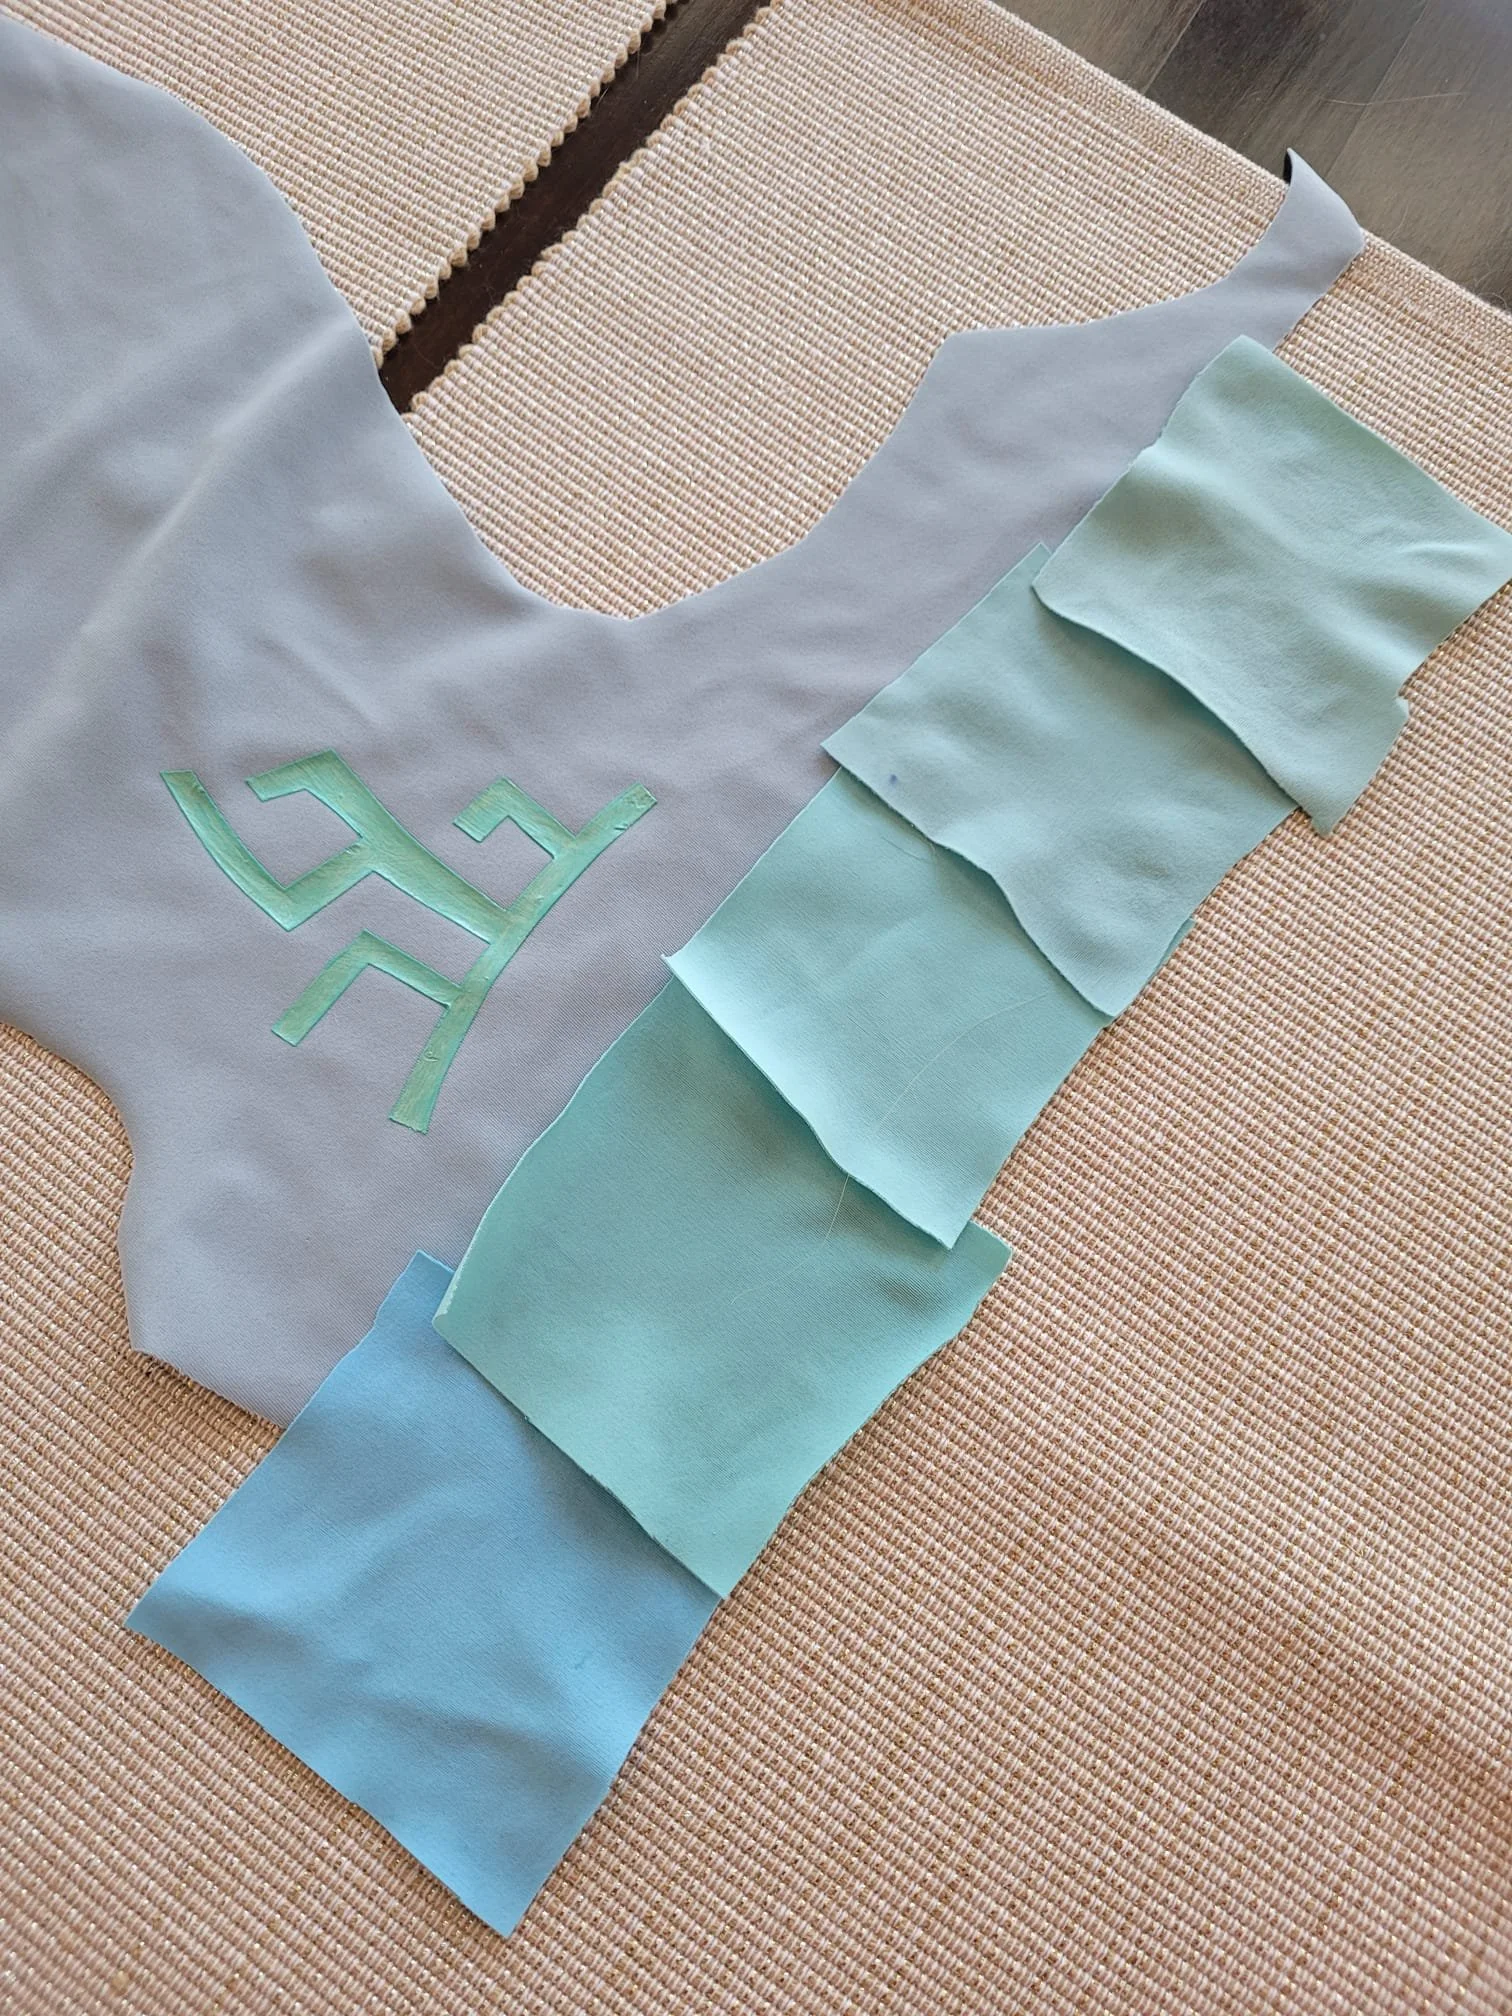
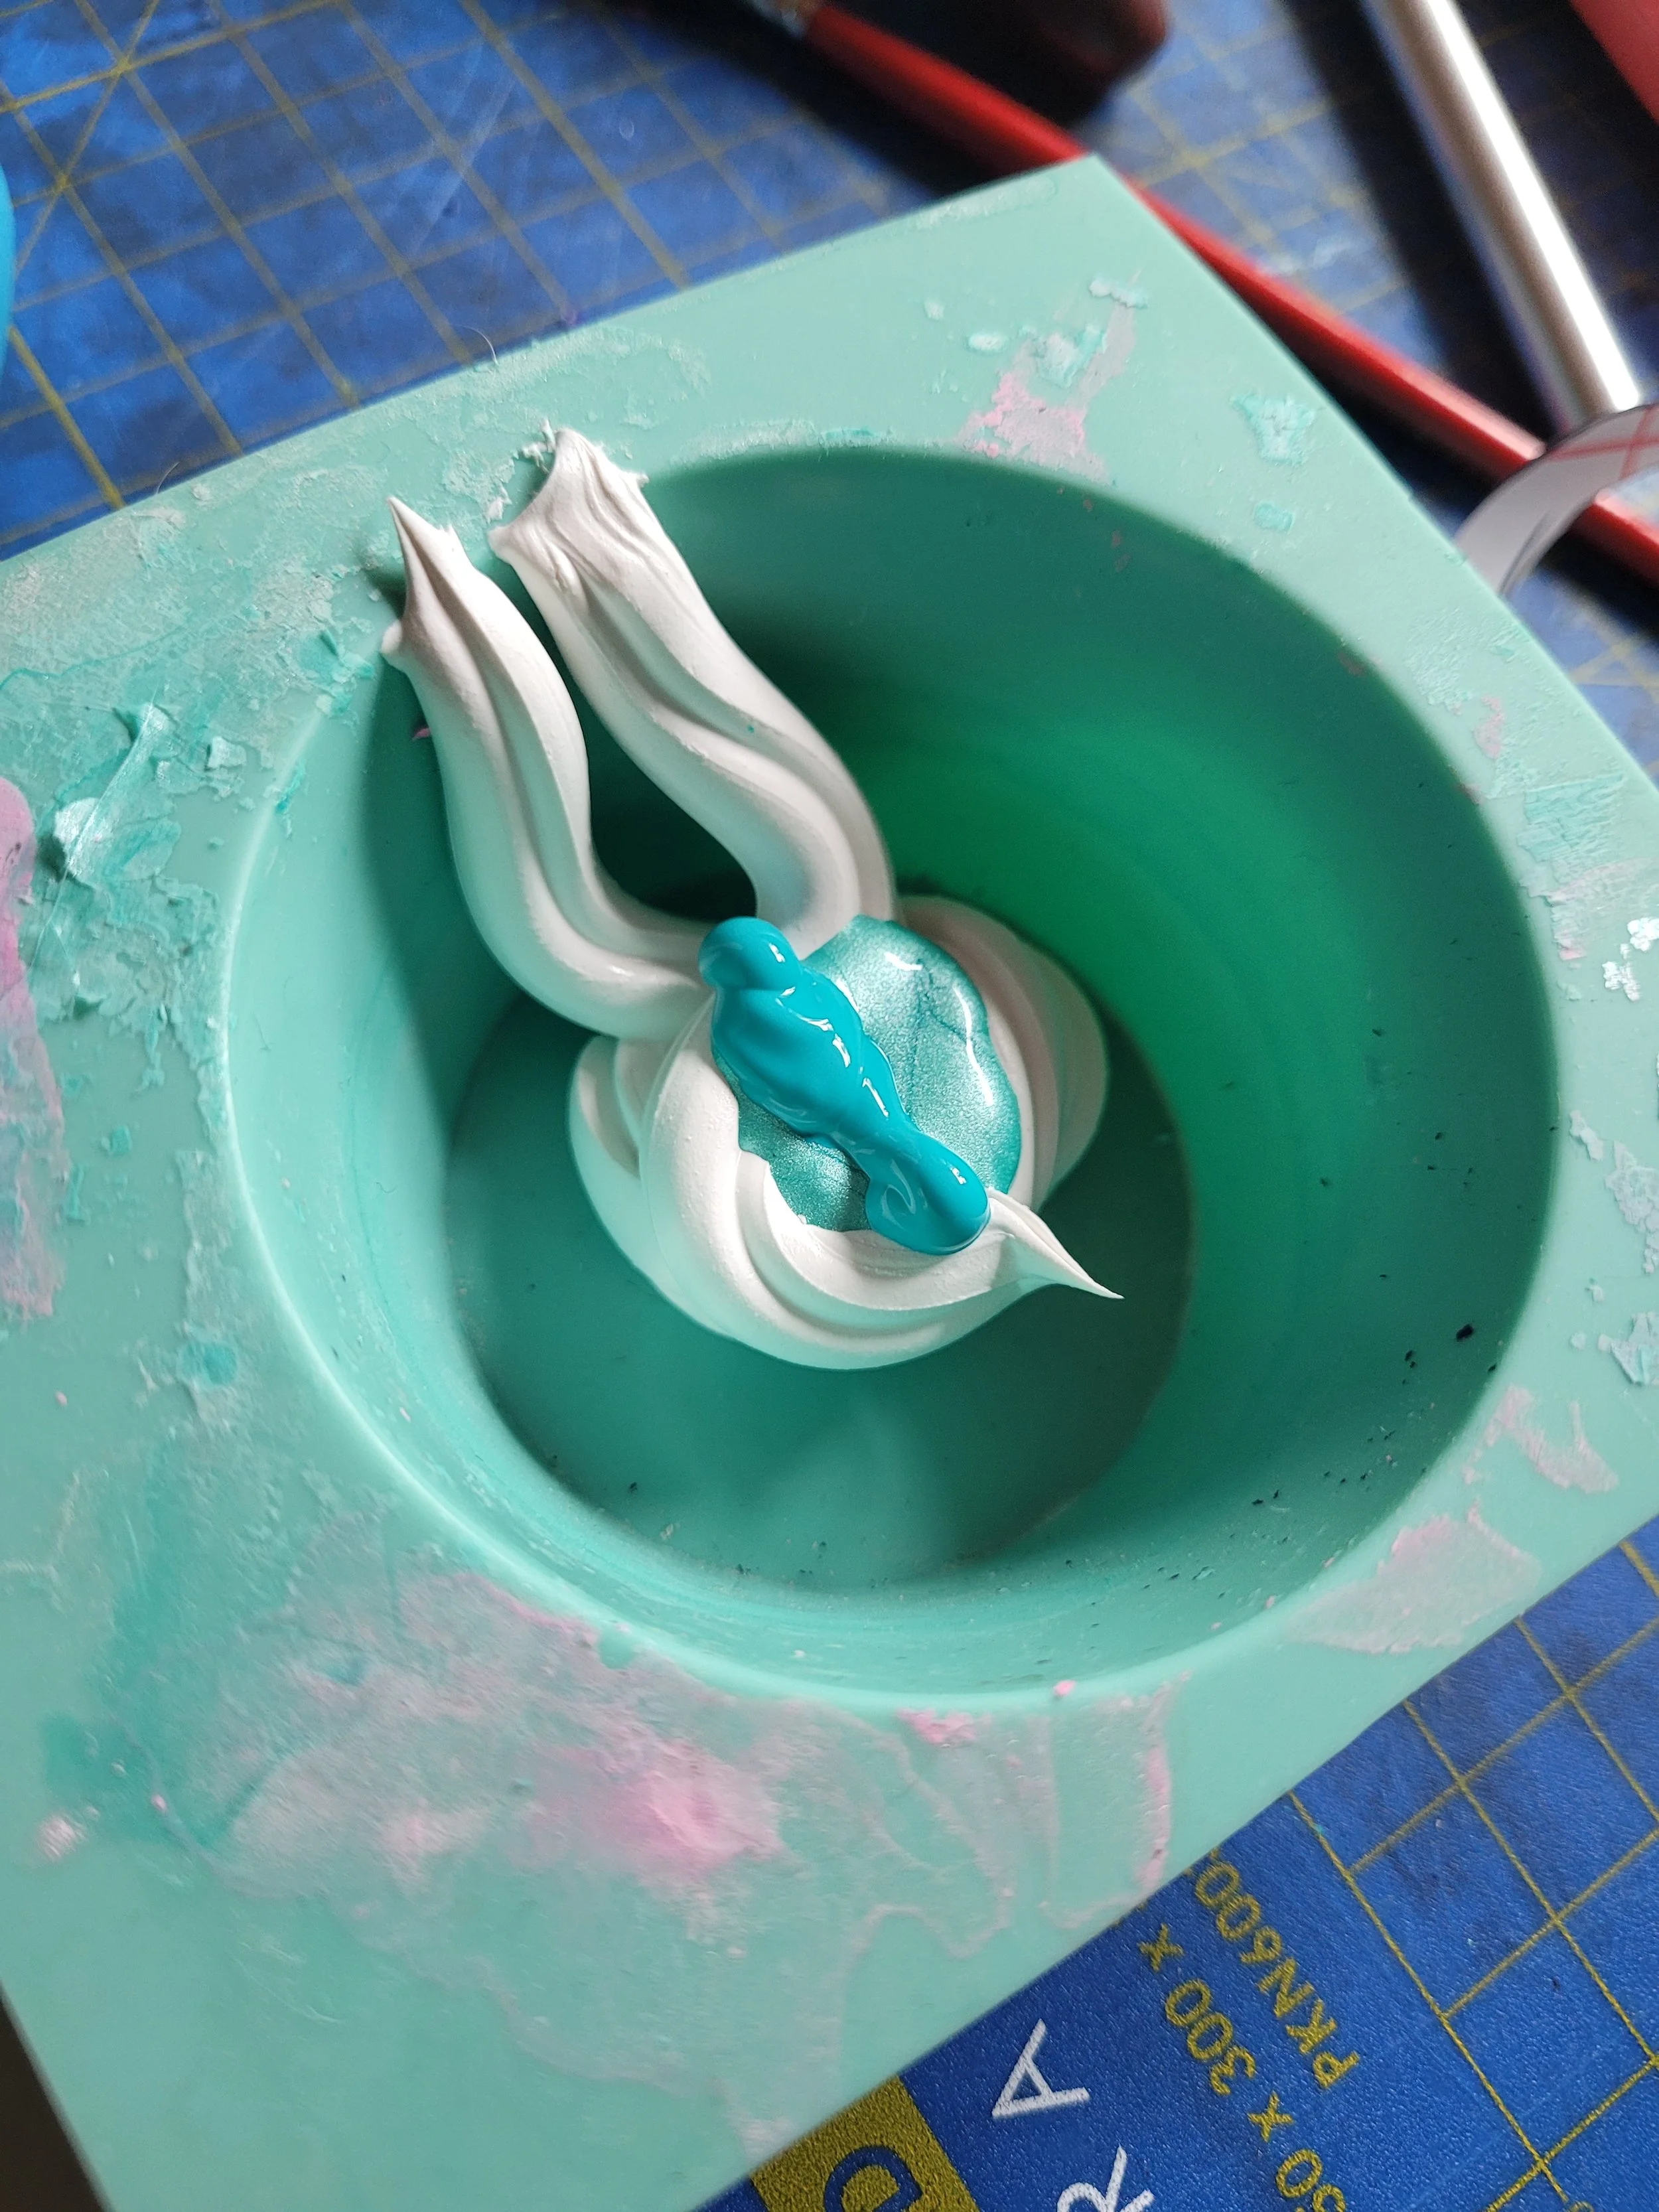
I used iDye poly in shades of turquoise and green. From previous trials I learned to not have the water boiling during dyeing. With previous fabric, the part that touched the boiling bottom got a very intense splotch of color on it… new fabric also got some variance thanks to being such a huge piece of fabric, but I managed to cut around it.
In the second last picture below you can see my original light grey fabric dyed, with a print test, next to the scraps I used to mix the new color. I’m 100% happy I redyed the fabric, as the new one matches the reference so well, and also looks good with the printed turquoise pieces. Also, I can probably use the failed skinsuit for some Jester version later, so nothing goes to waste.
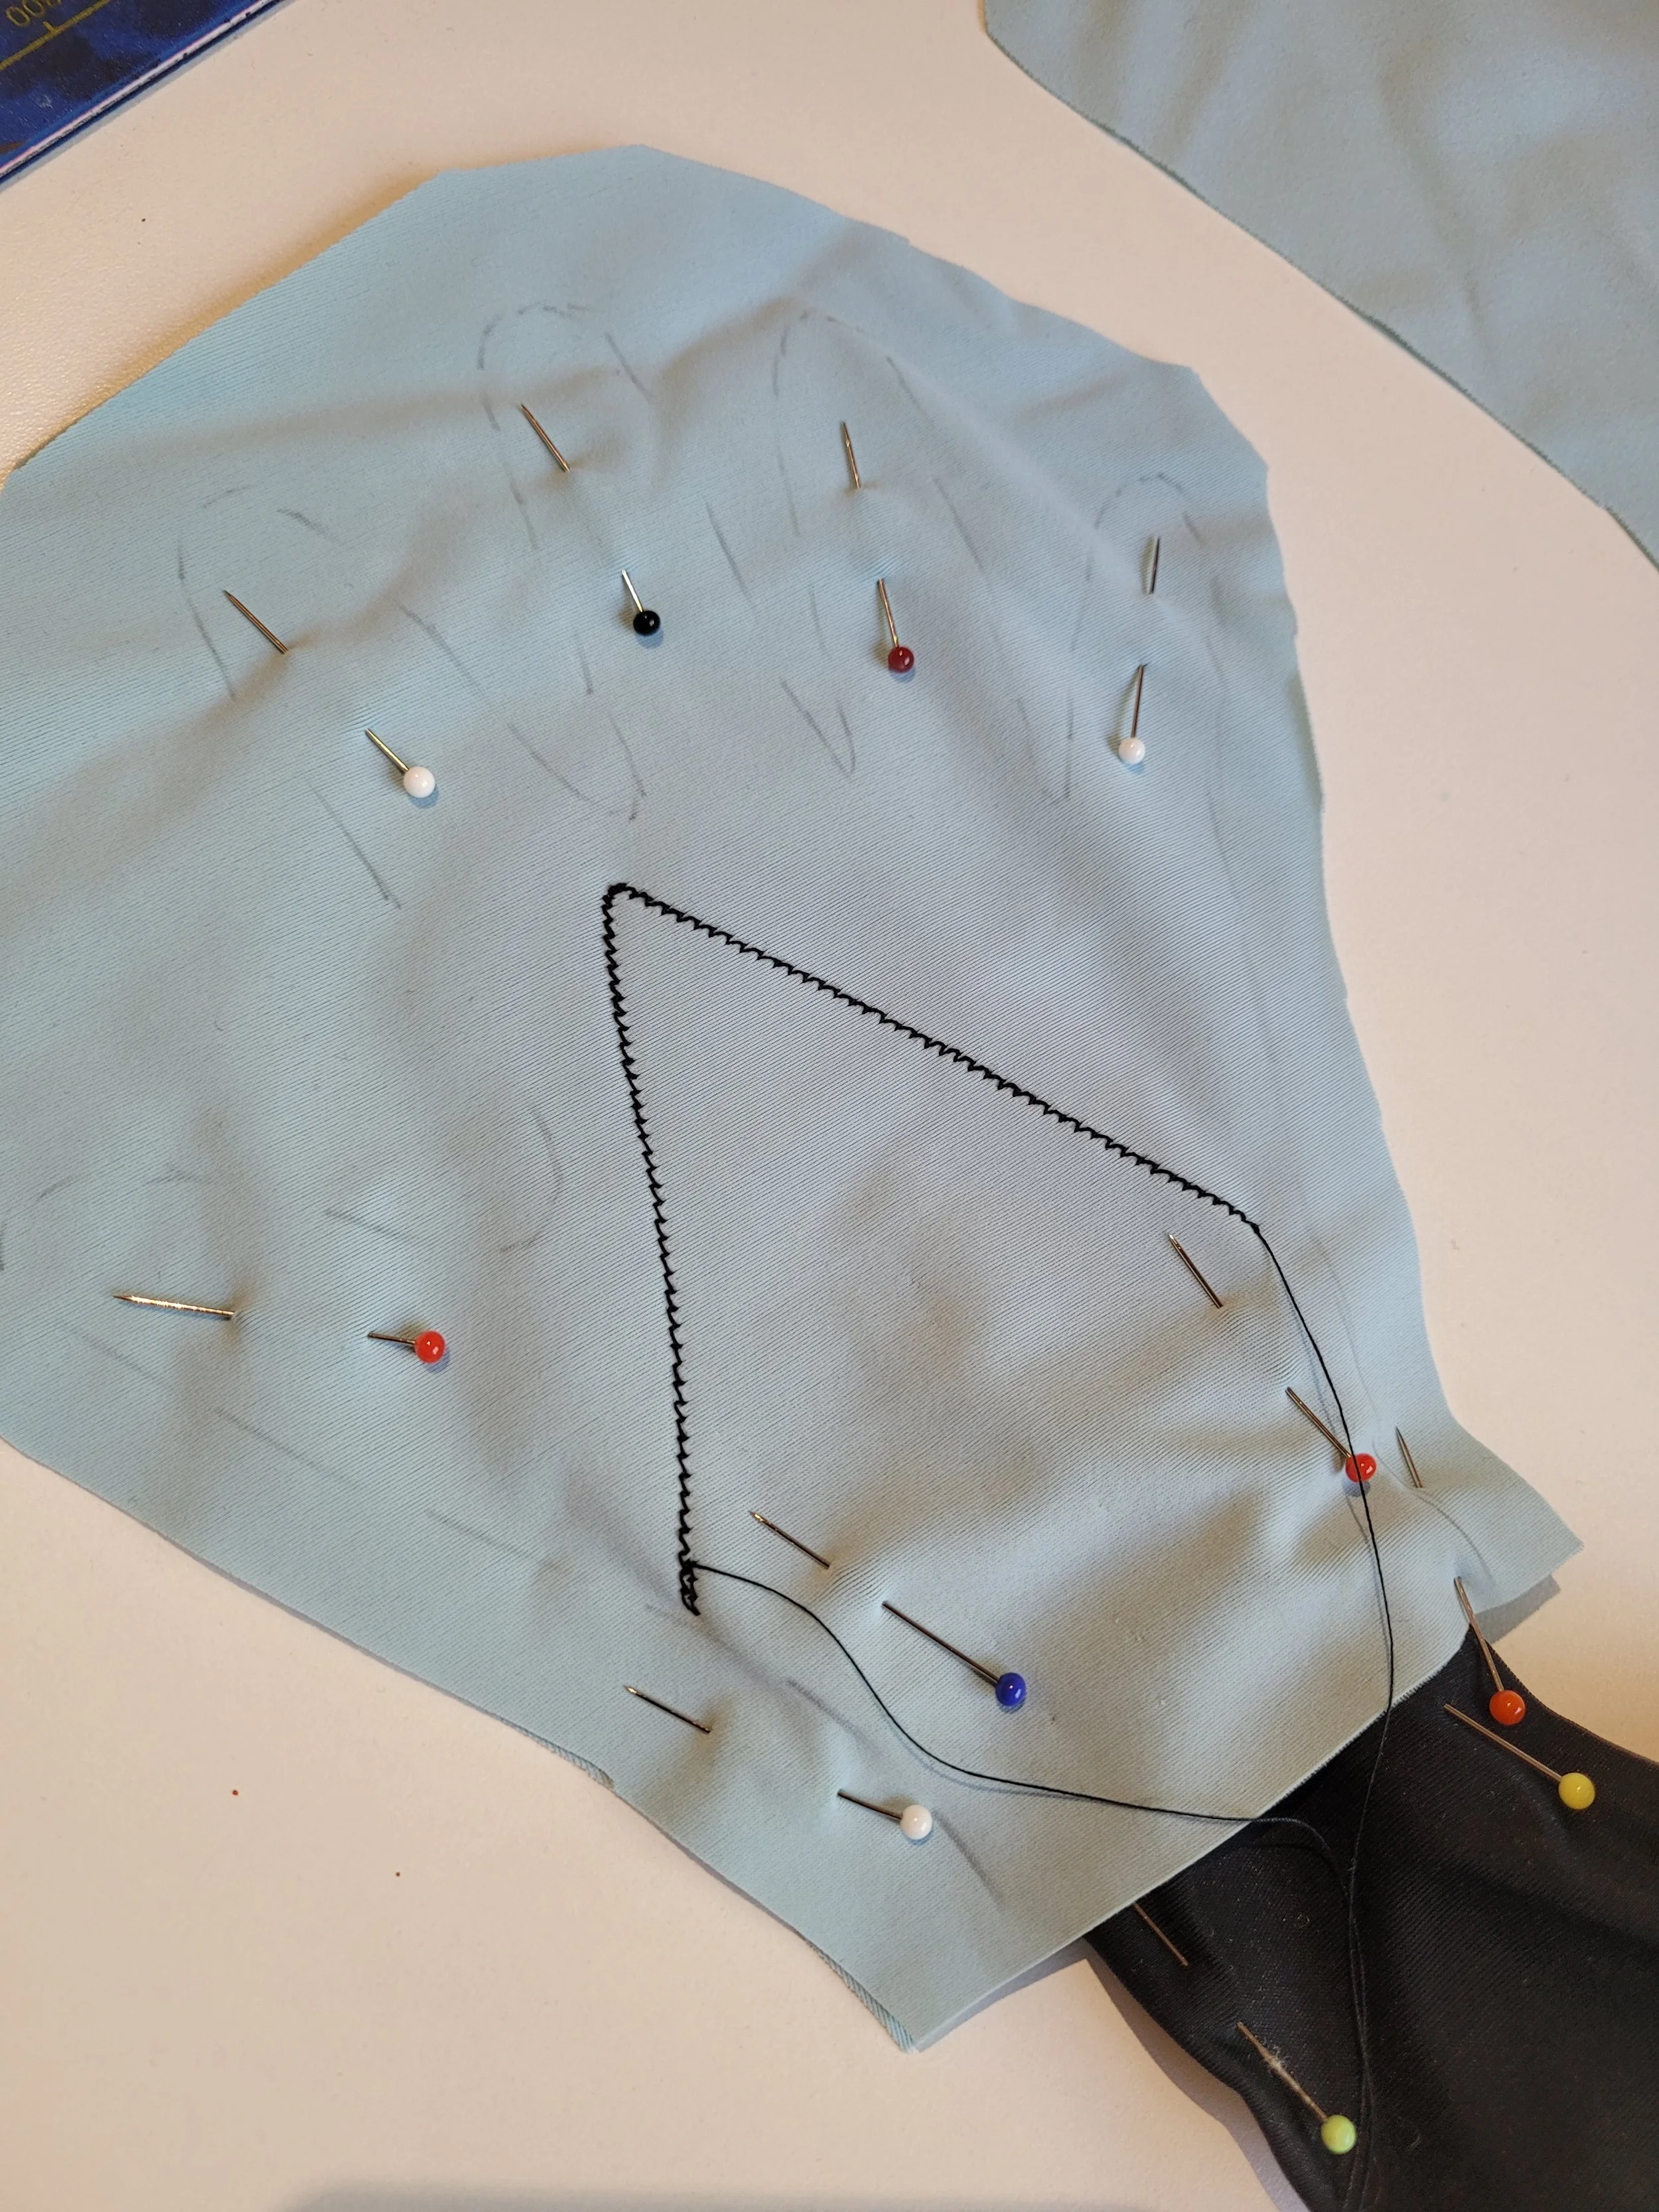
I sewed the zig-zaggy details on Midna’s ribs from separate pieces of black lycra by first attaching them on the blue fabric with temporary fabric spray glue, then stitched around the pattern and cut the excess off.
Body suit prints
Now we come to the part that has stressed me most, keeps stressing me and I wish I could do third time over to get a neater result.
Aka making stretchy paint for lycra. I tried to follow a tutorial by Spandex Simplified, but the product she uses isn’t available in Finland. Sooooo I did so many tests. I tried different acrylic chaulks, some glues… In her tutorial she prefers transparent caulk, but everything transparent in Finland was silicone based and that is a no-no. I tried, it was a mess.
I ended up first using normal acrylic chaulk, and mixed it with turquoise acrylic color. I made tests, stretched the test scraps and thought it would be good. Printed the designs on the body suit…. try it on… everything starts cracking. I had to scrap the first ‘final’ bodysuit and start anew. The search for stretchy material continues. (To be fair, the first bodysuit also had structural problem as my new white lycra stretched less, so I would’ve probably had to sew it again anyway).
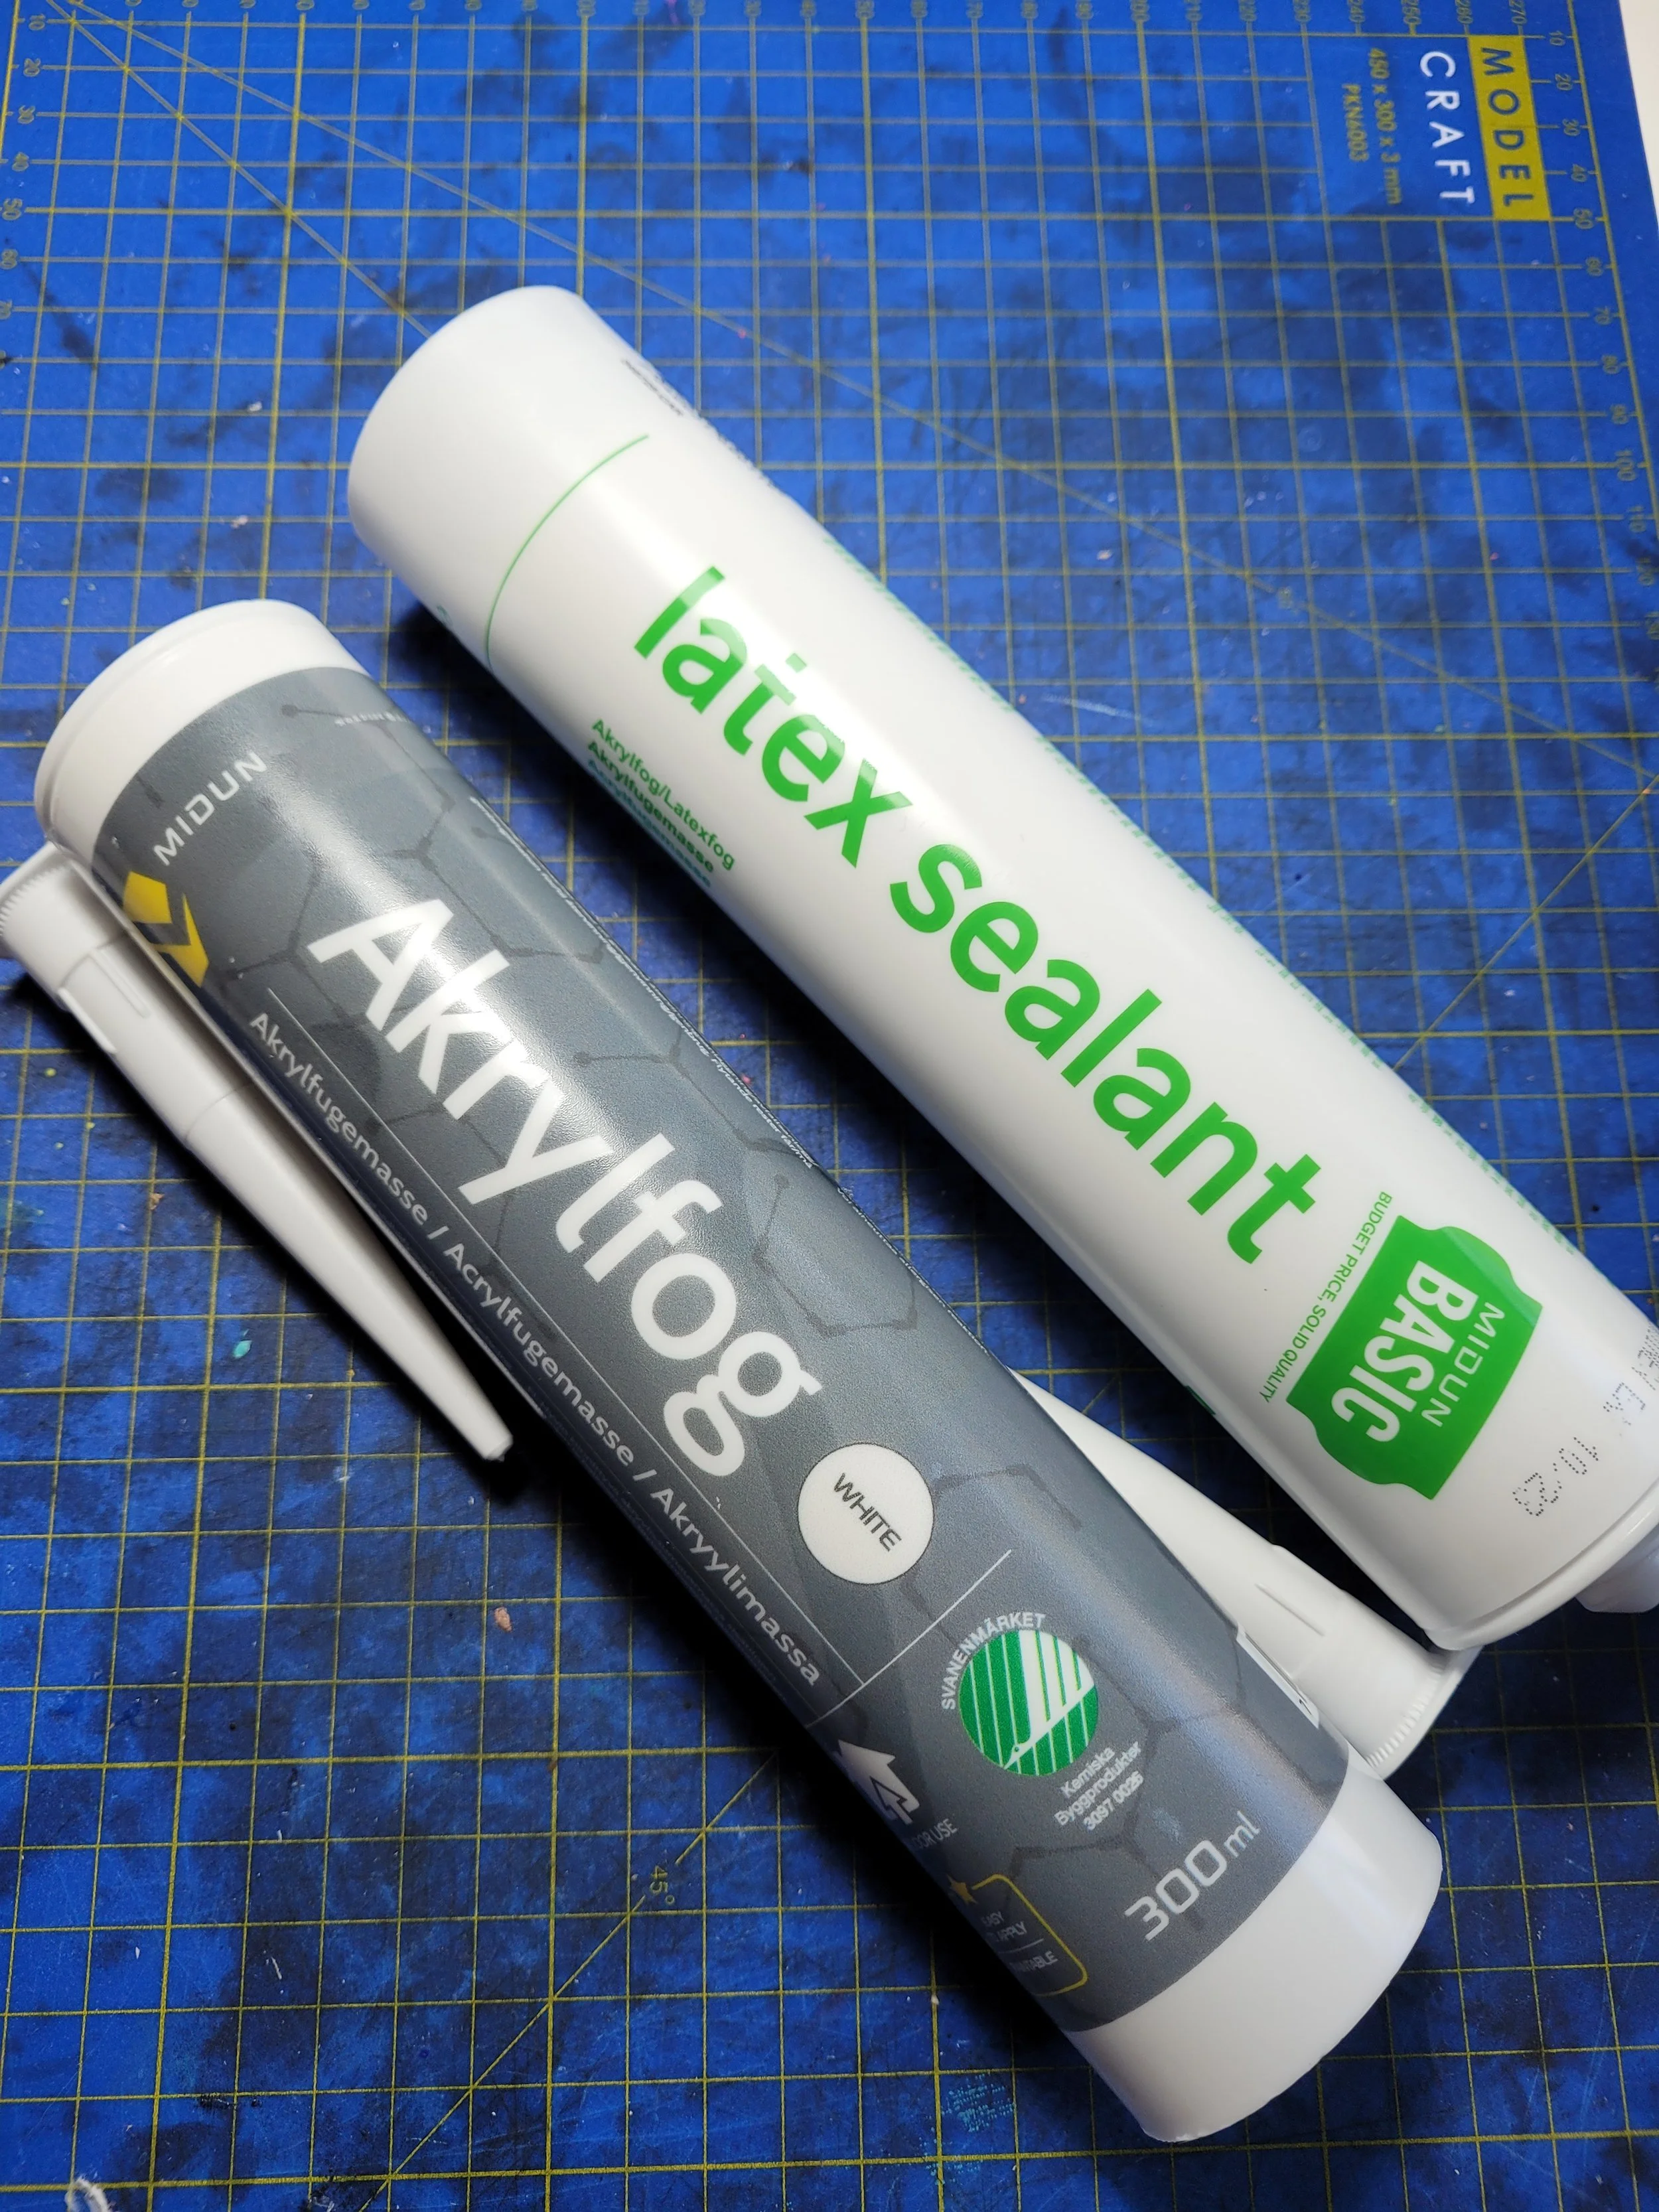
In the end I did some more digging on the ingredient list of the magic stuff used by Spandex Simplified and I noticed that it listed latex as a material. Aha! In Finland, it seemed that there are few acrylic caulks available that have perhaps latex in them. And the joy I felt when the print tests using one of those worked, the print stayed on the lycra and it actually stretched. The stuff I used was the caulk on the bottom of the image, Midun Akrylfog, available at least from Byggmax here in Finland.
The recipe for the paint was around 2/3 paste, 1/3 color. I didn’t test other rations and I intended to paint over it with the pearly paint anyway.
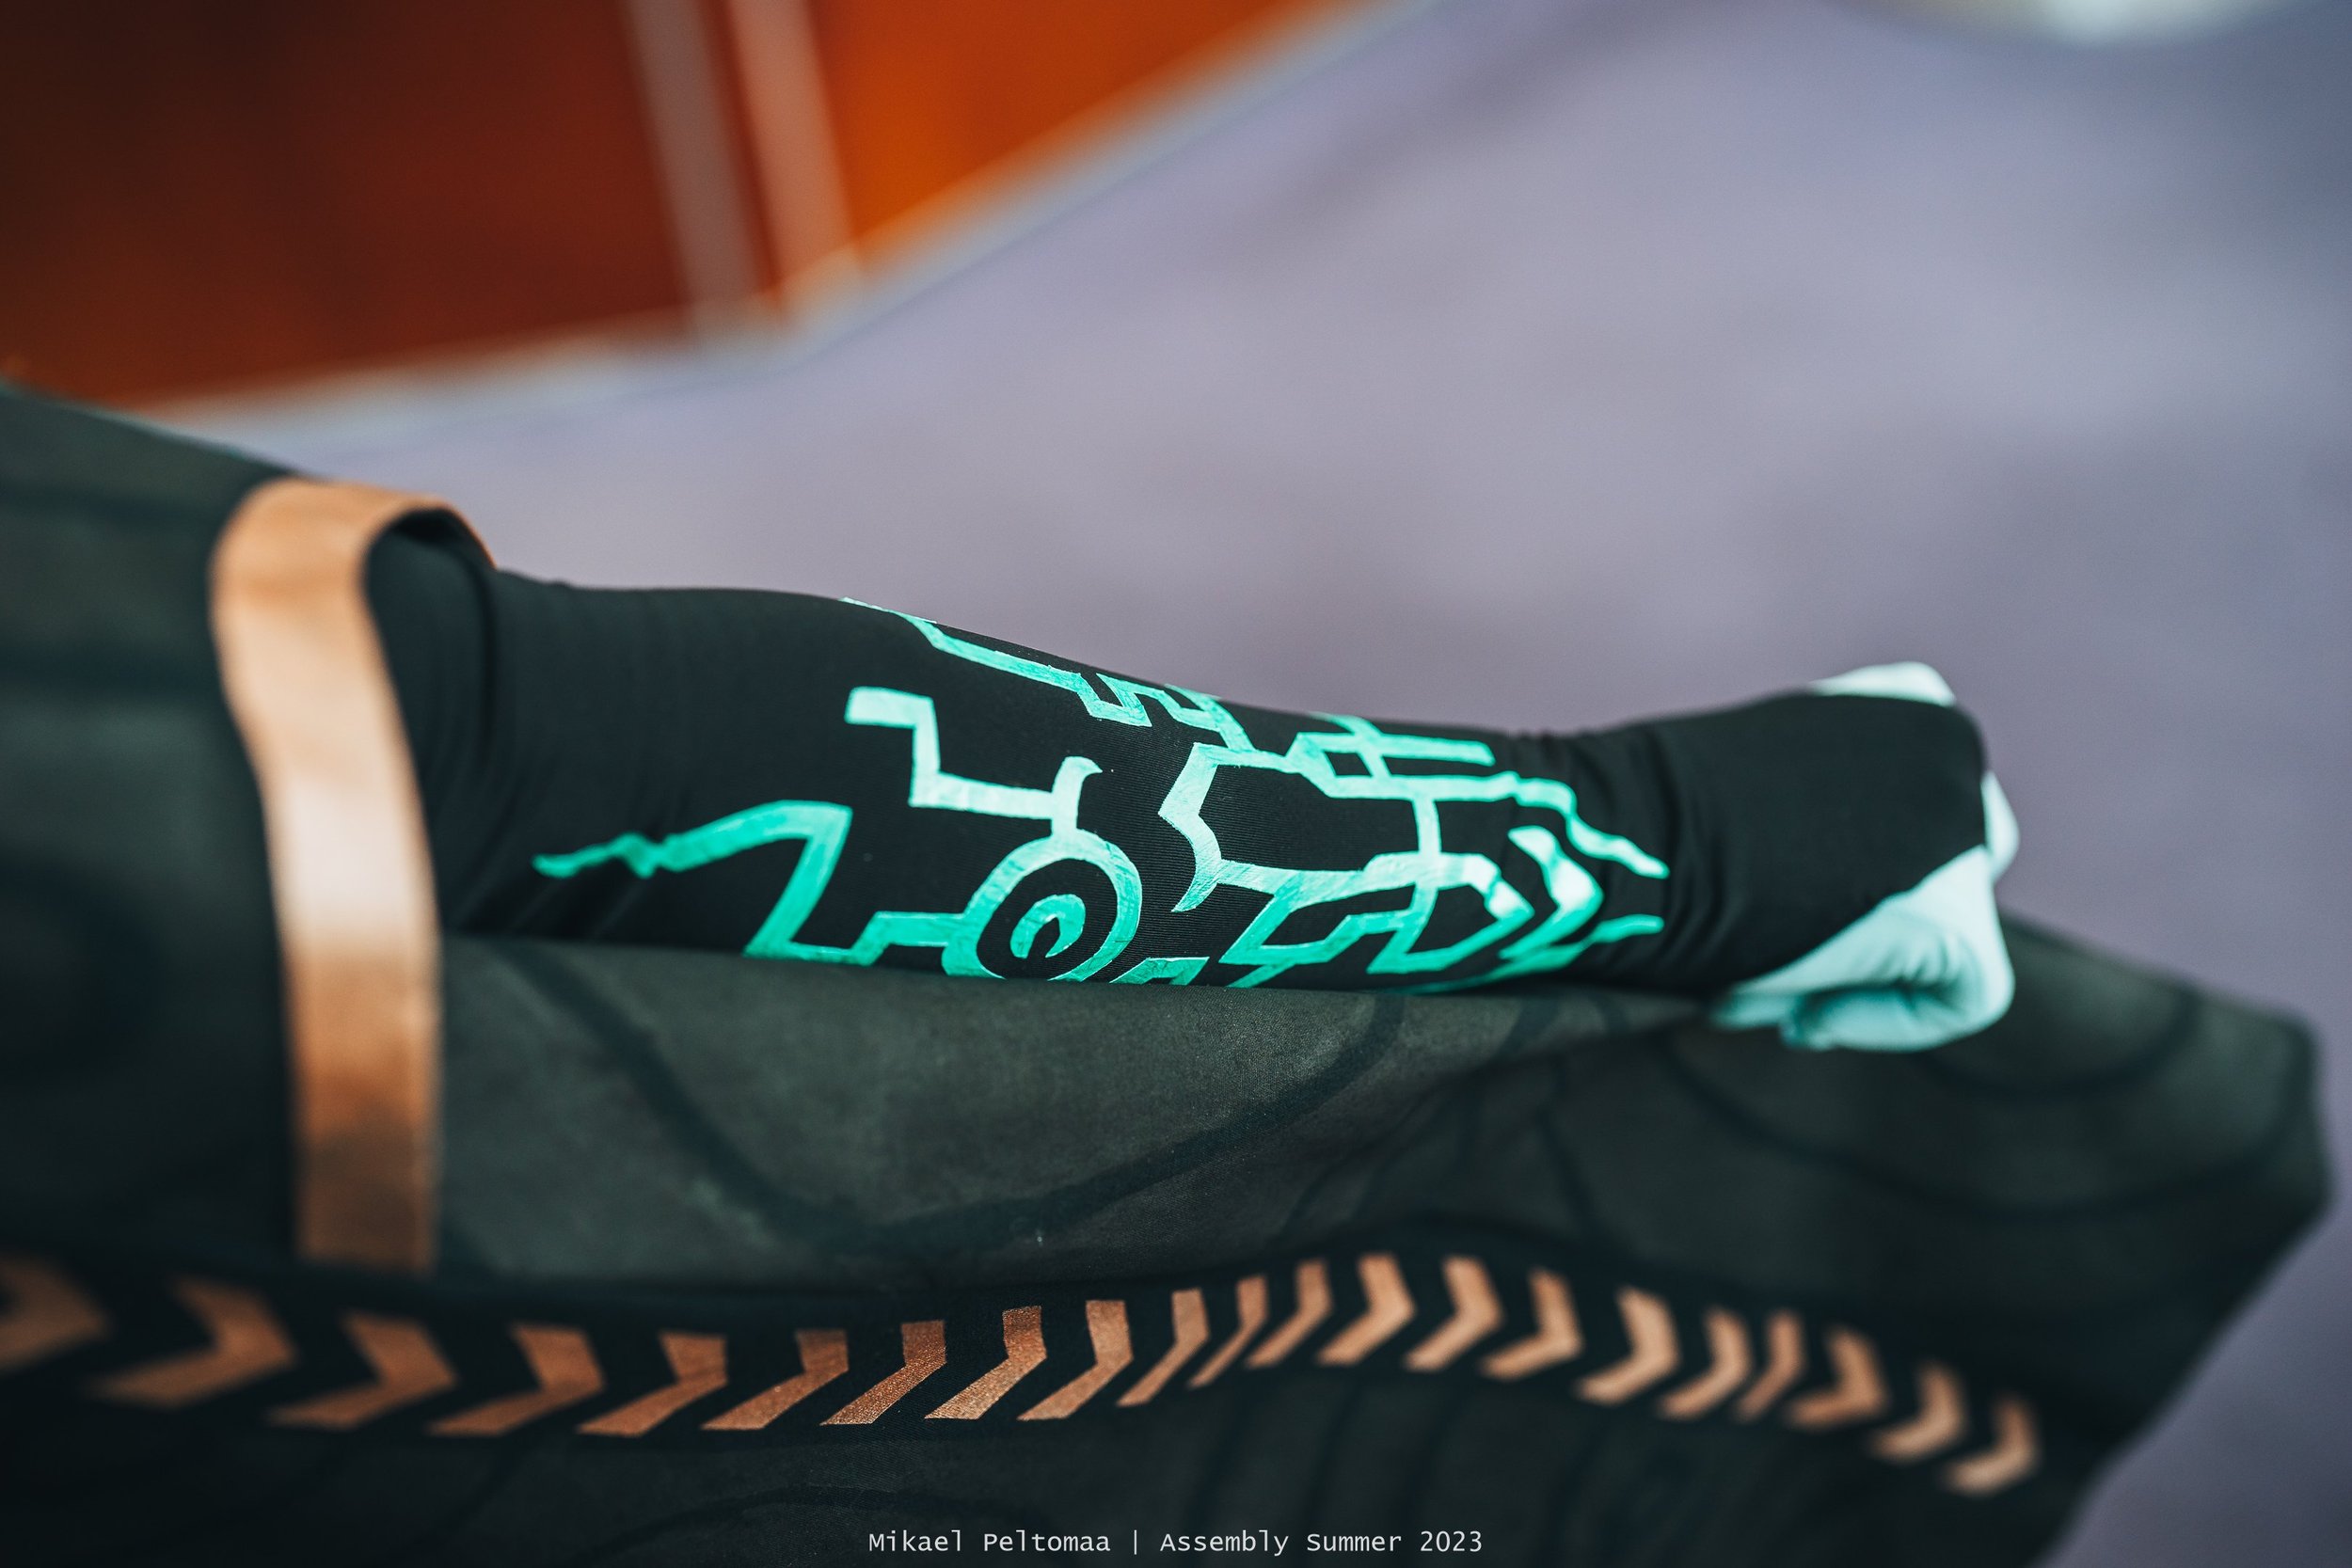
The designs for the thigh I drew from the Hyrule Warriors reference, pattern on the arms was traced from 3d model’s textures. Arm patterns I printed in thrtee parts as they were so complex and the paint isn’t easiest to handle.
A TIP: If you want to try this method for stretchy prints, apply the paint with some flat object which can cover a large surface. The paint needs to be thick enough layer so that the fabric texture doesn’t show through, but not so thick that it will leave ugly edges when you remove the stencil. Trial and error, I didn’t get these neat enough until the very last part. But so far I can say that they endured the competition day quite well, even if the suit is very, very tight. (2026 Addition: And have also been worn thrice since then, only minor cracking appearing on places under most stress.)
After printing, I painted the designs with turquoise pearl paint and they shiny so nice, just like in the reference!
With acrylics I airbrushed on the navel and some details to toes, but I might touch those up before next convention. I was afraid to mess it up so only did bare minimum before the competition.
Rest of funny bits
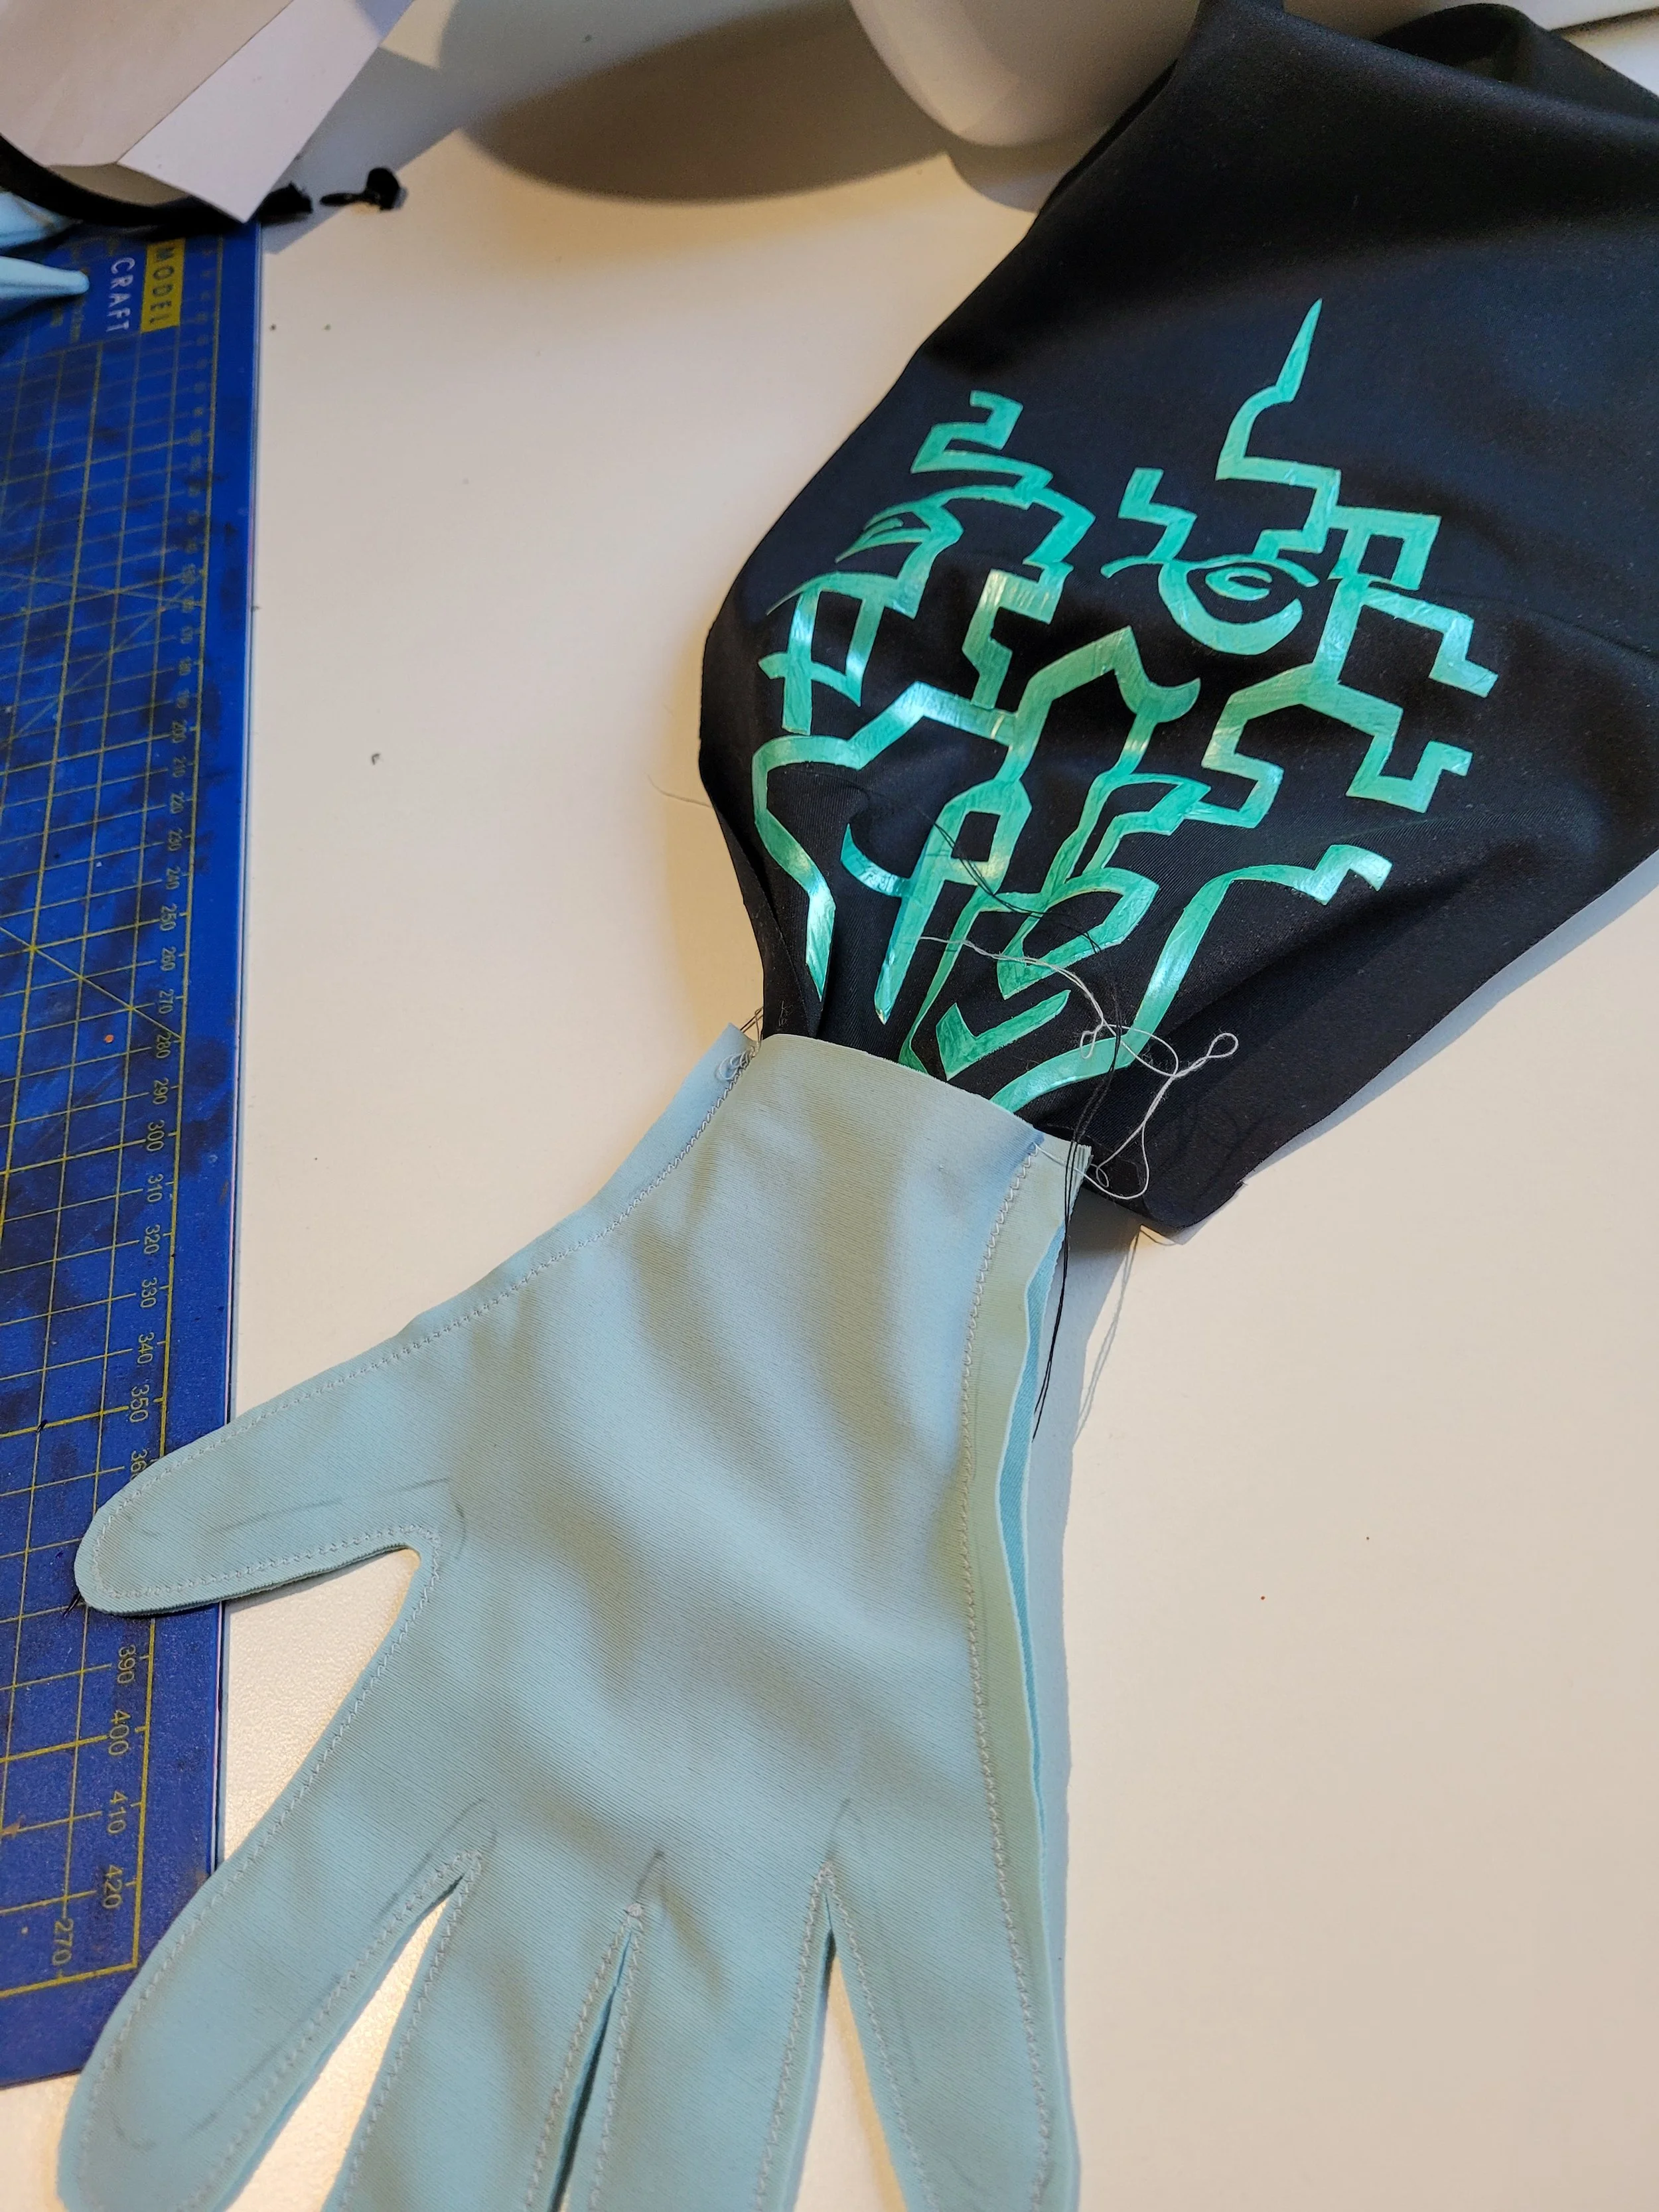
The arms and hands of the suit are made from two pieces, which I both top-stitched on and on underside of the palm, the black part connects to the ‘glove’ with a snap. Forearms have a zipper, but since the gloves are so tight, they only really help when putting the costume on.
Has anyone realized yet that one can’t go to bathroom without taking most of this costume off…
Photo by Mikael Peltomaa.
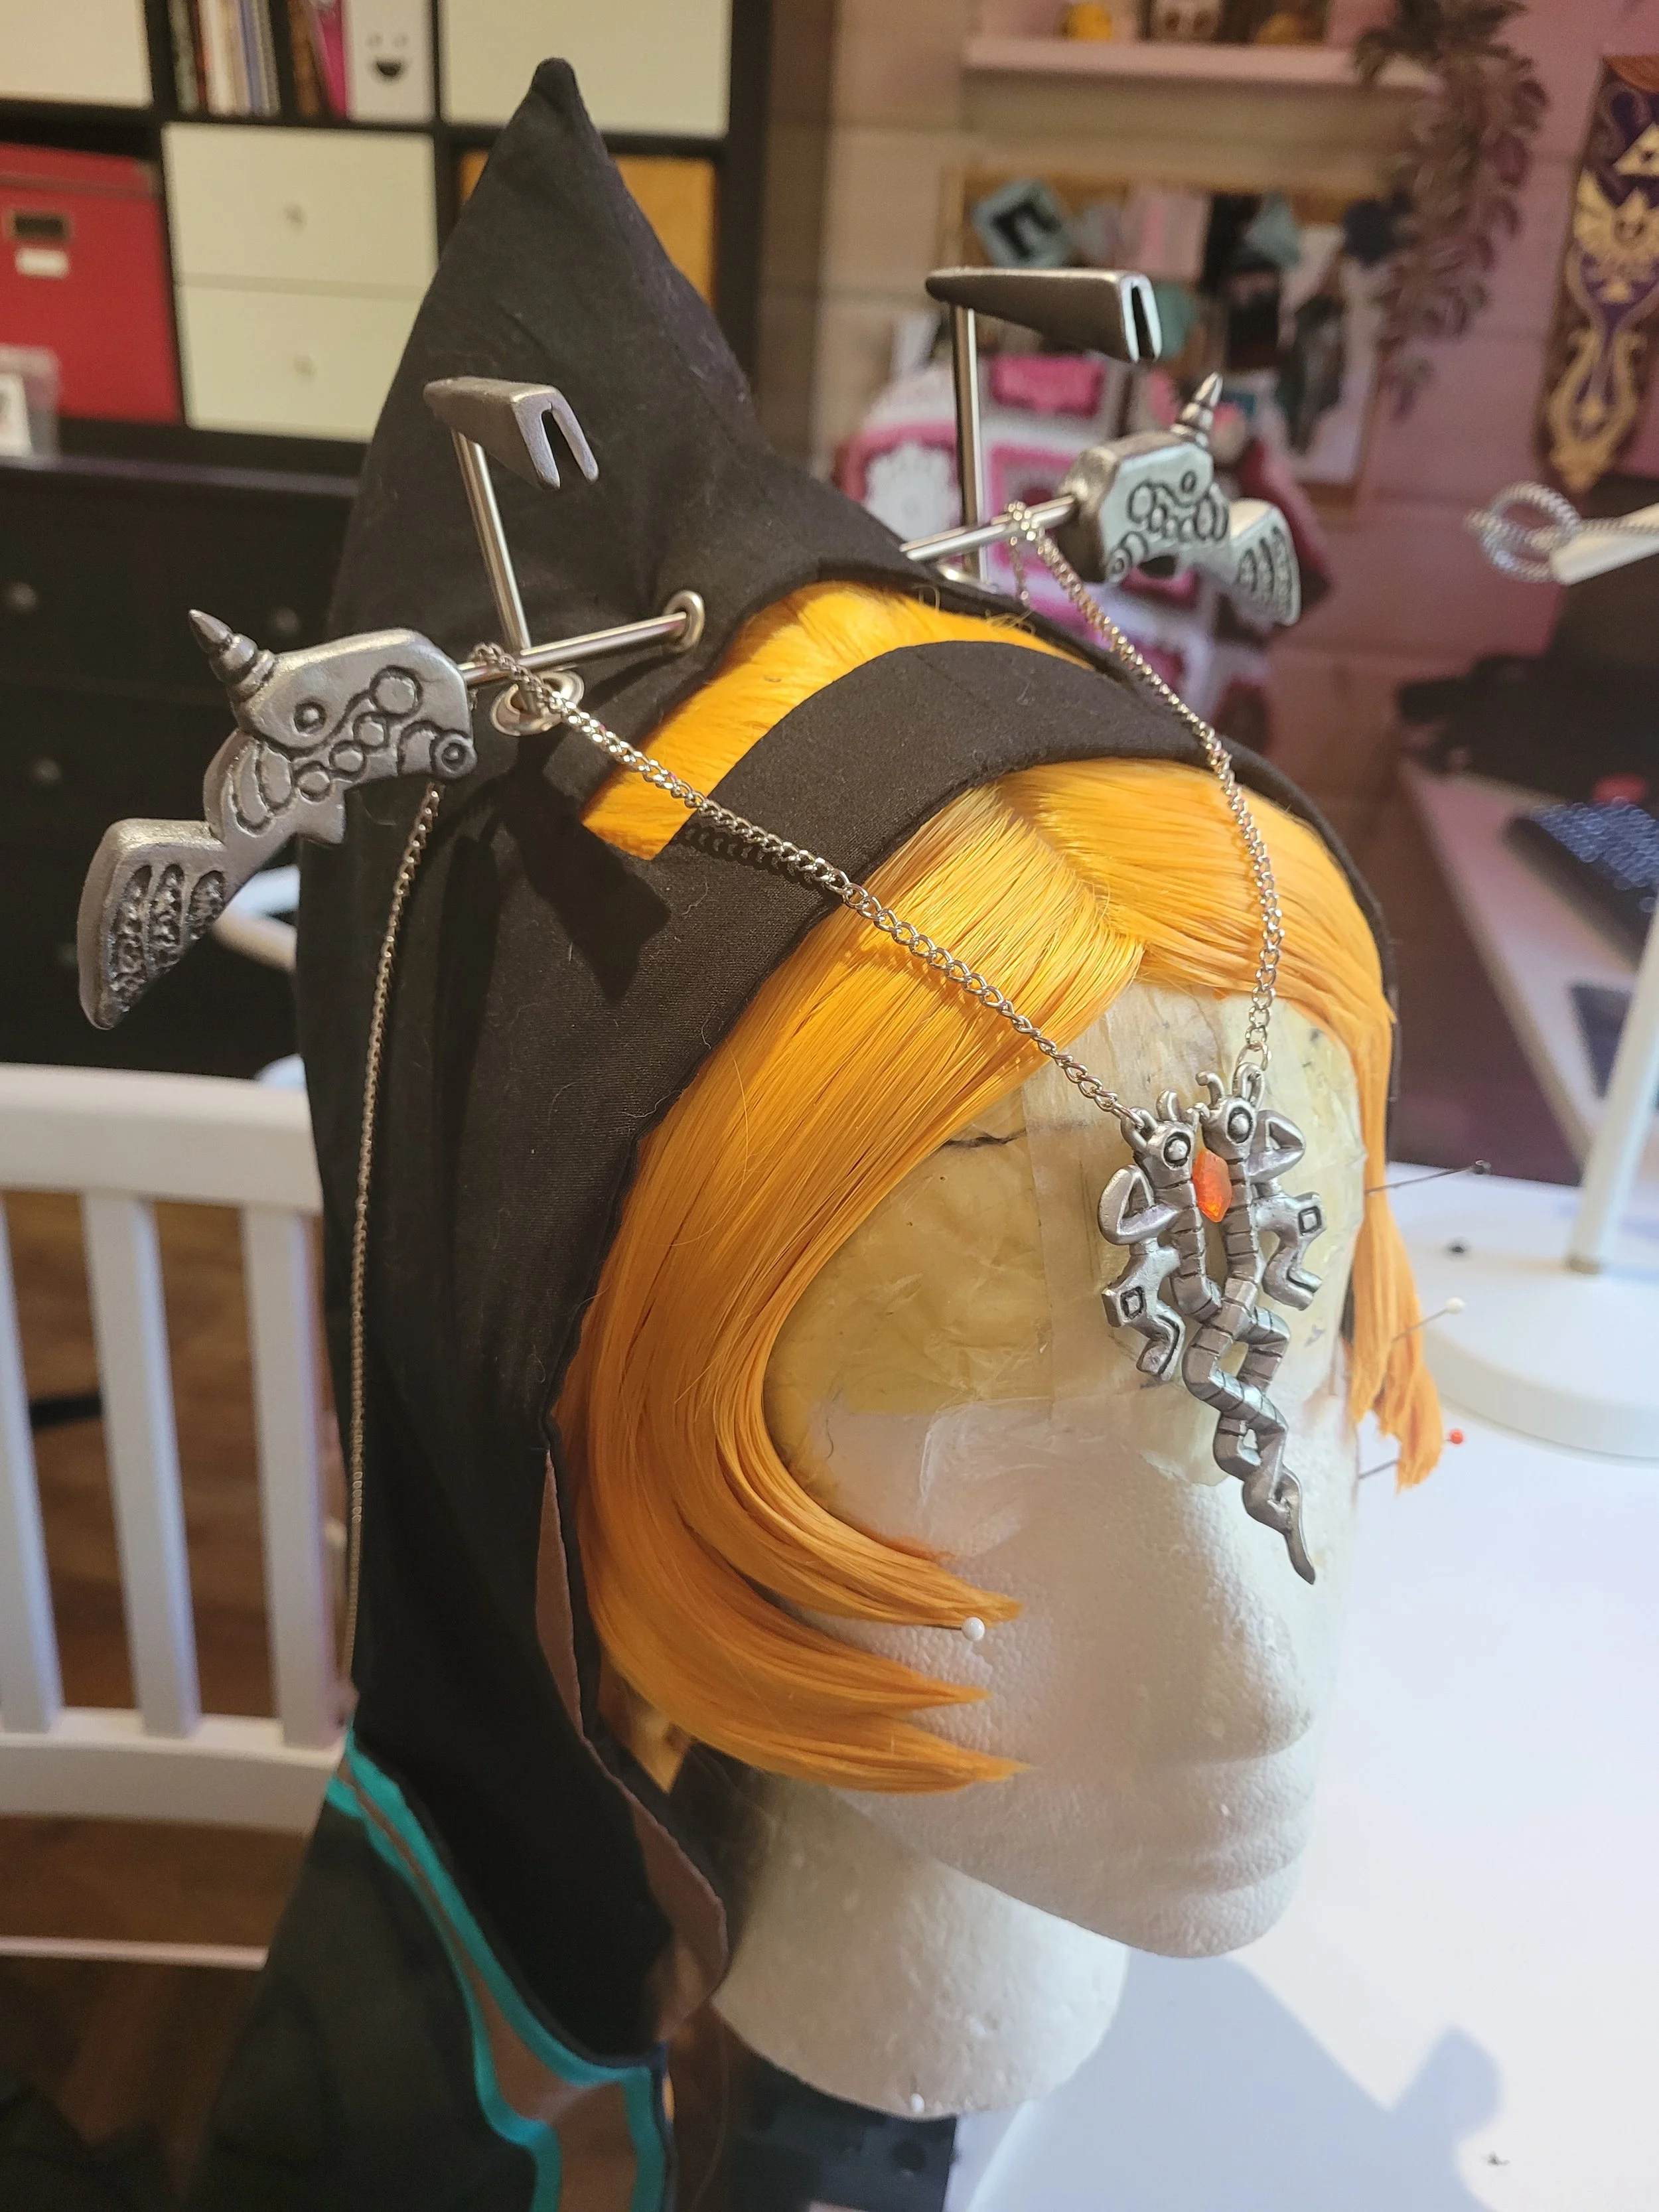
Wig, headdress and small bits and baubbles
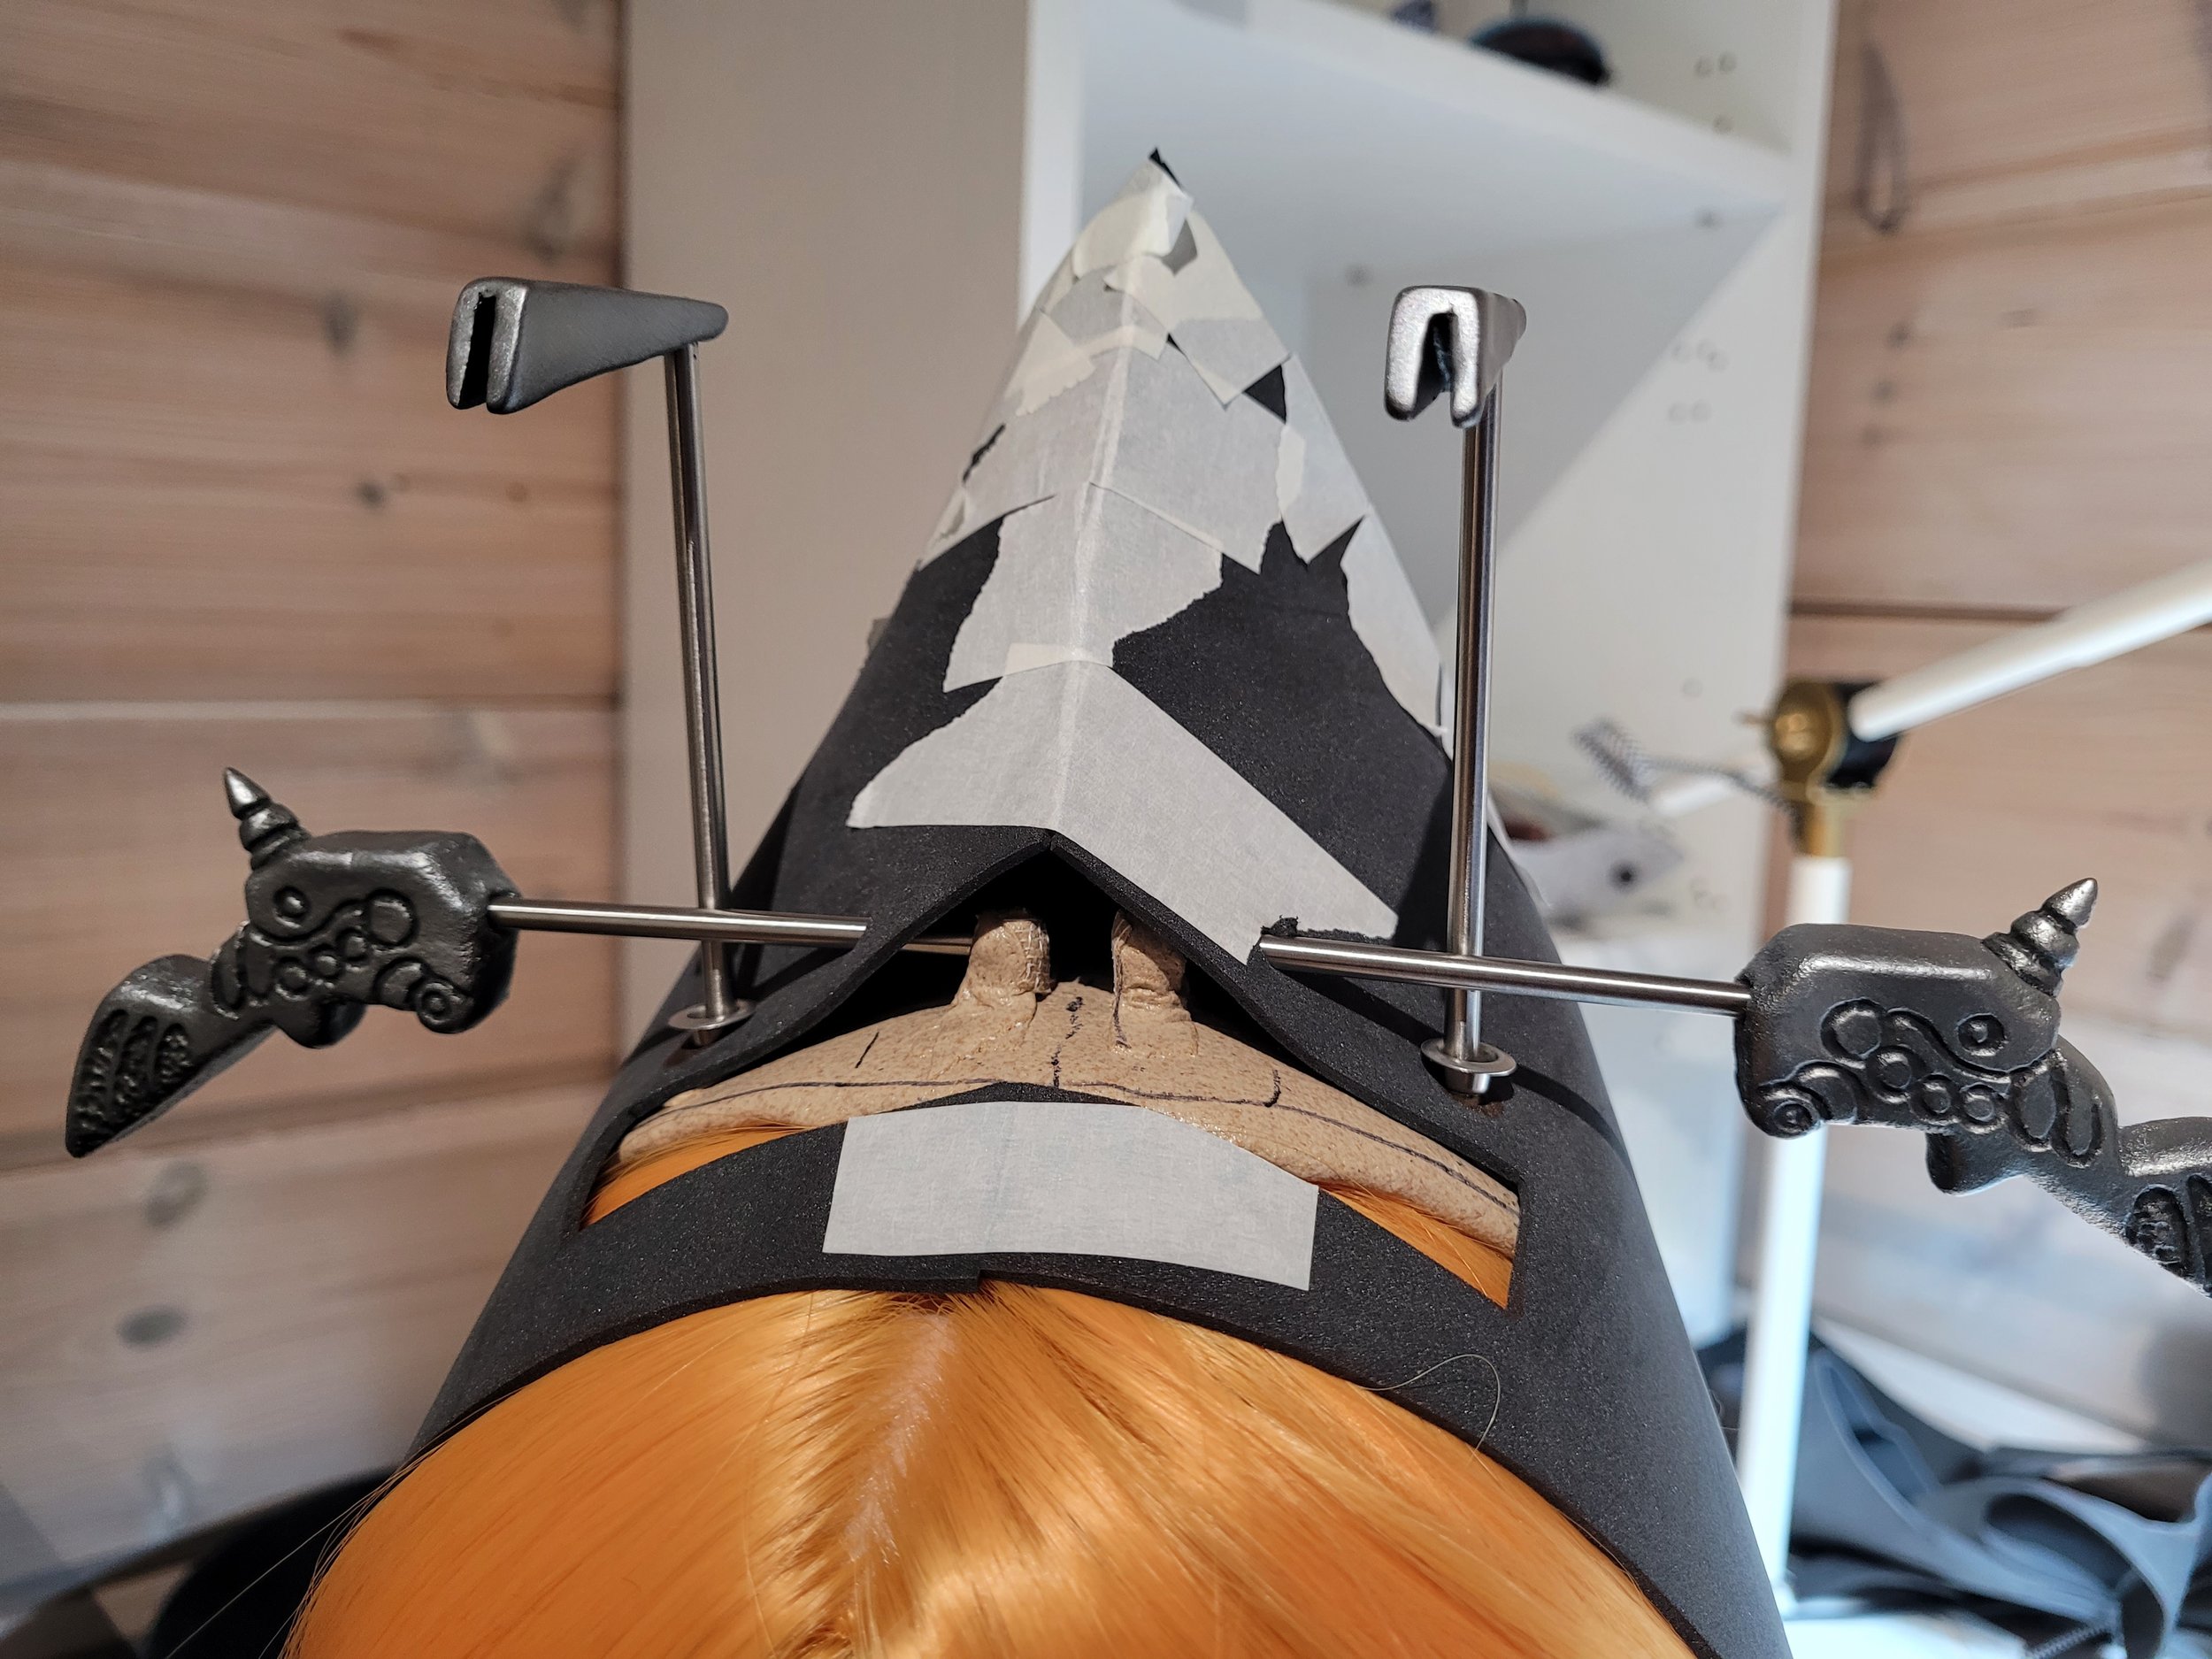
Oh, wig. I decided early on that I had to attach the hood to the wig, as the headdress pieces come right through it. And that it had to be sturdy, as the cloak is heavy and might pull on the rods. I had seen many ways to hide the jewellery attachments to the hood, but none really looked good enough to me so I had to come up with something different.
The forward pointy details and the forehead jewellery are made out of fimo, the sidewards creatures are eva foam covered with worbla. The design for these are also from Jenangel, scaled to correct size. Shortcuts people, shortcuts!
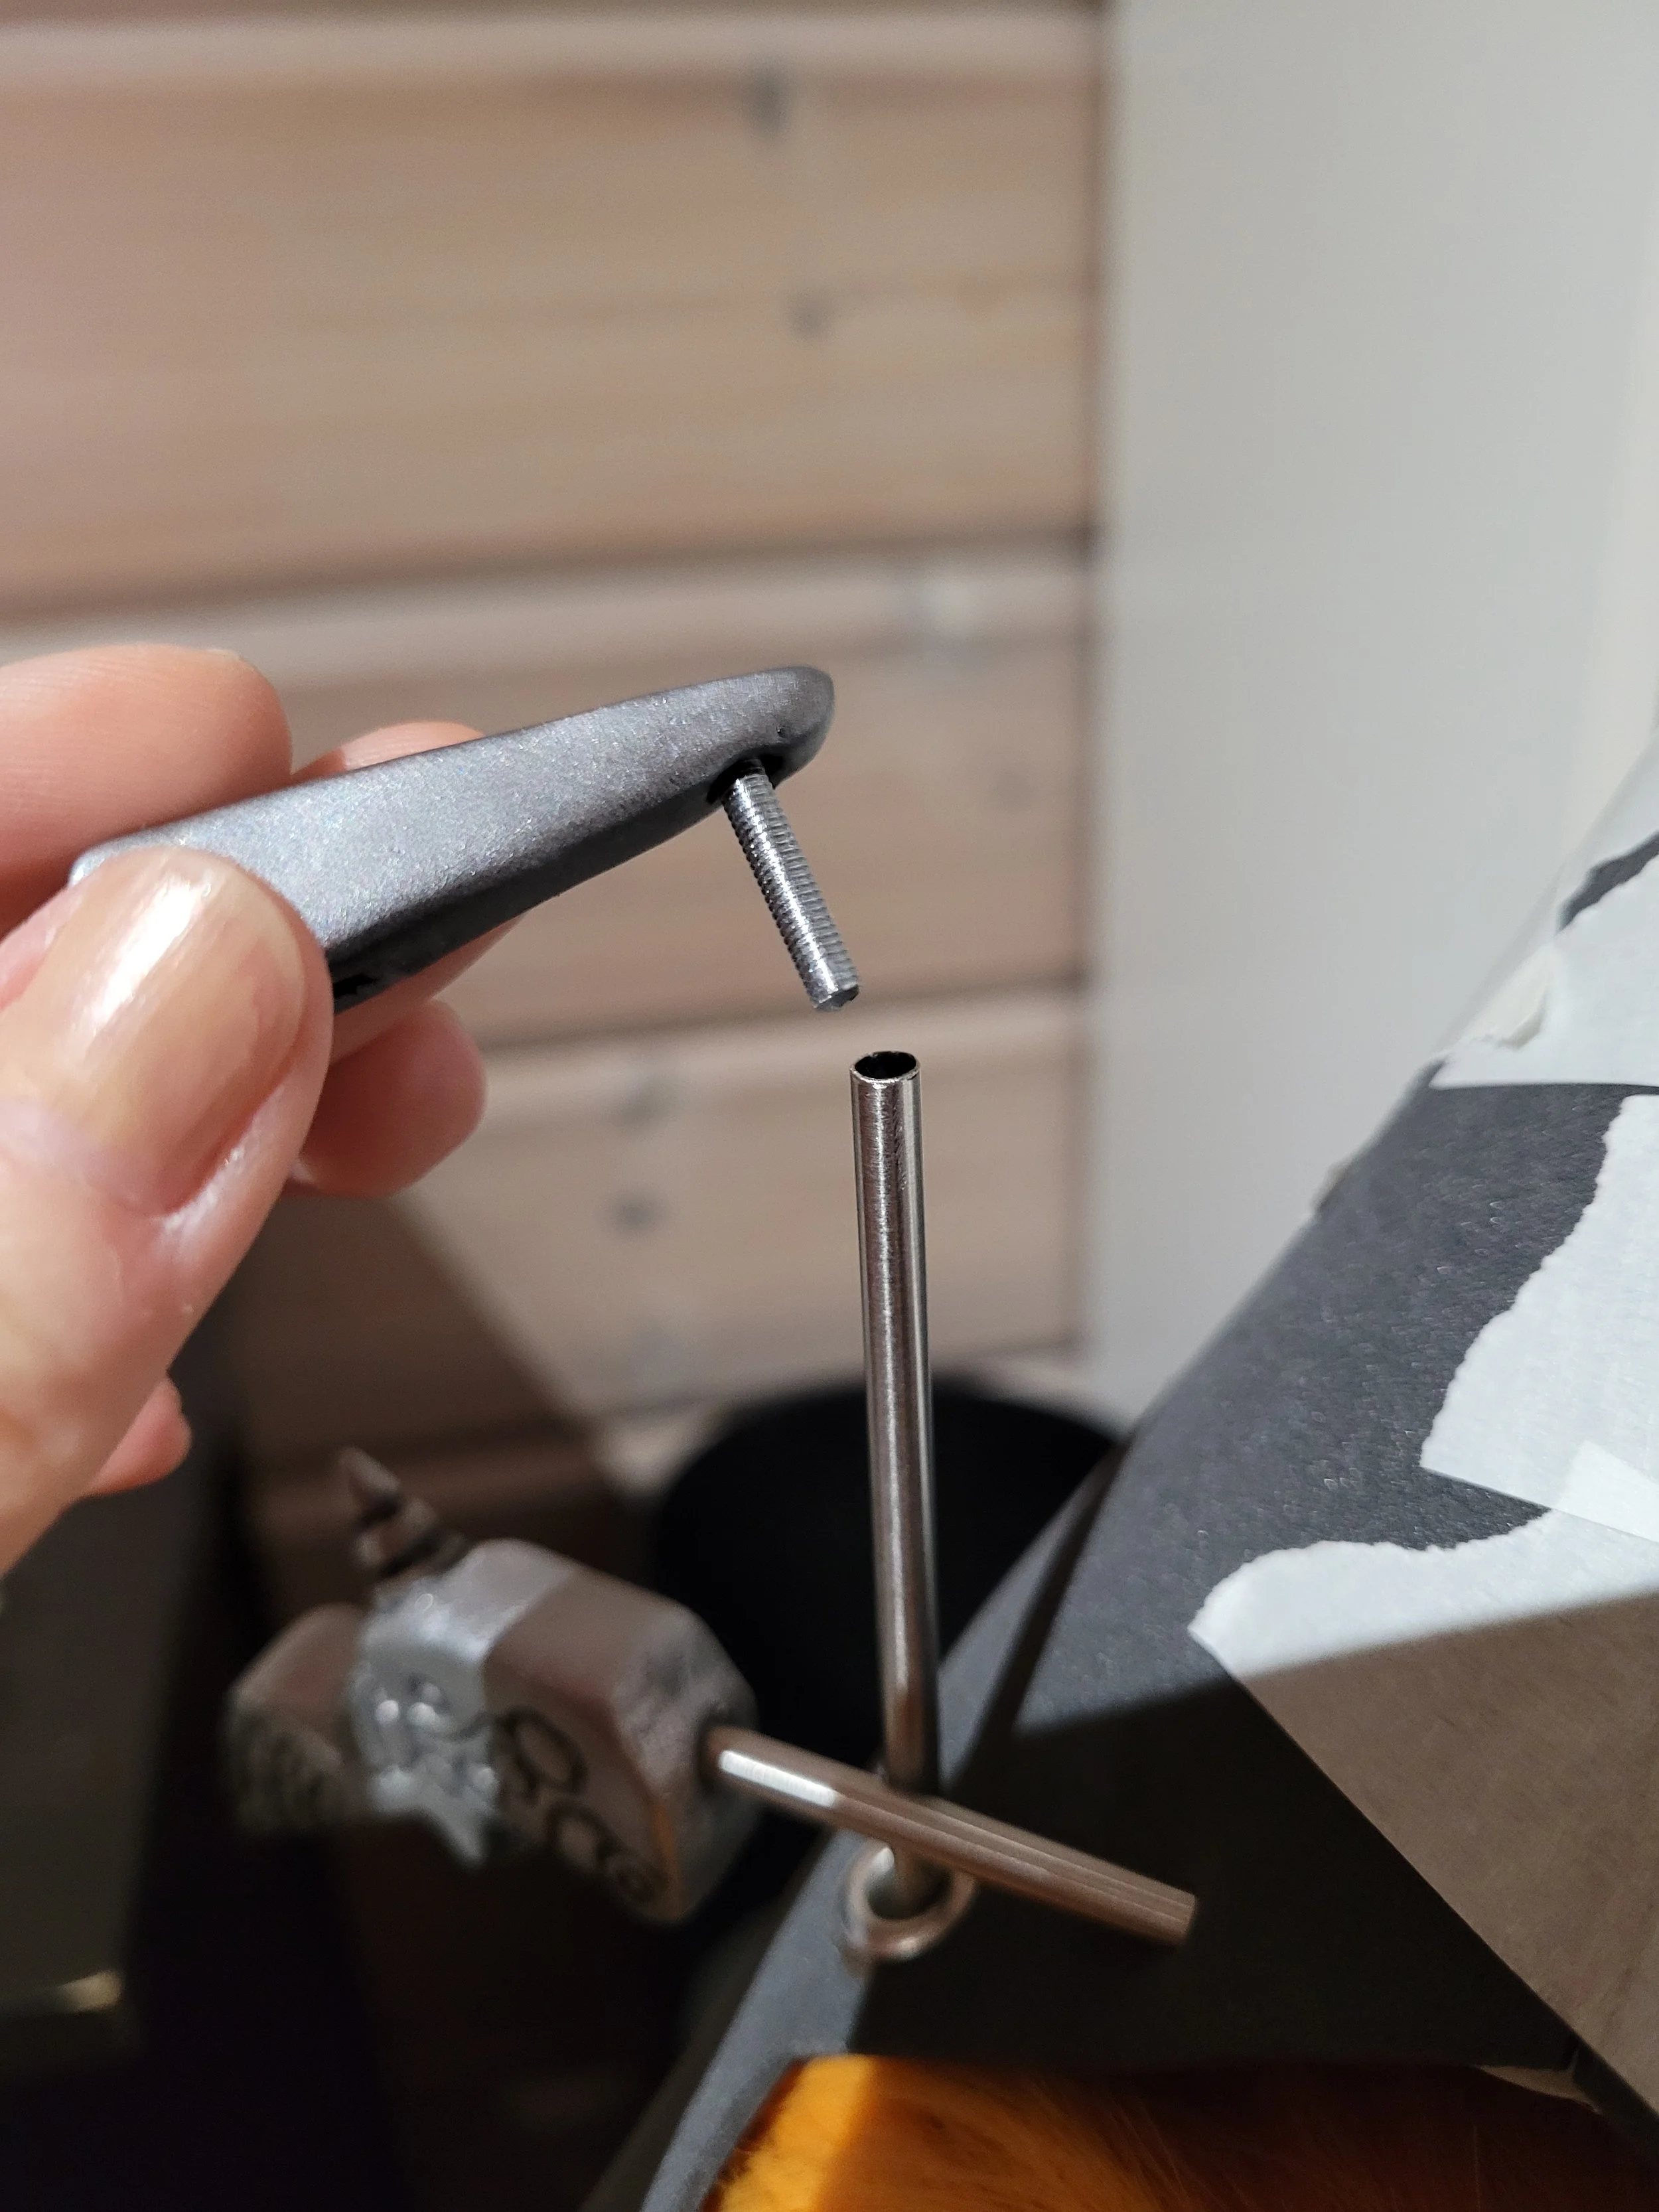
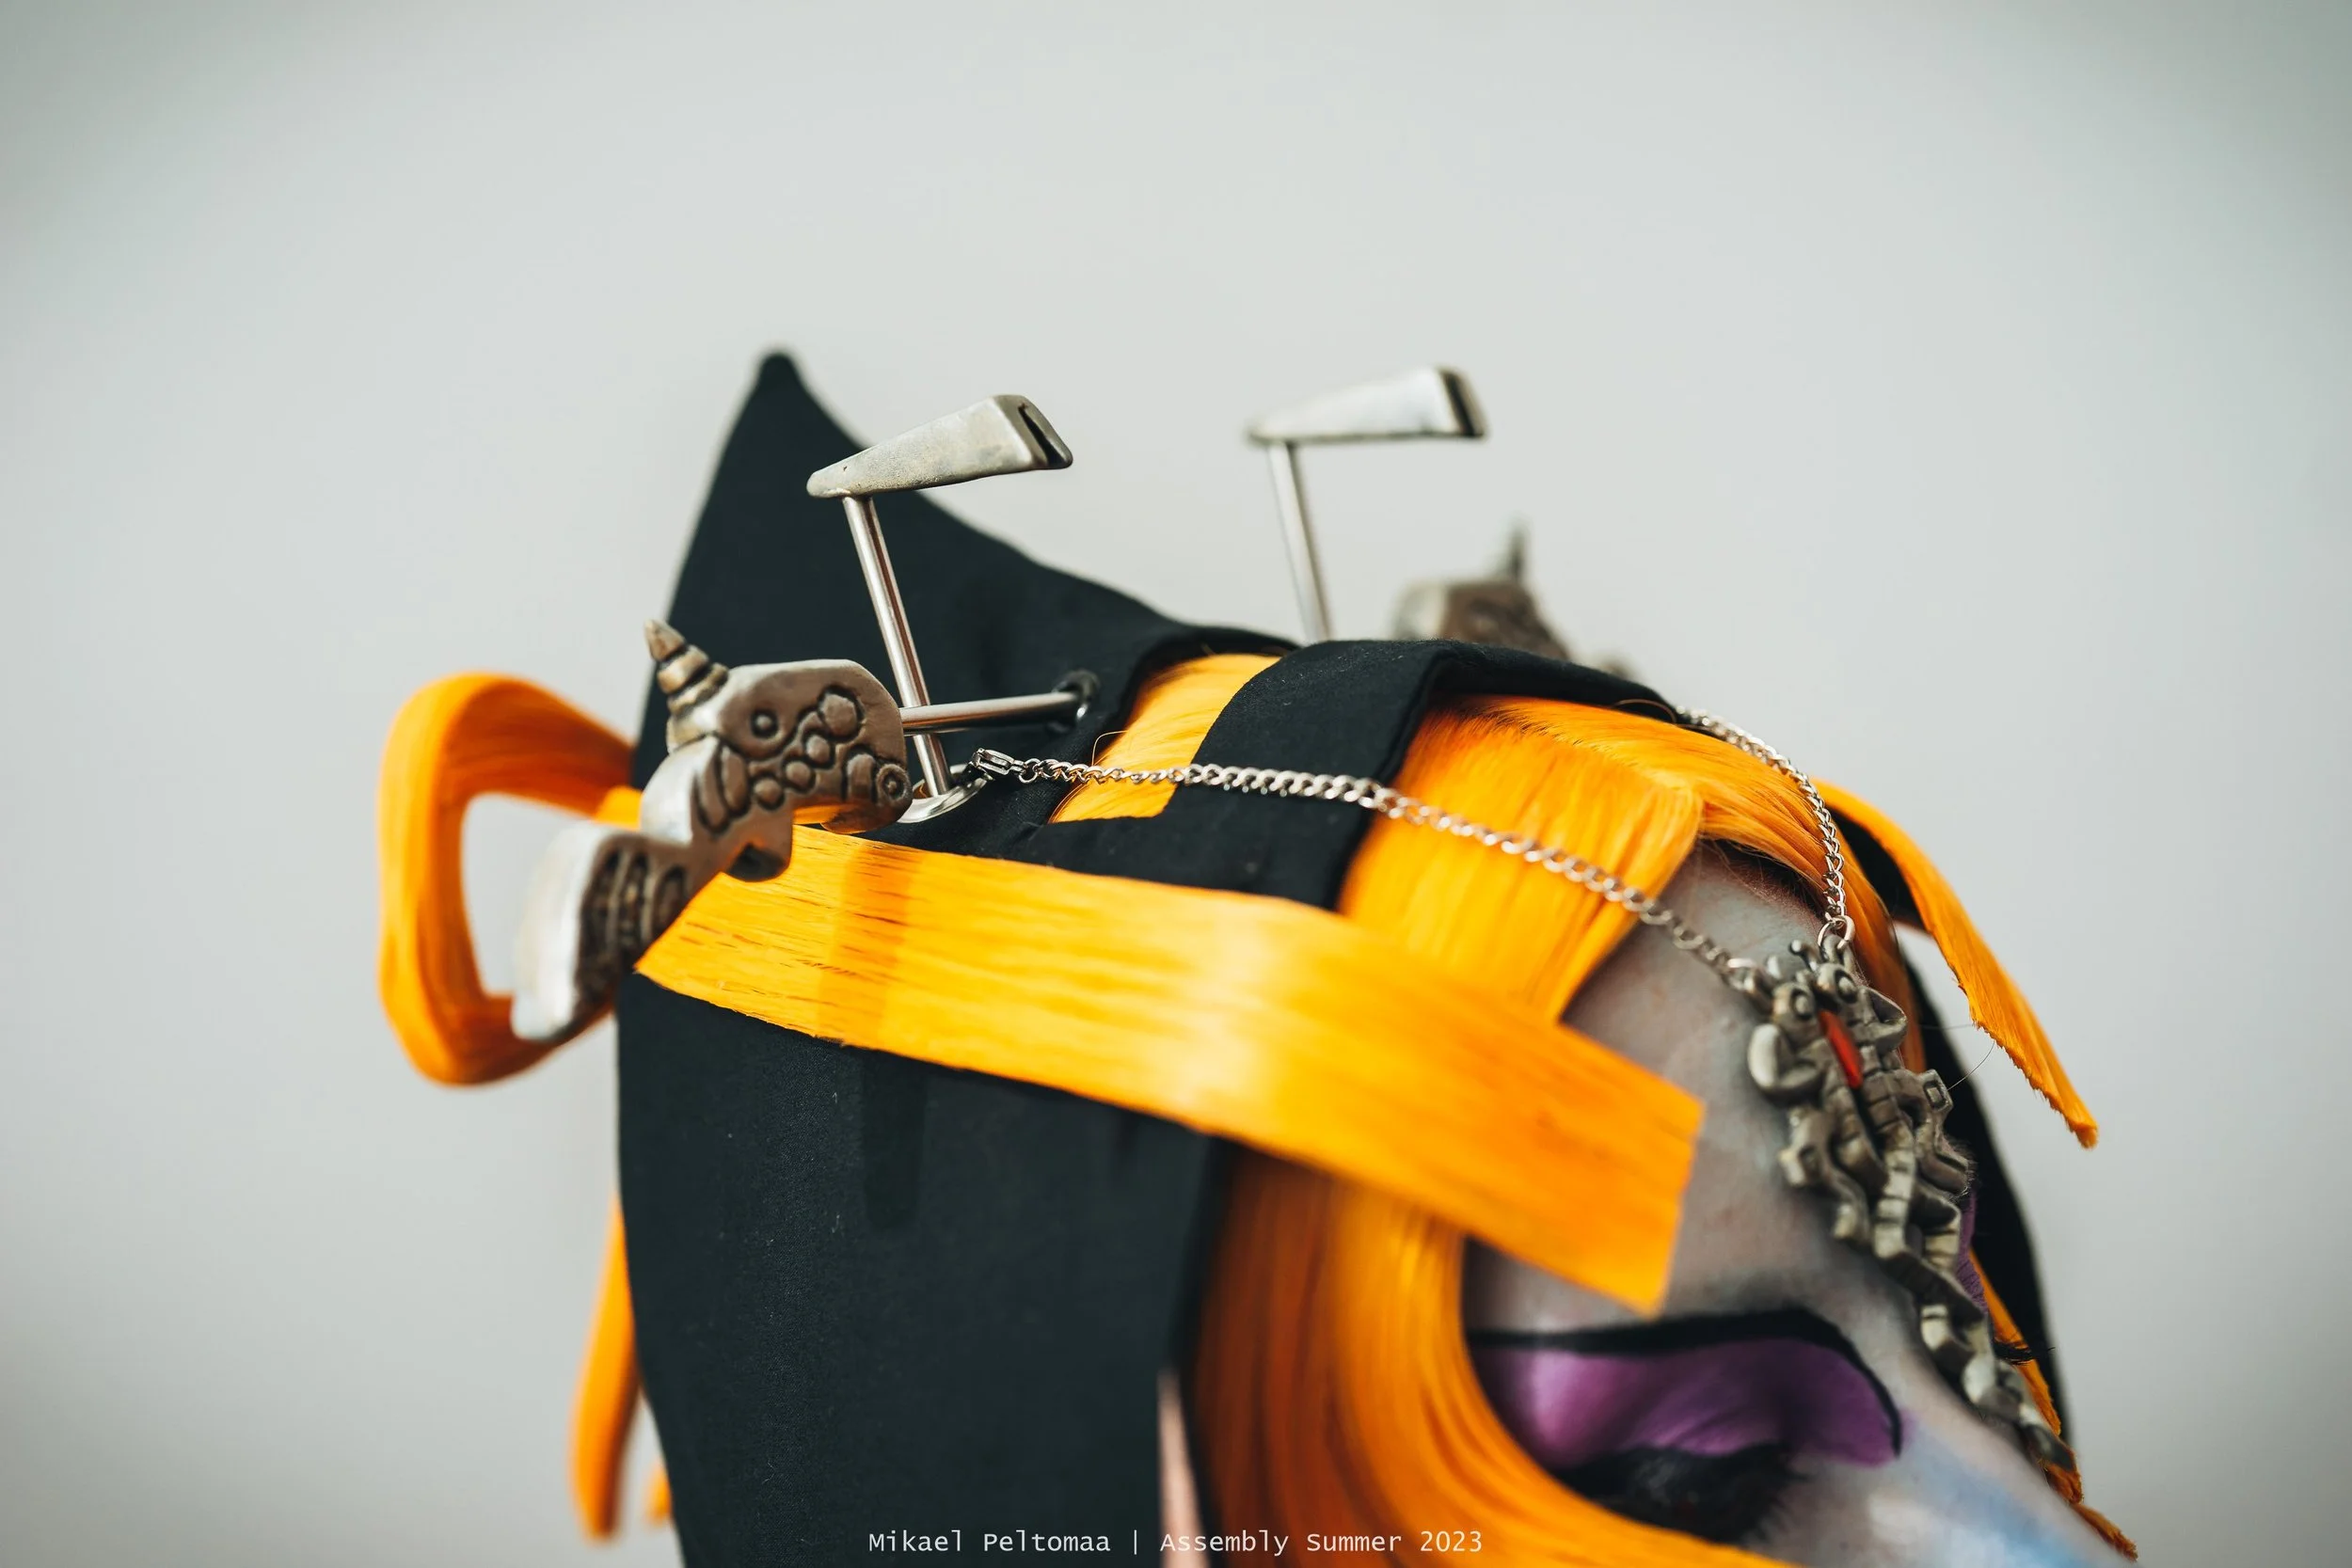
I ended up making a support piece out of Worbla mesh that sits under the wig. The support piece has nuts glued into it both for the upwards and sidewards pointing rods. To match the bolts, I bought a screw rod in correct size, snipped it into pieces and glued with epoxy glue to the aluminium rod.
I cut holes in the wig cap for the nut pieces. The end result is quite stealthy.
For the forehead charm I sewed tiny loops inside the eyelets.
Photo by Mikael Peltomaa.
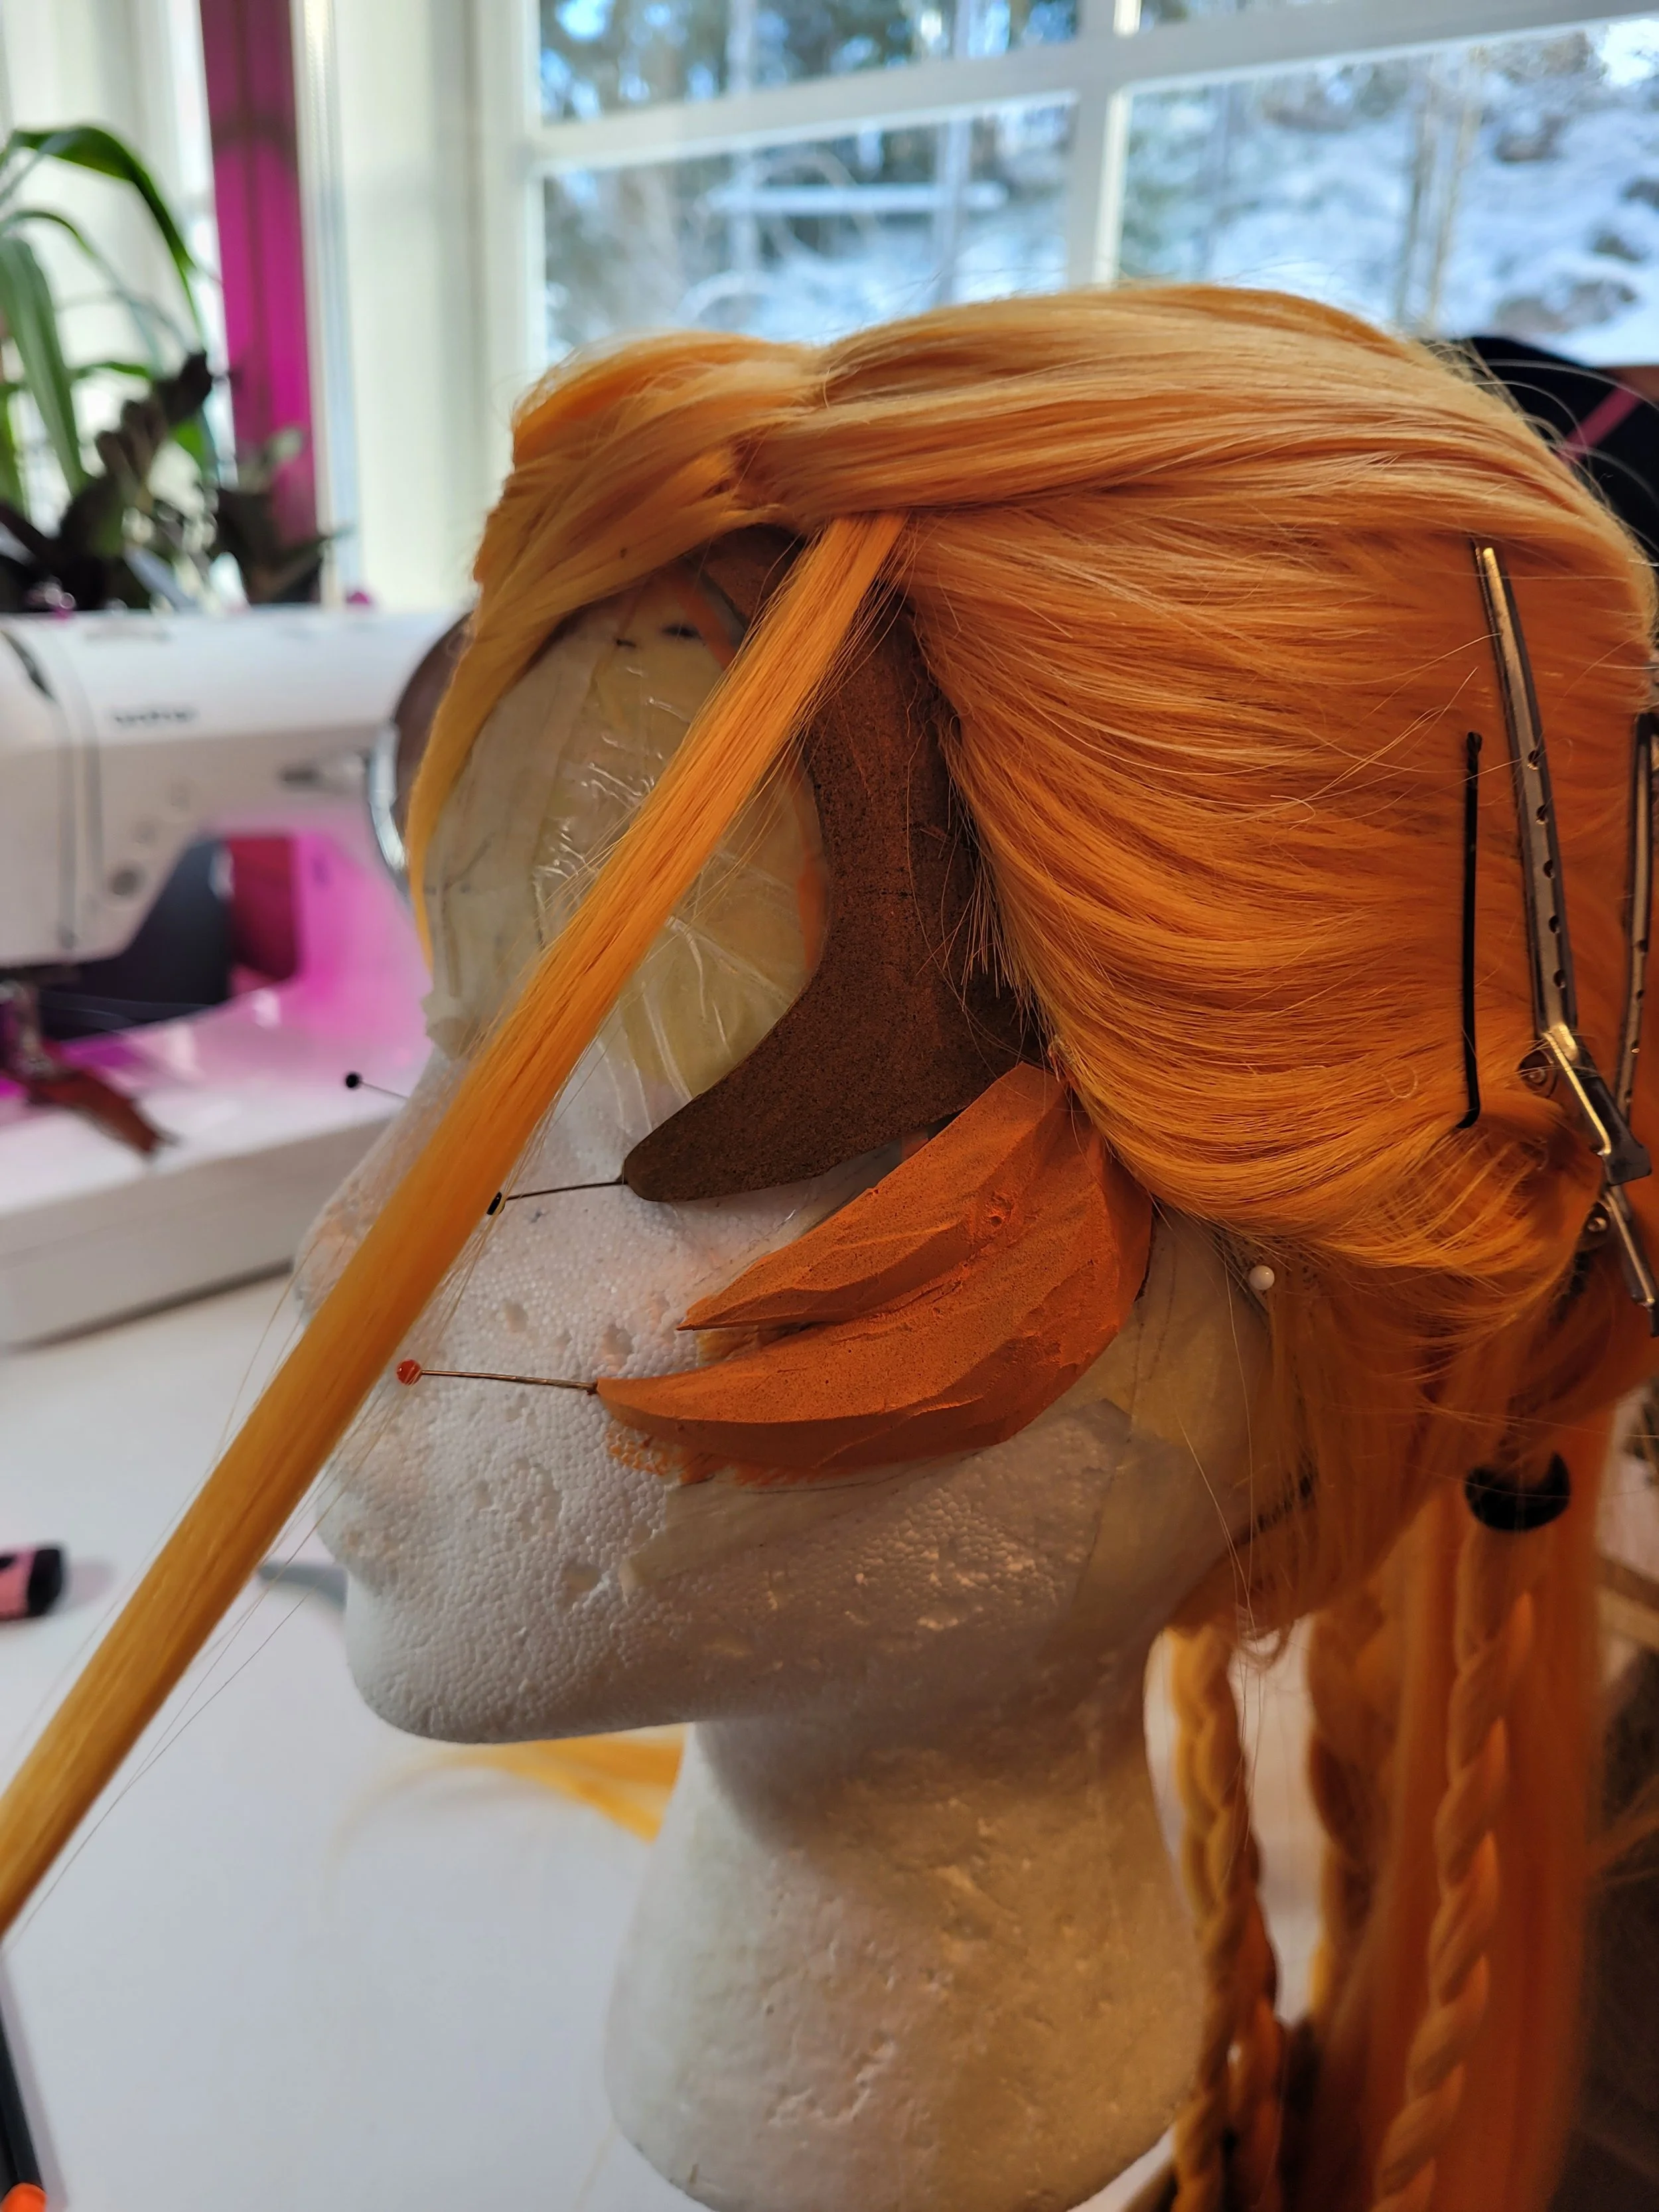
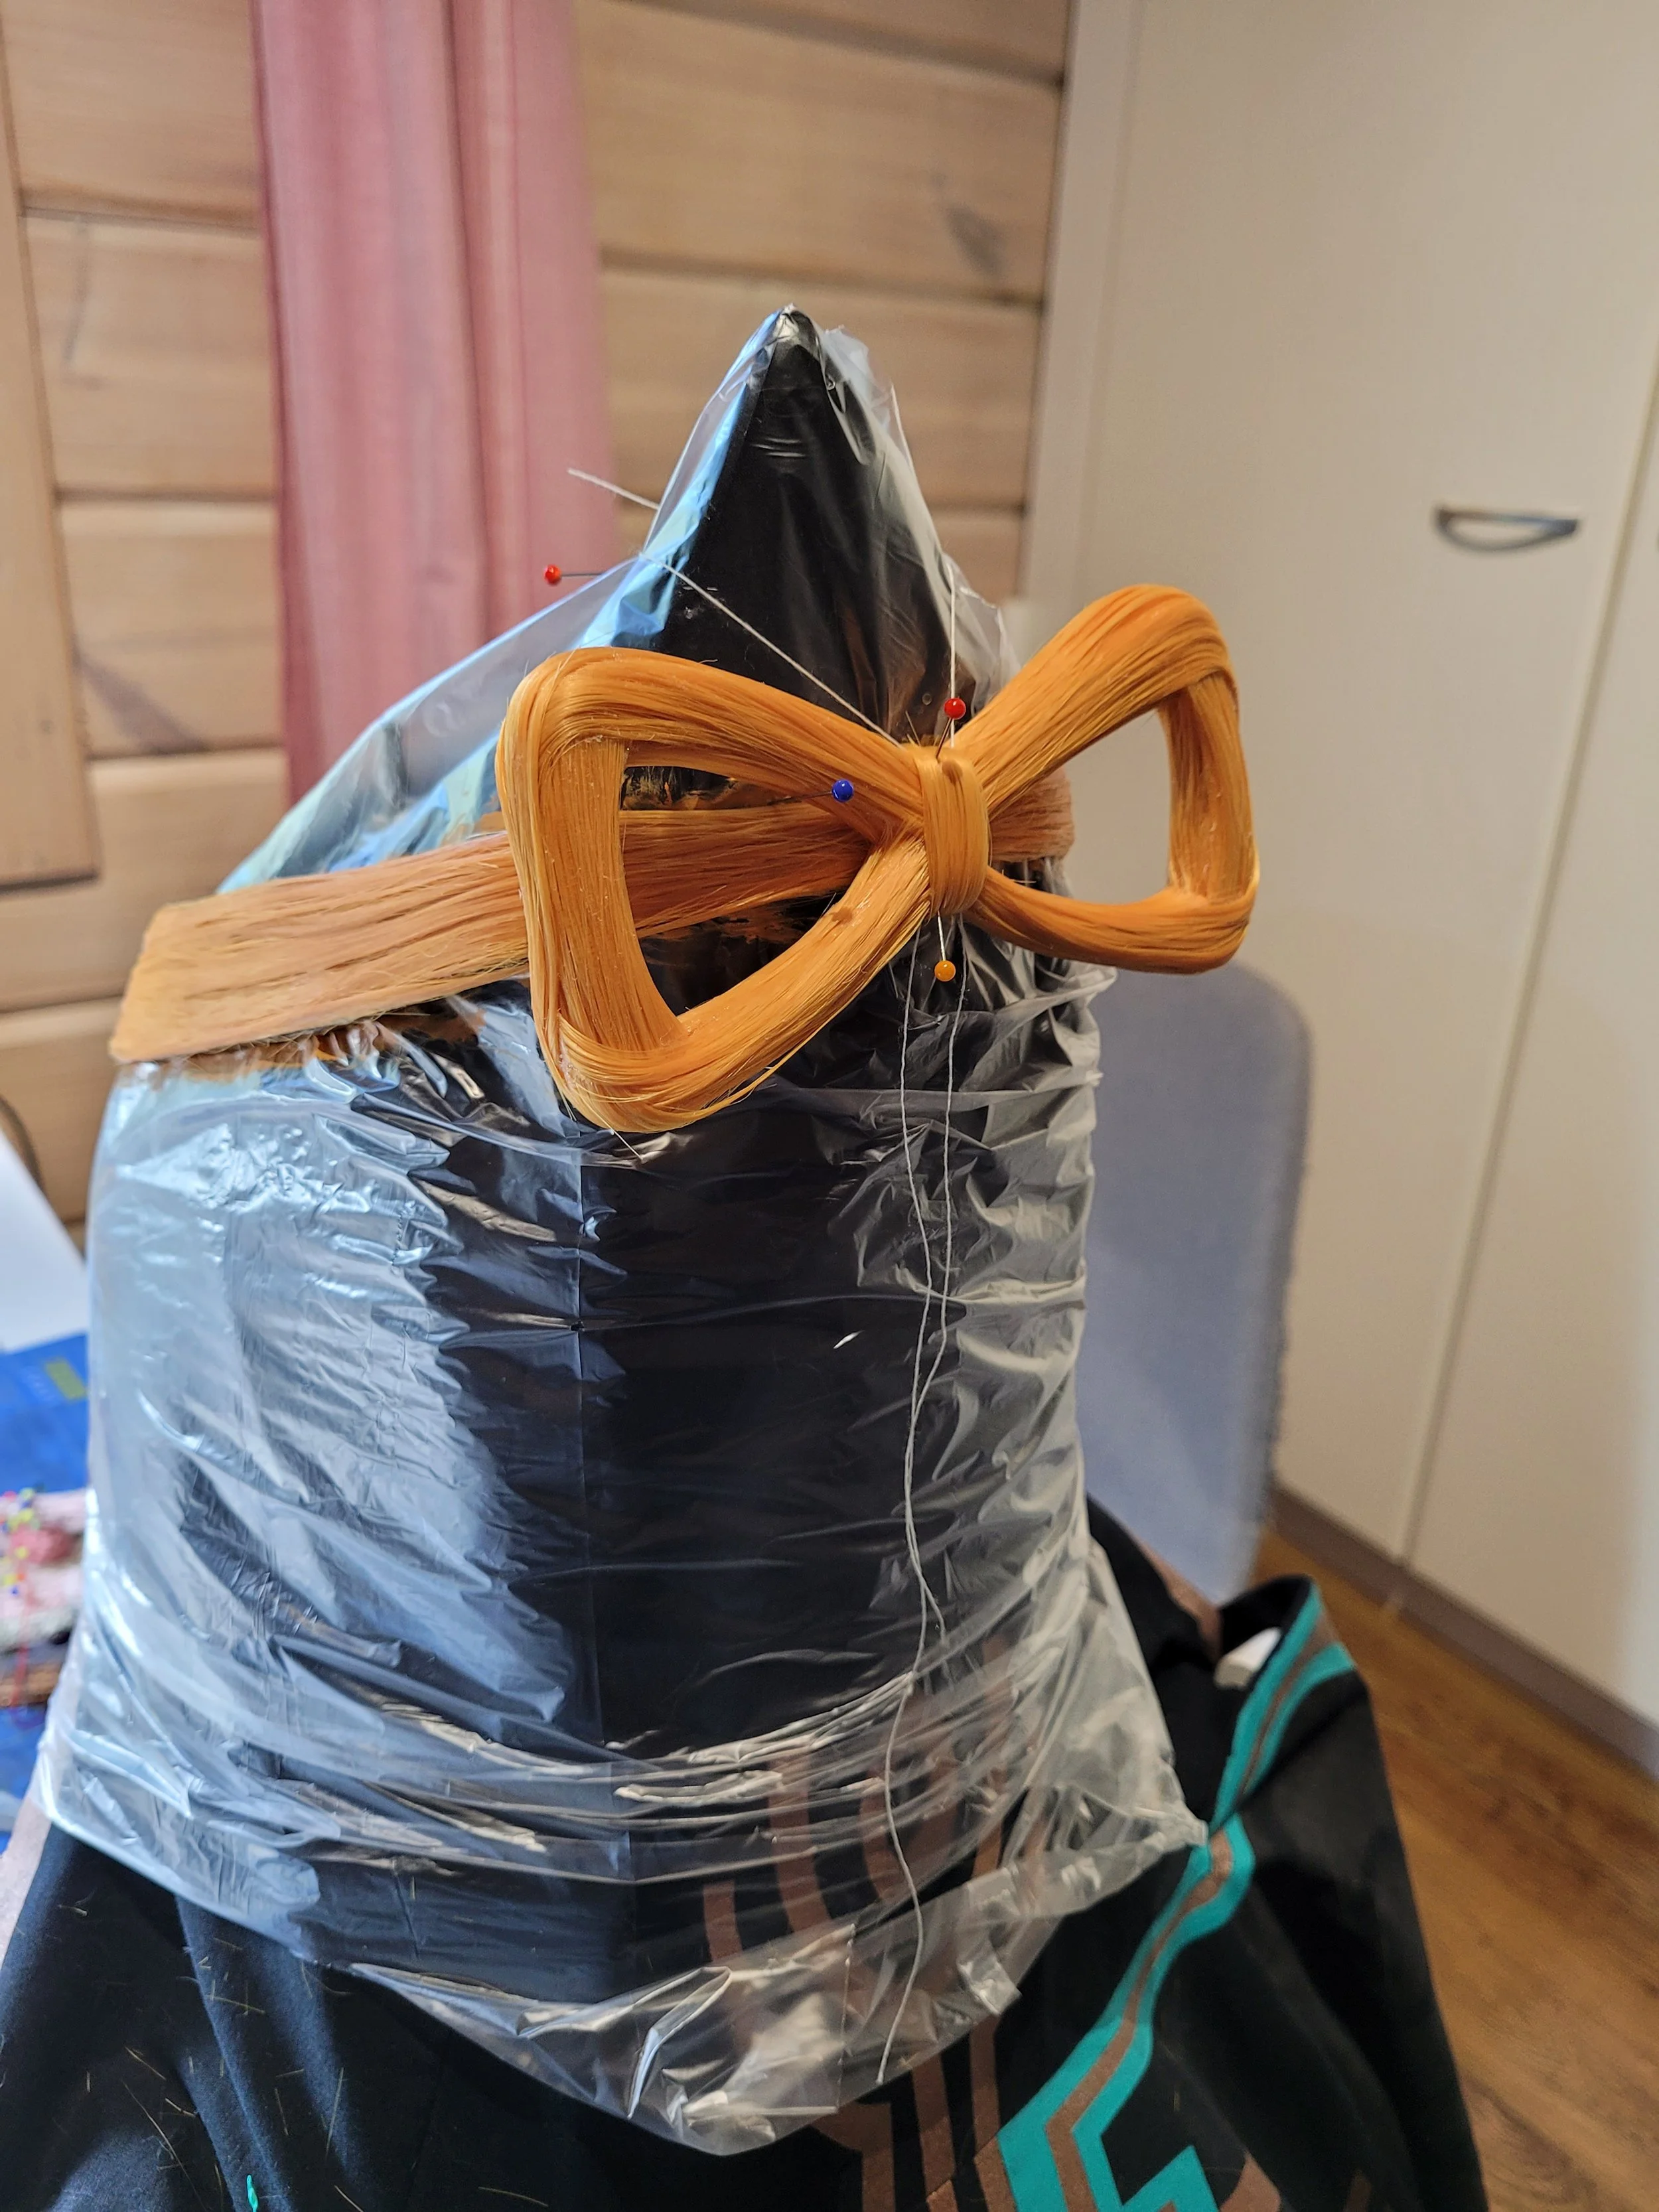
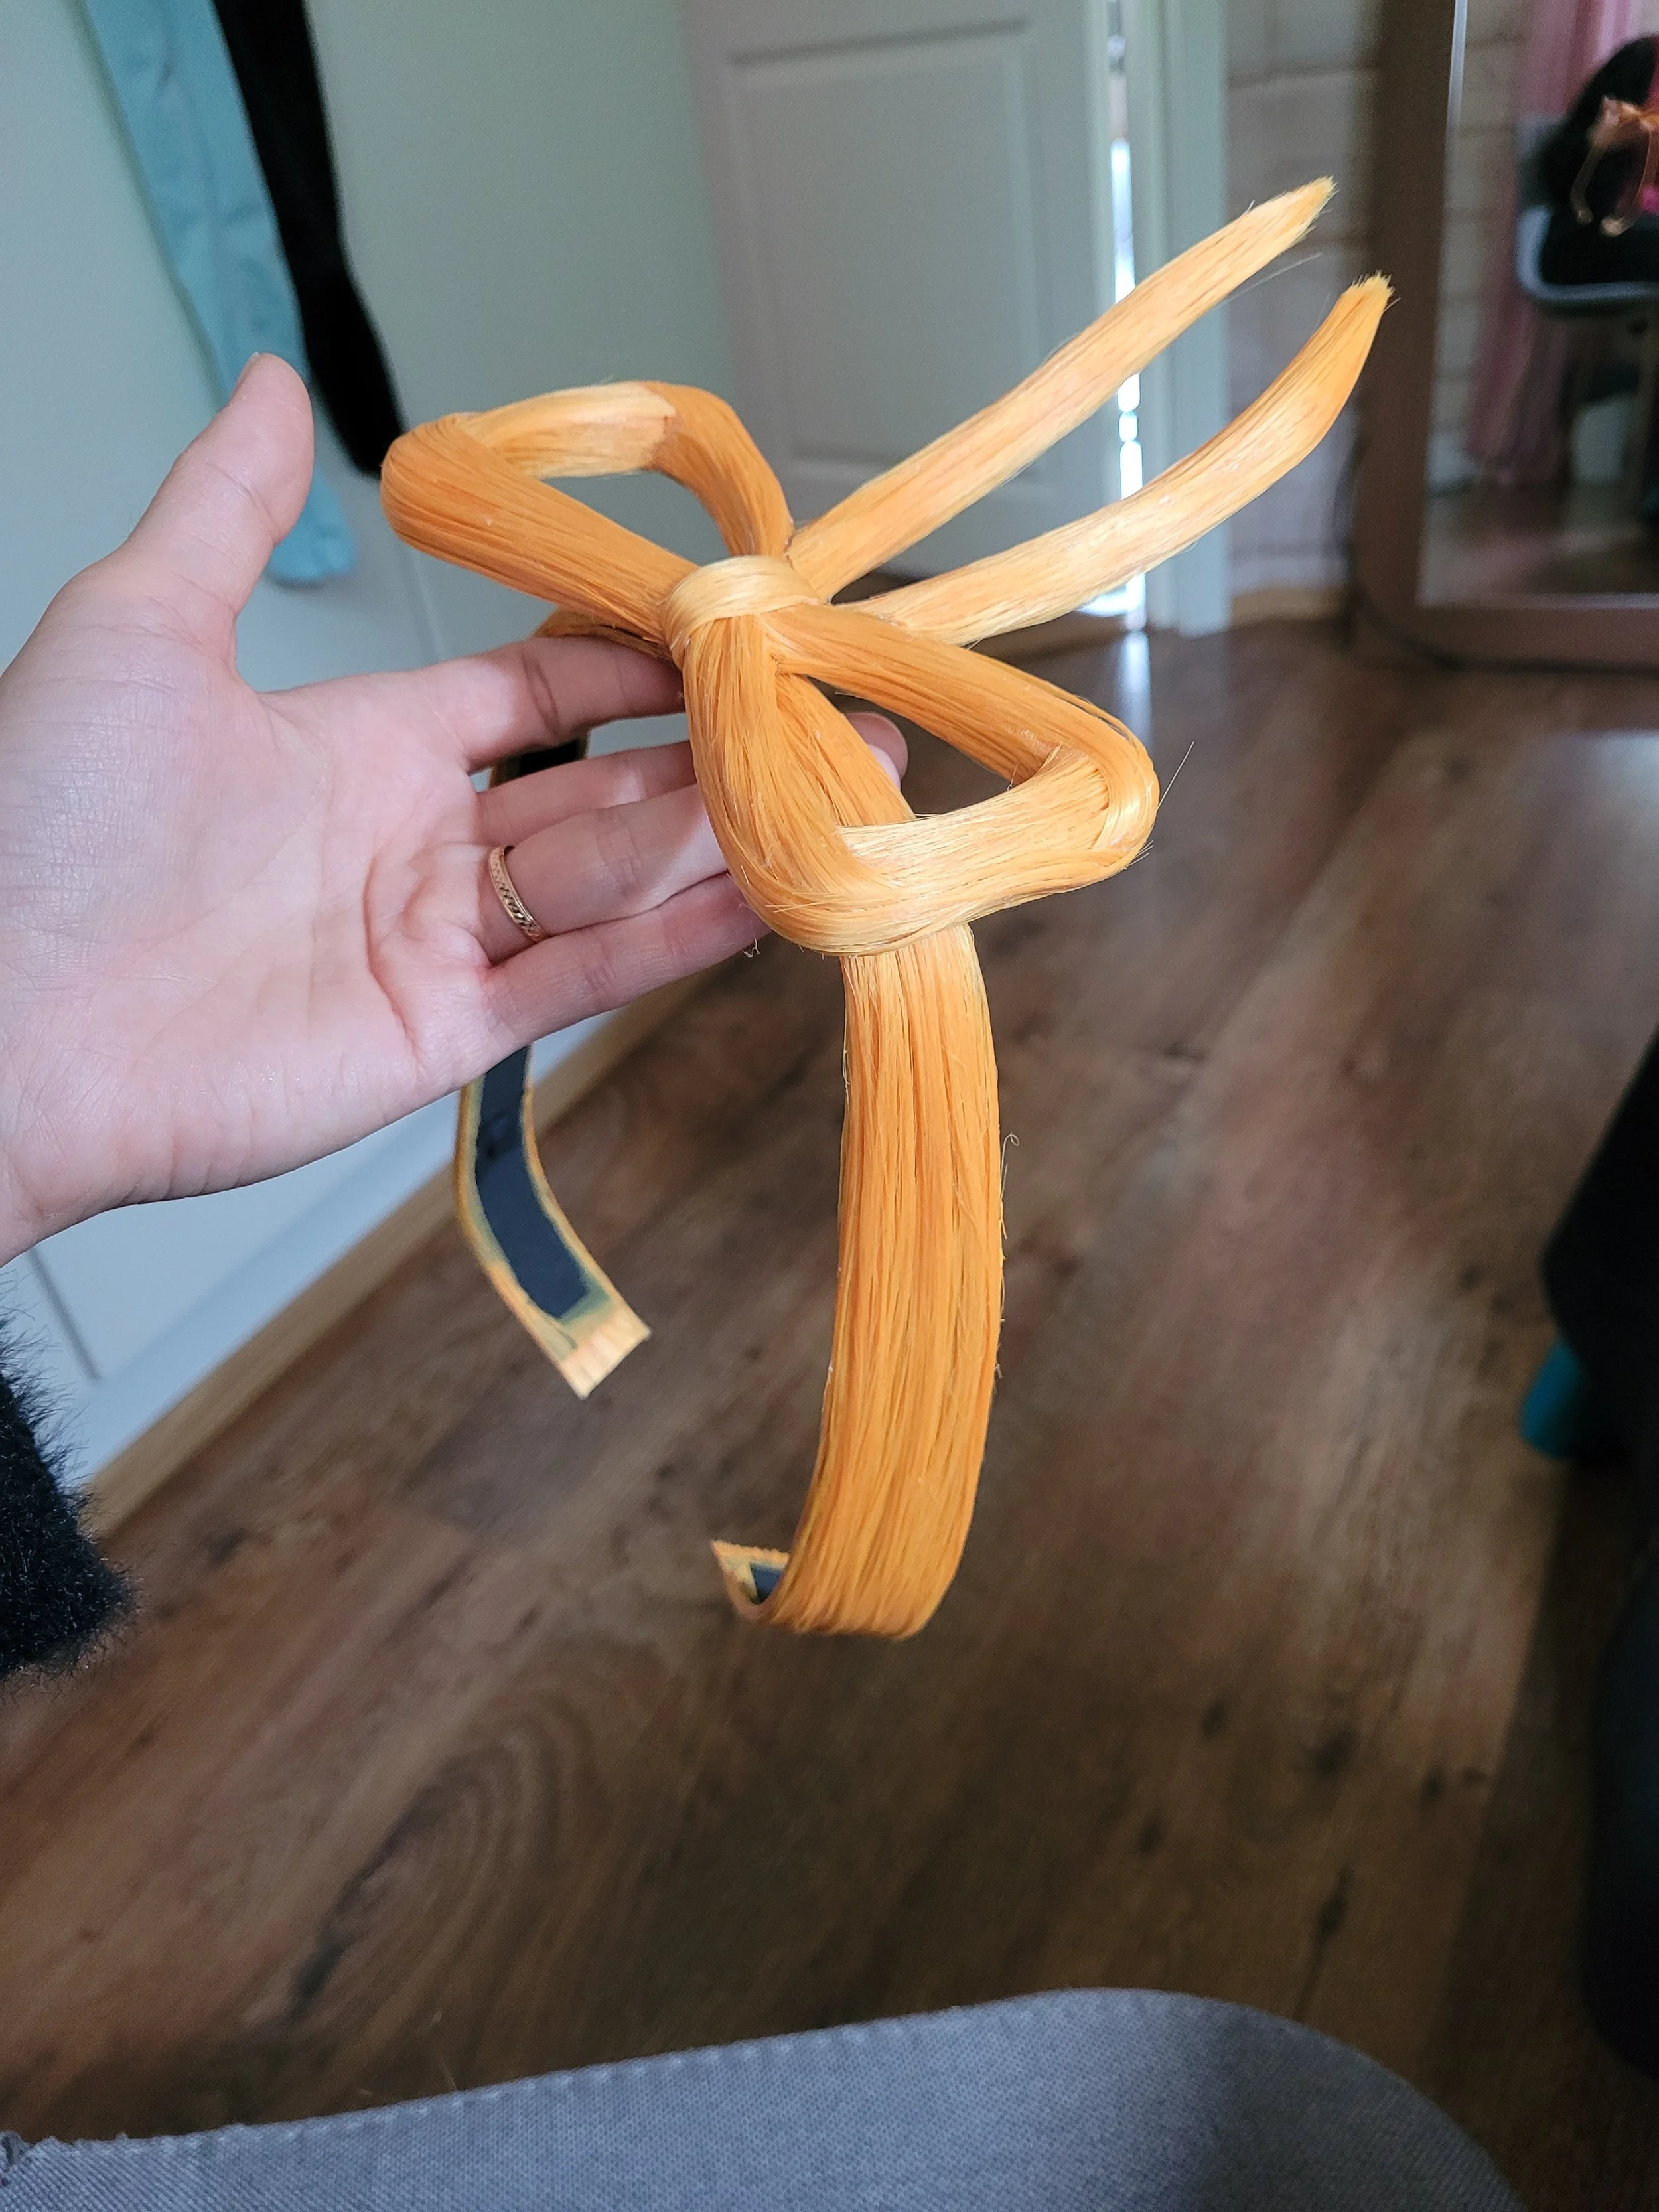
Crown
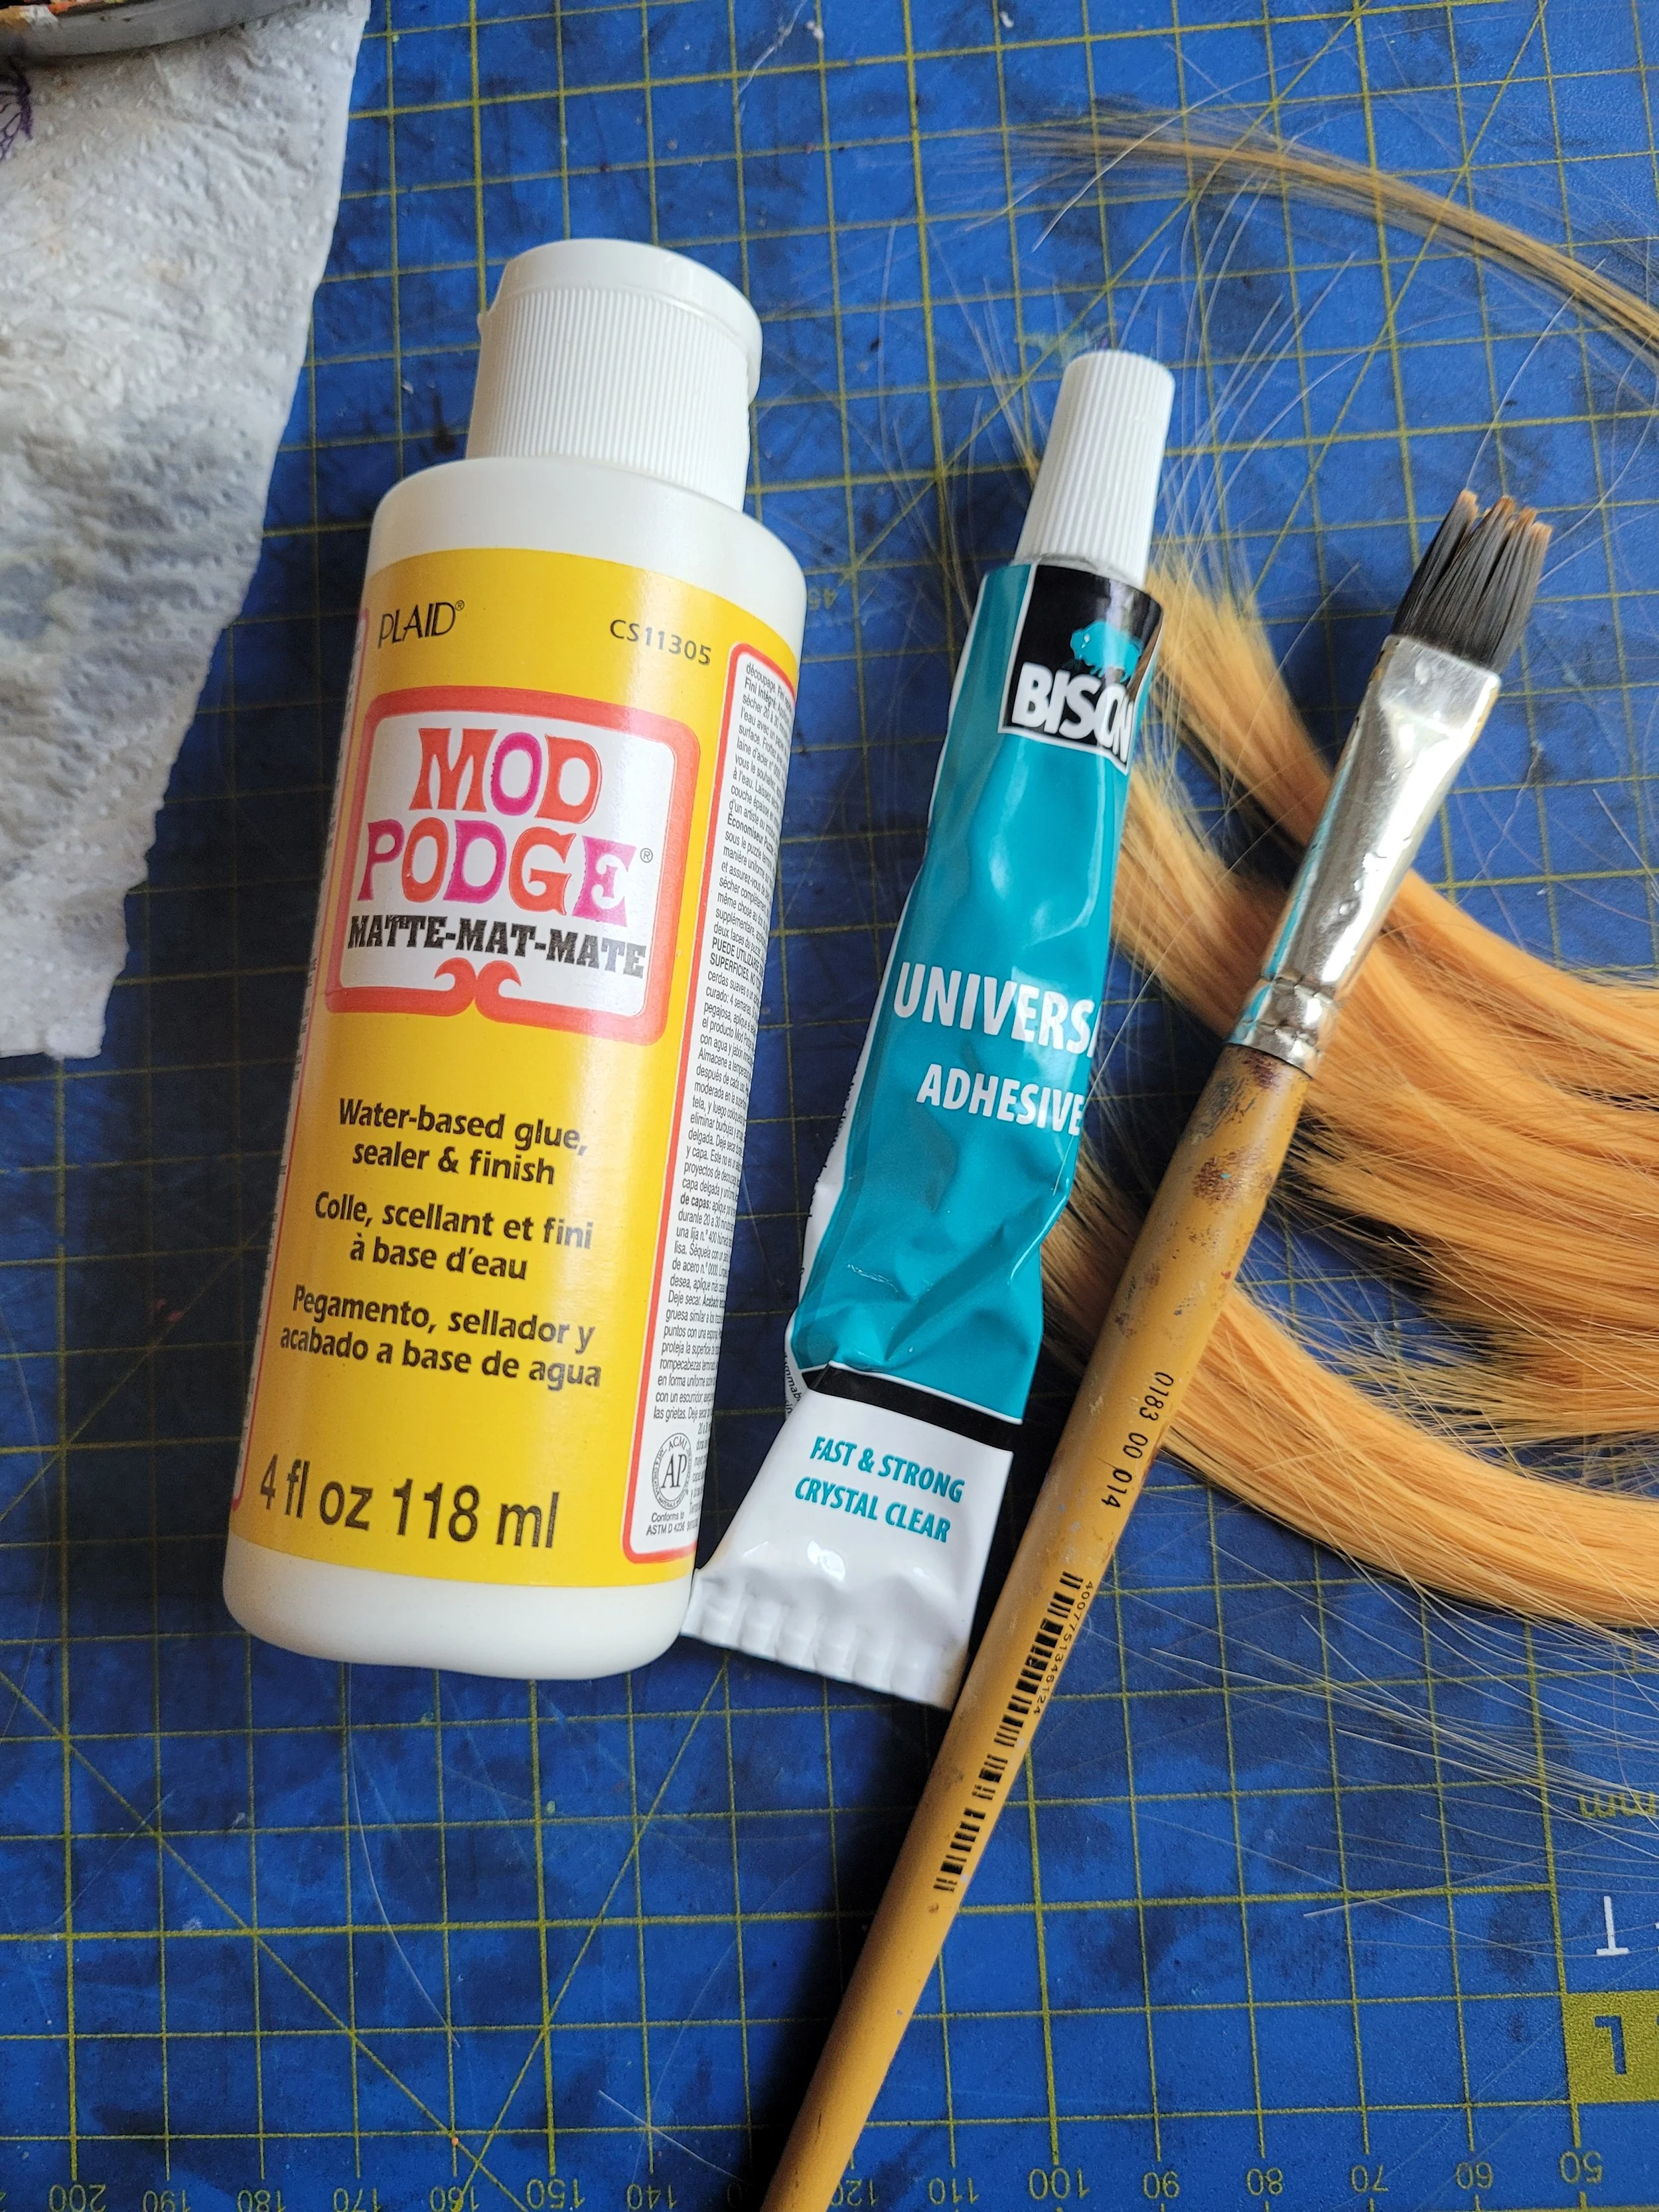
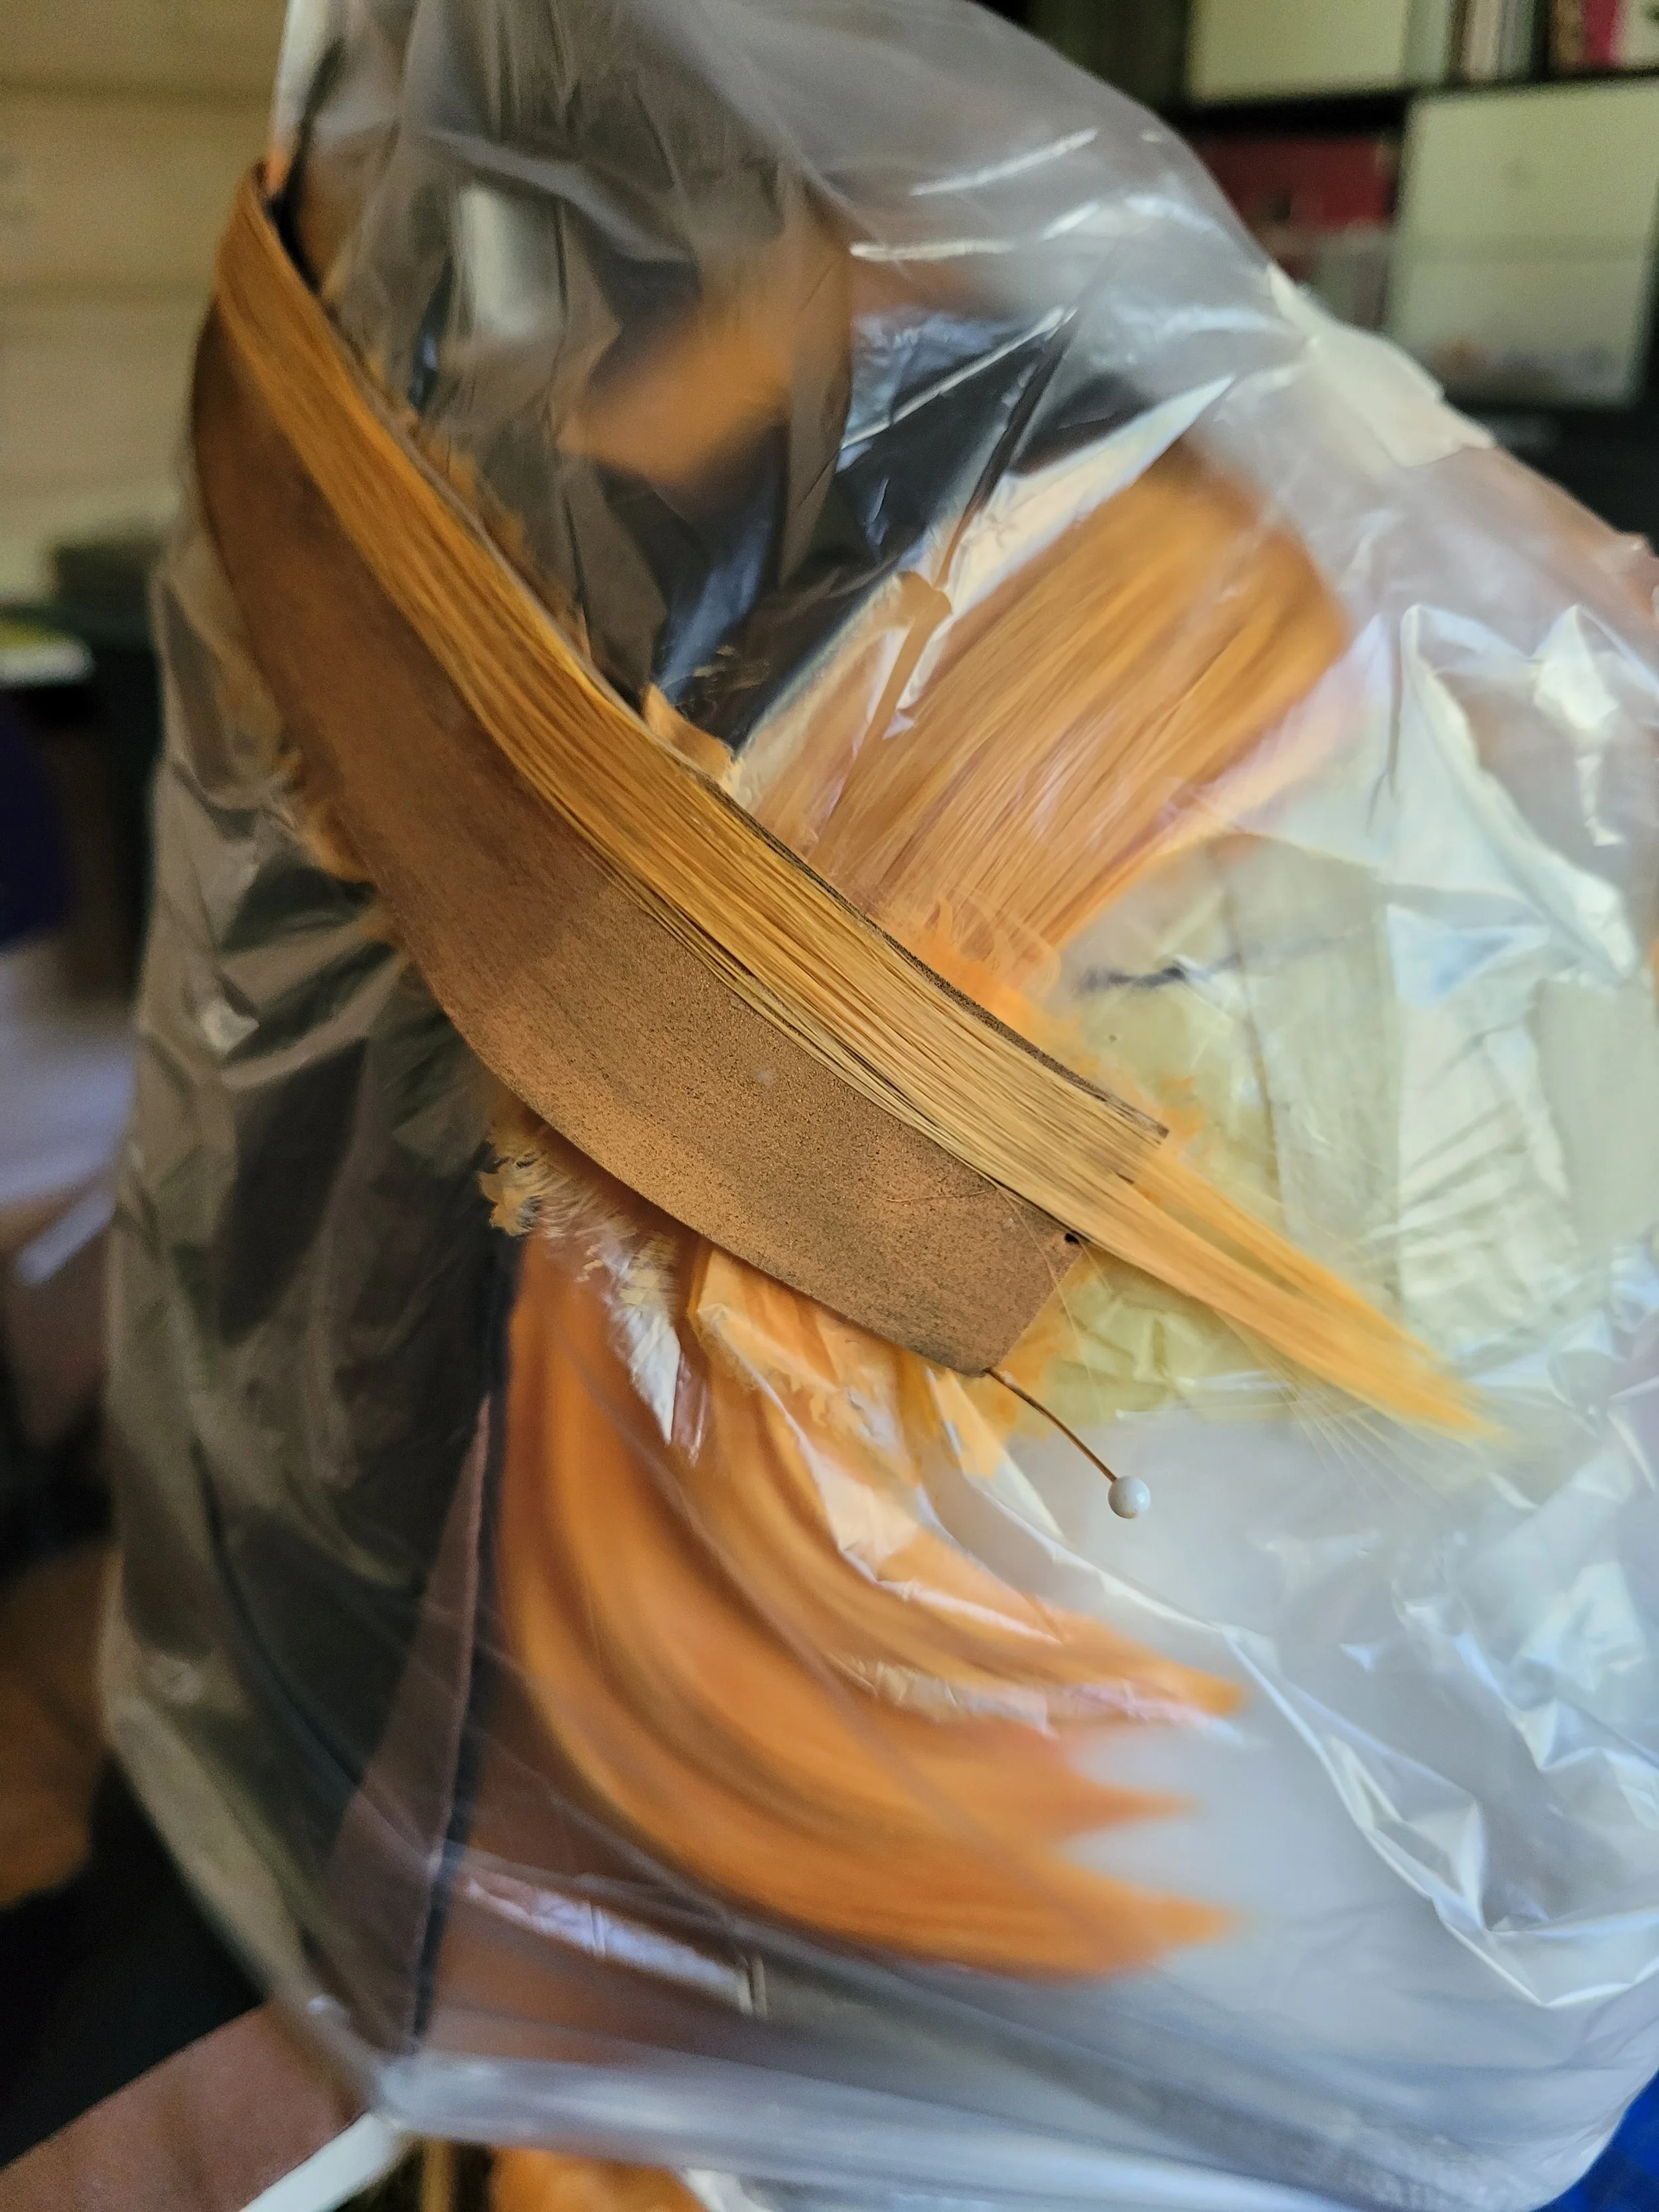
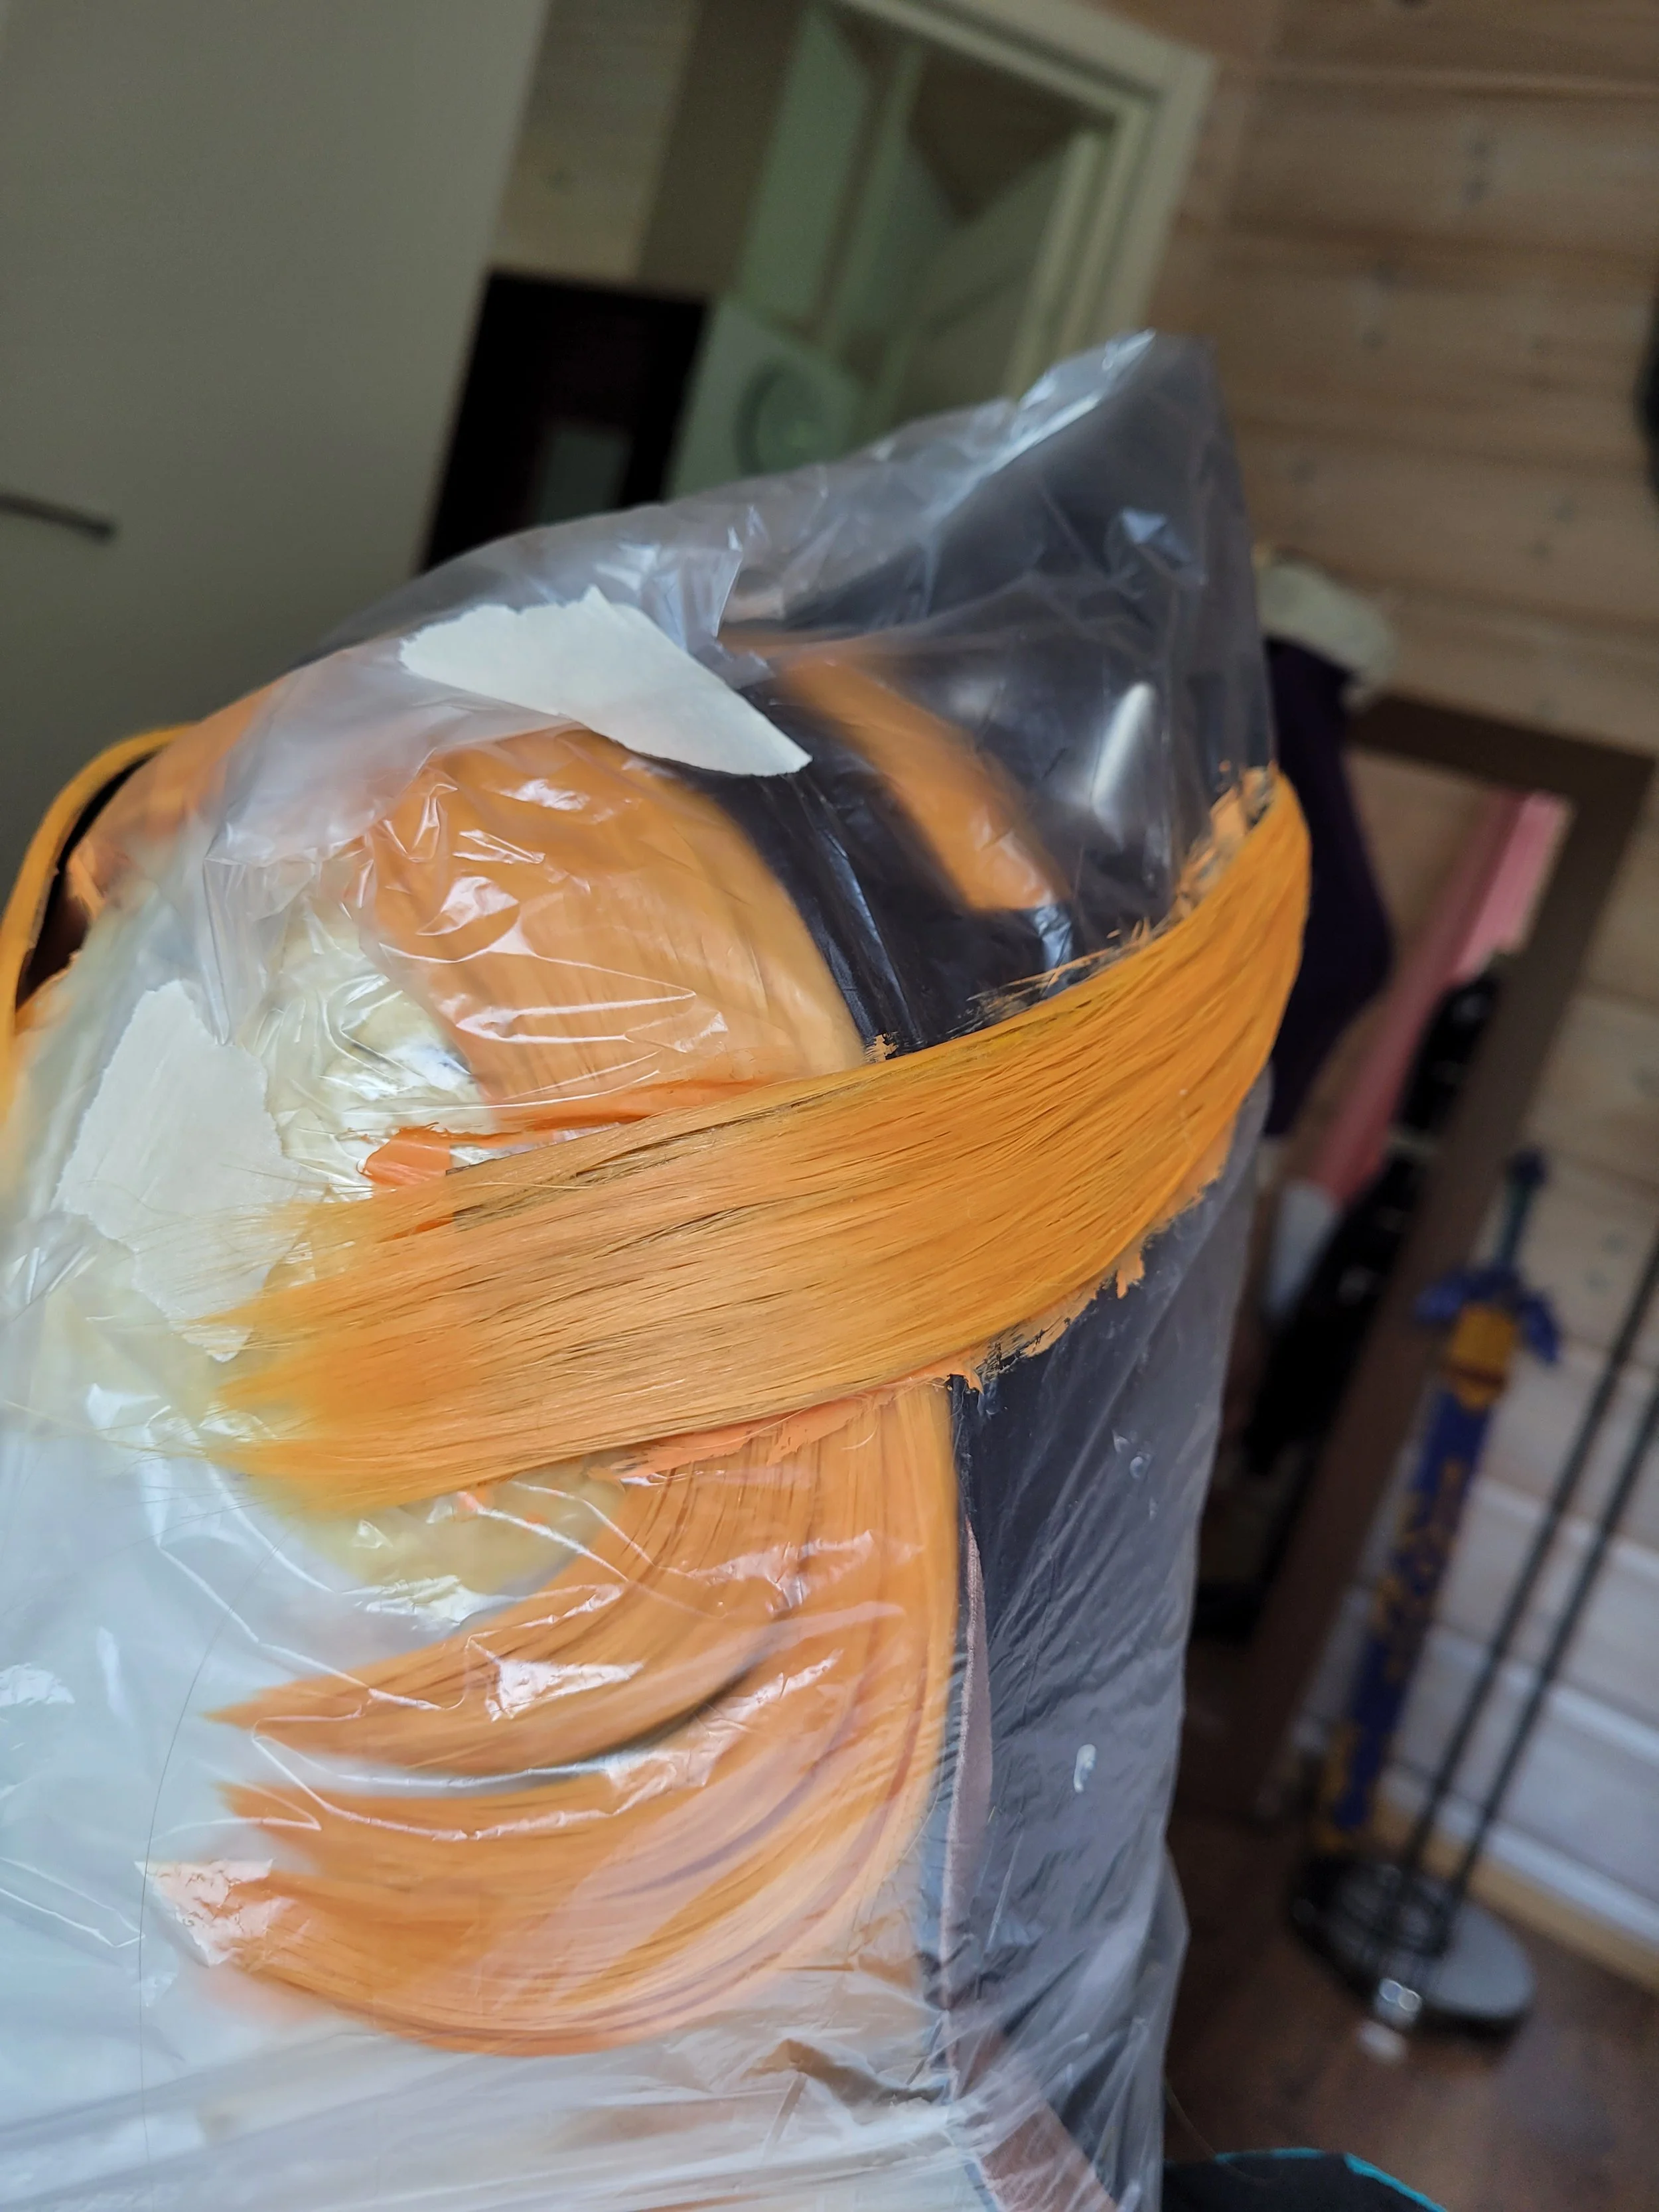
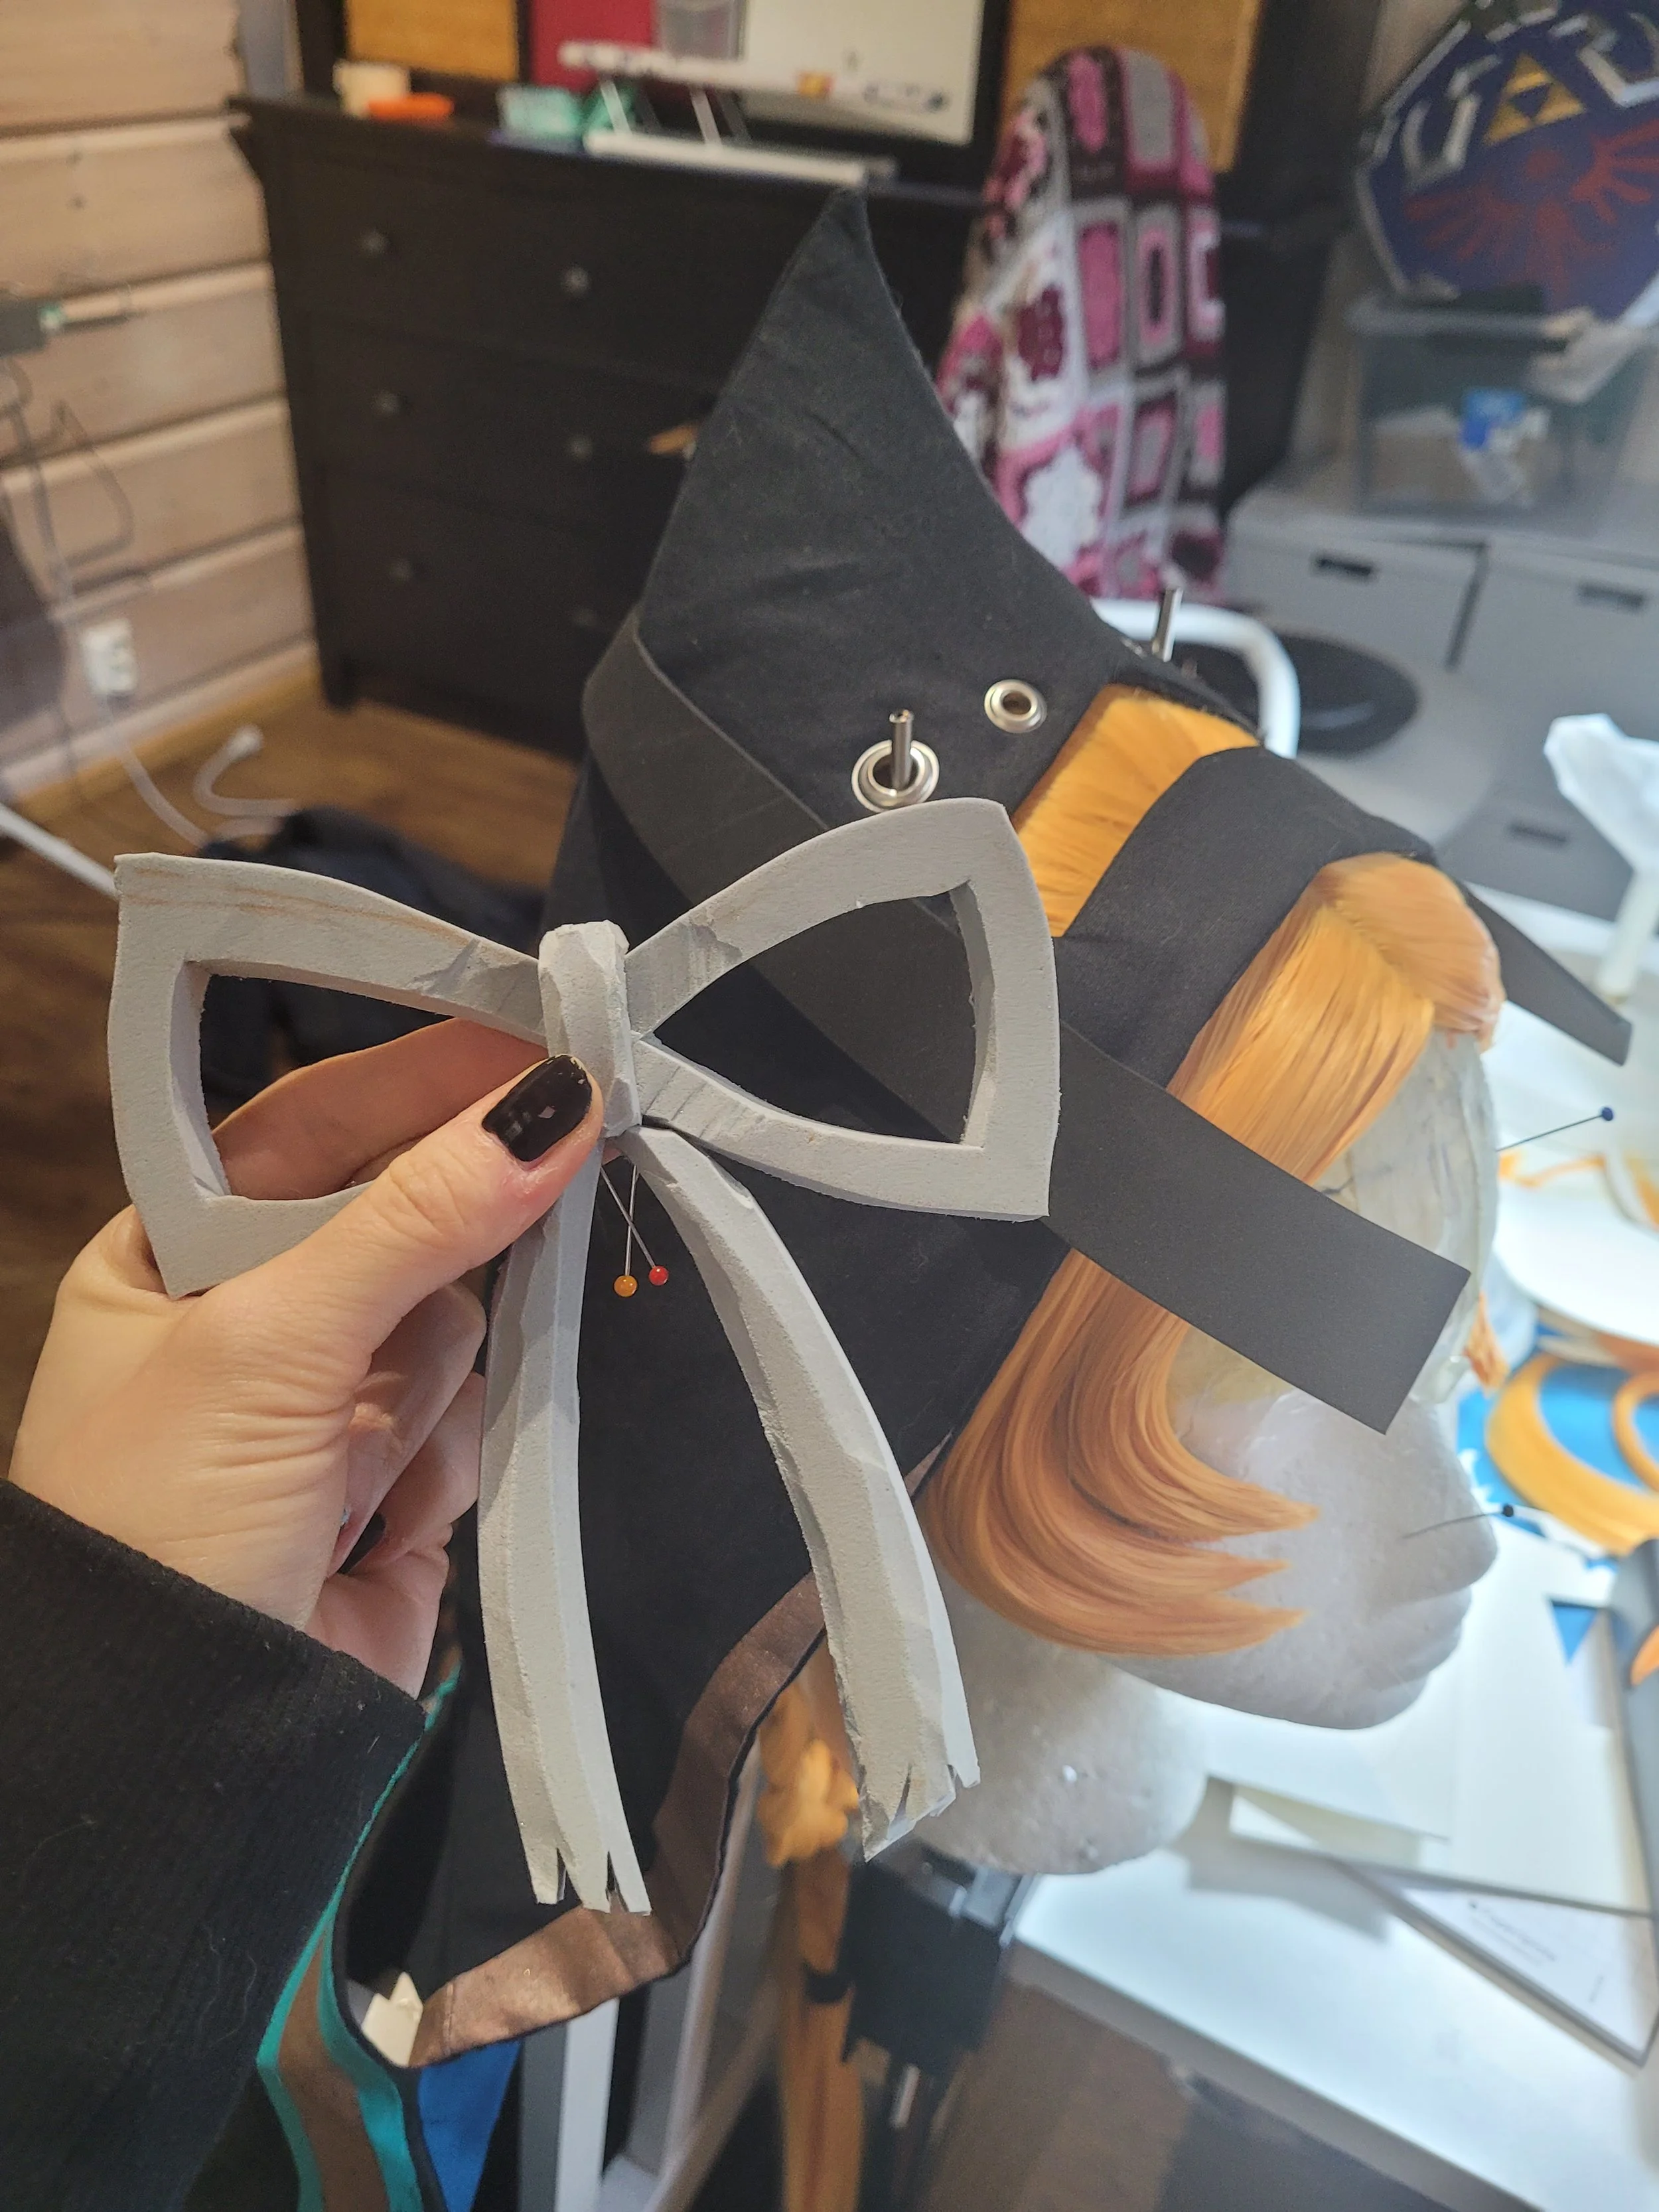
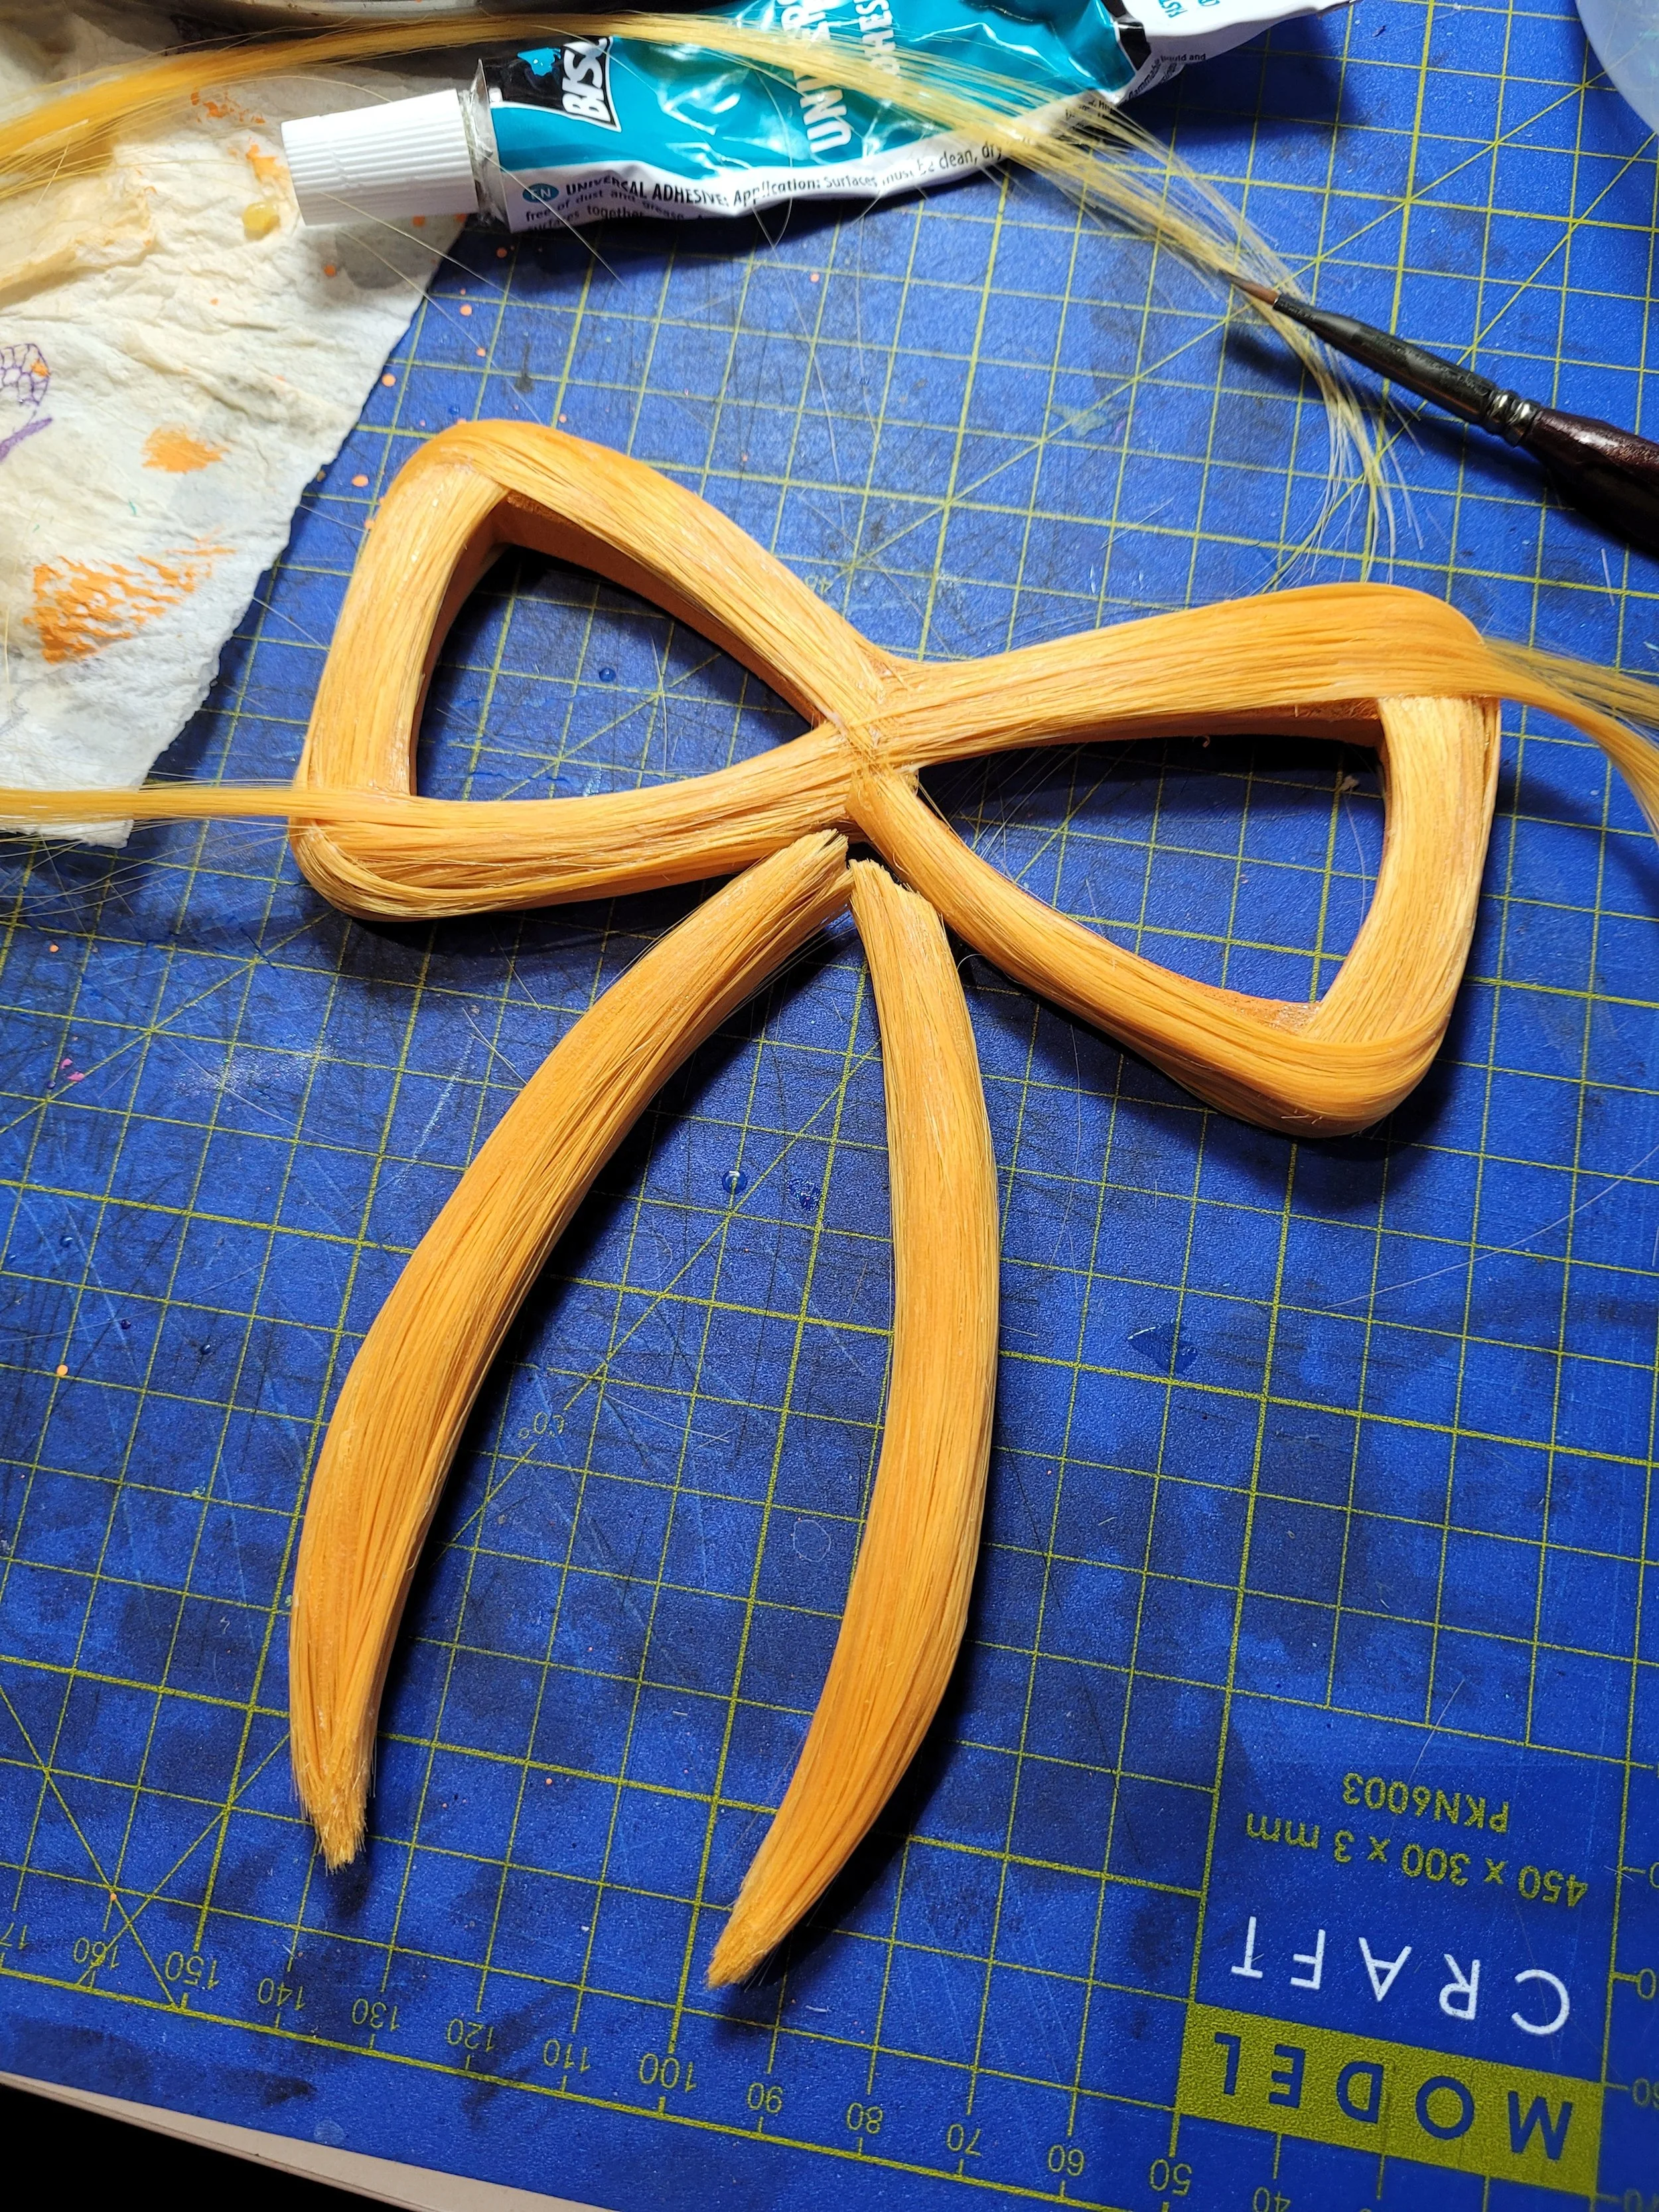
I like to call the hair piece with a hair-ribbon Midna’s crown. This piece includes patience, lots of glue and foam. I used thin 2mm eva foam for the pieces that go around the head, and thicker 5mm foam to create the ribbon. Then it was just some universal glue for the first layers to stick the fiber to the foam, and fill gaps with matte ModPodge and more fiber.
The hair piece attaches to the hood with four magnets.
Oh, and the bangs are also glued onto some eva foam. The bangs are one piece I would love to redo, as they came out bit too bulky. It’s hard to model stuff that will be on your face, as you can’t really make the piece on your face. So for next time, more careful planning with such things.
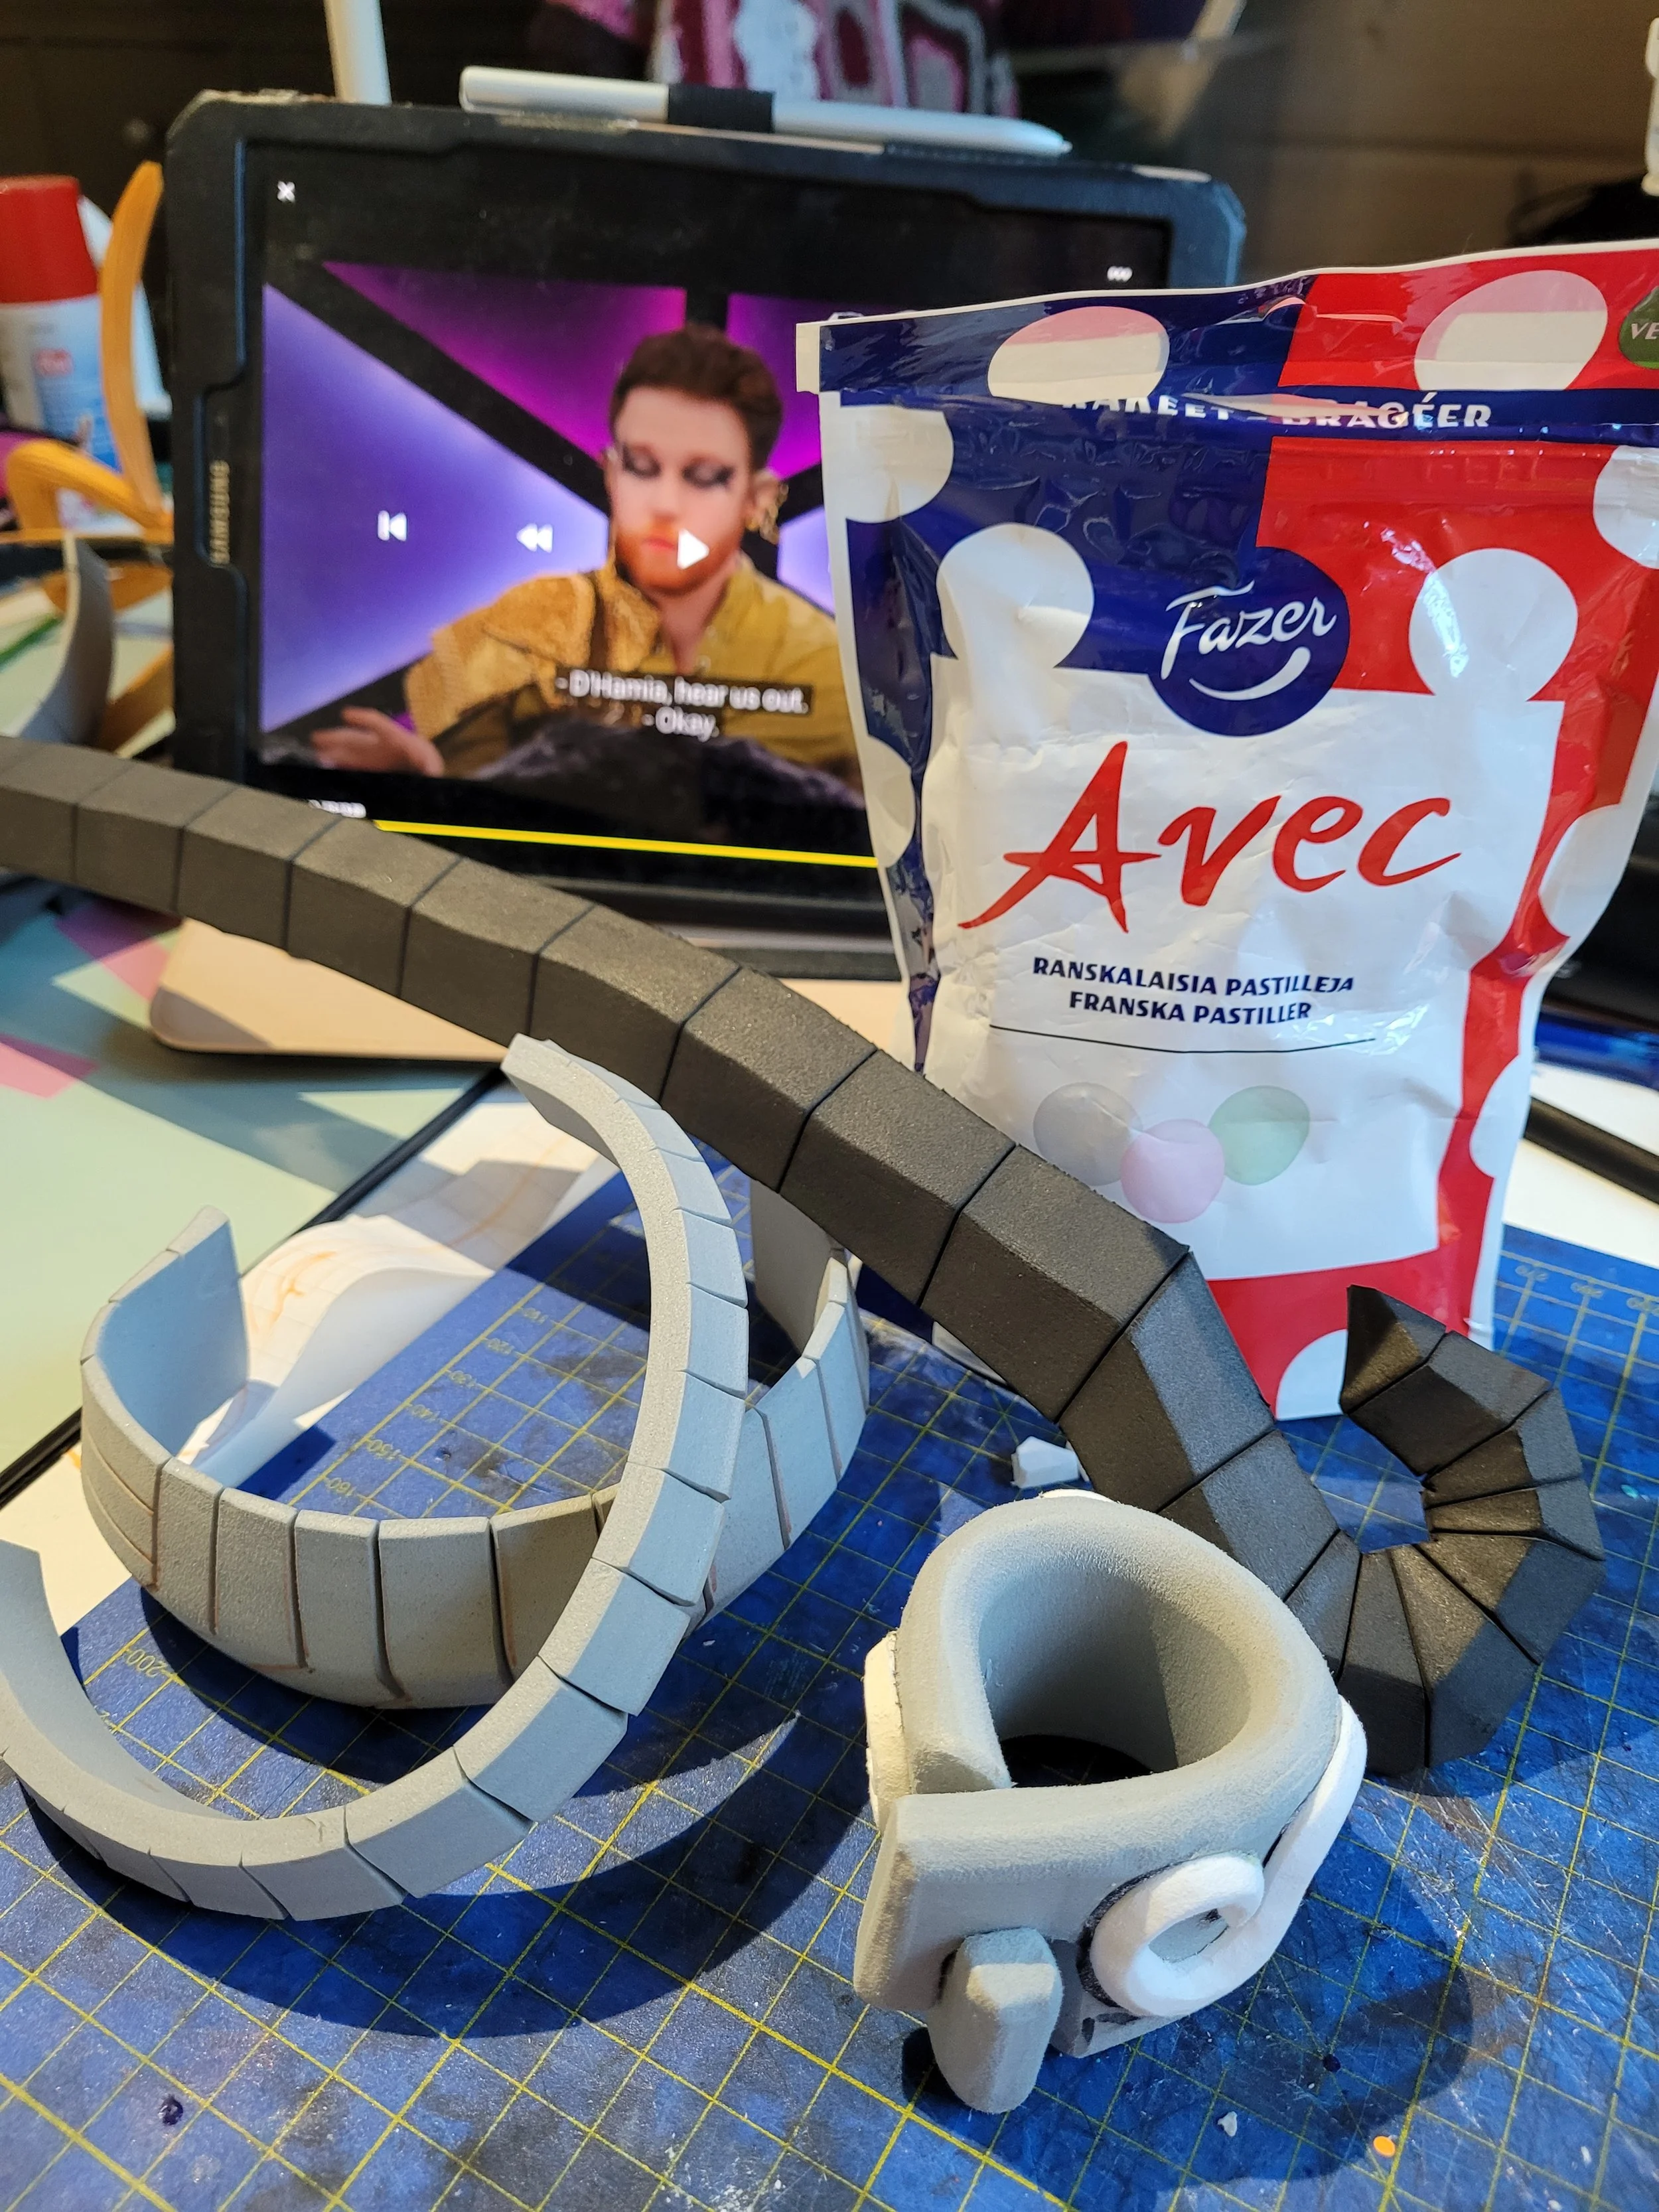
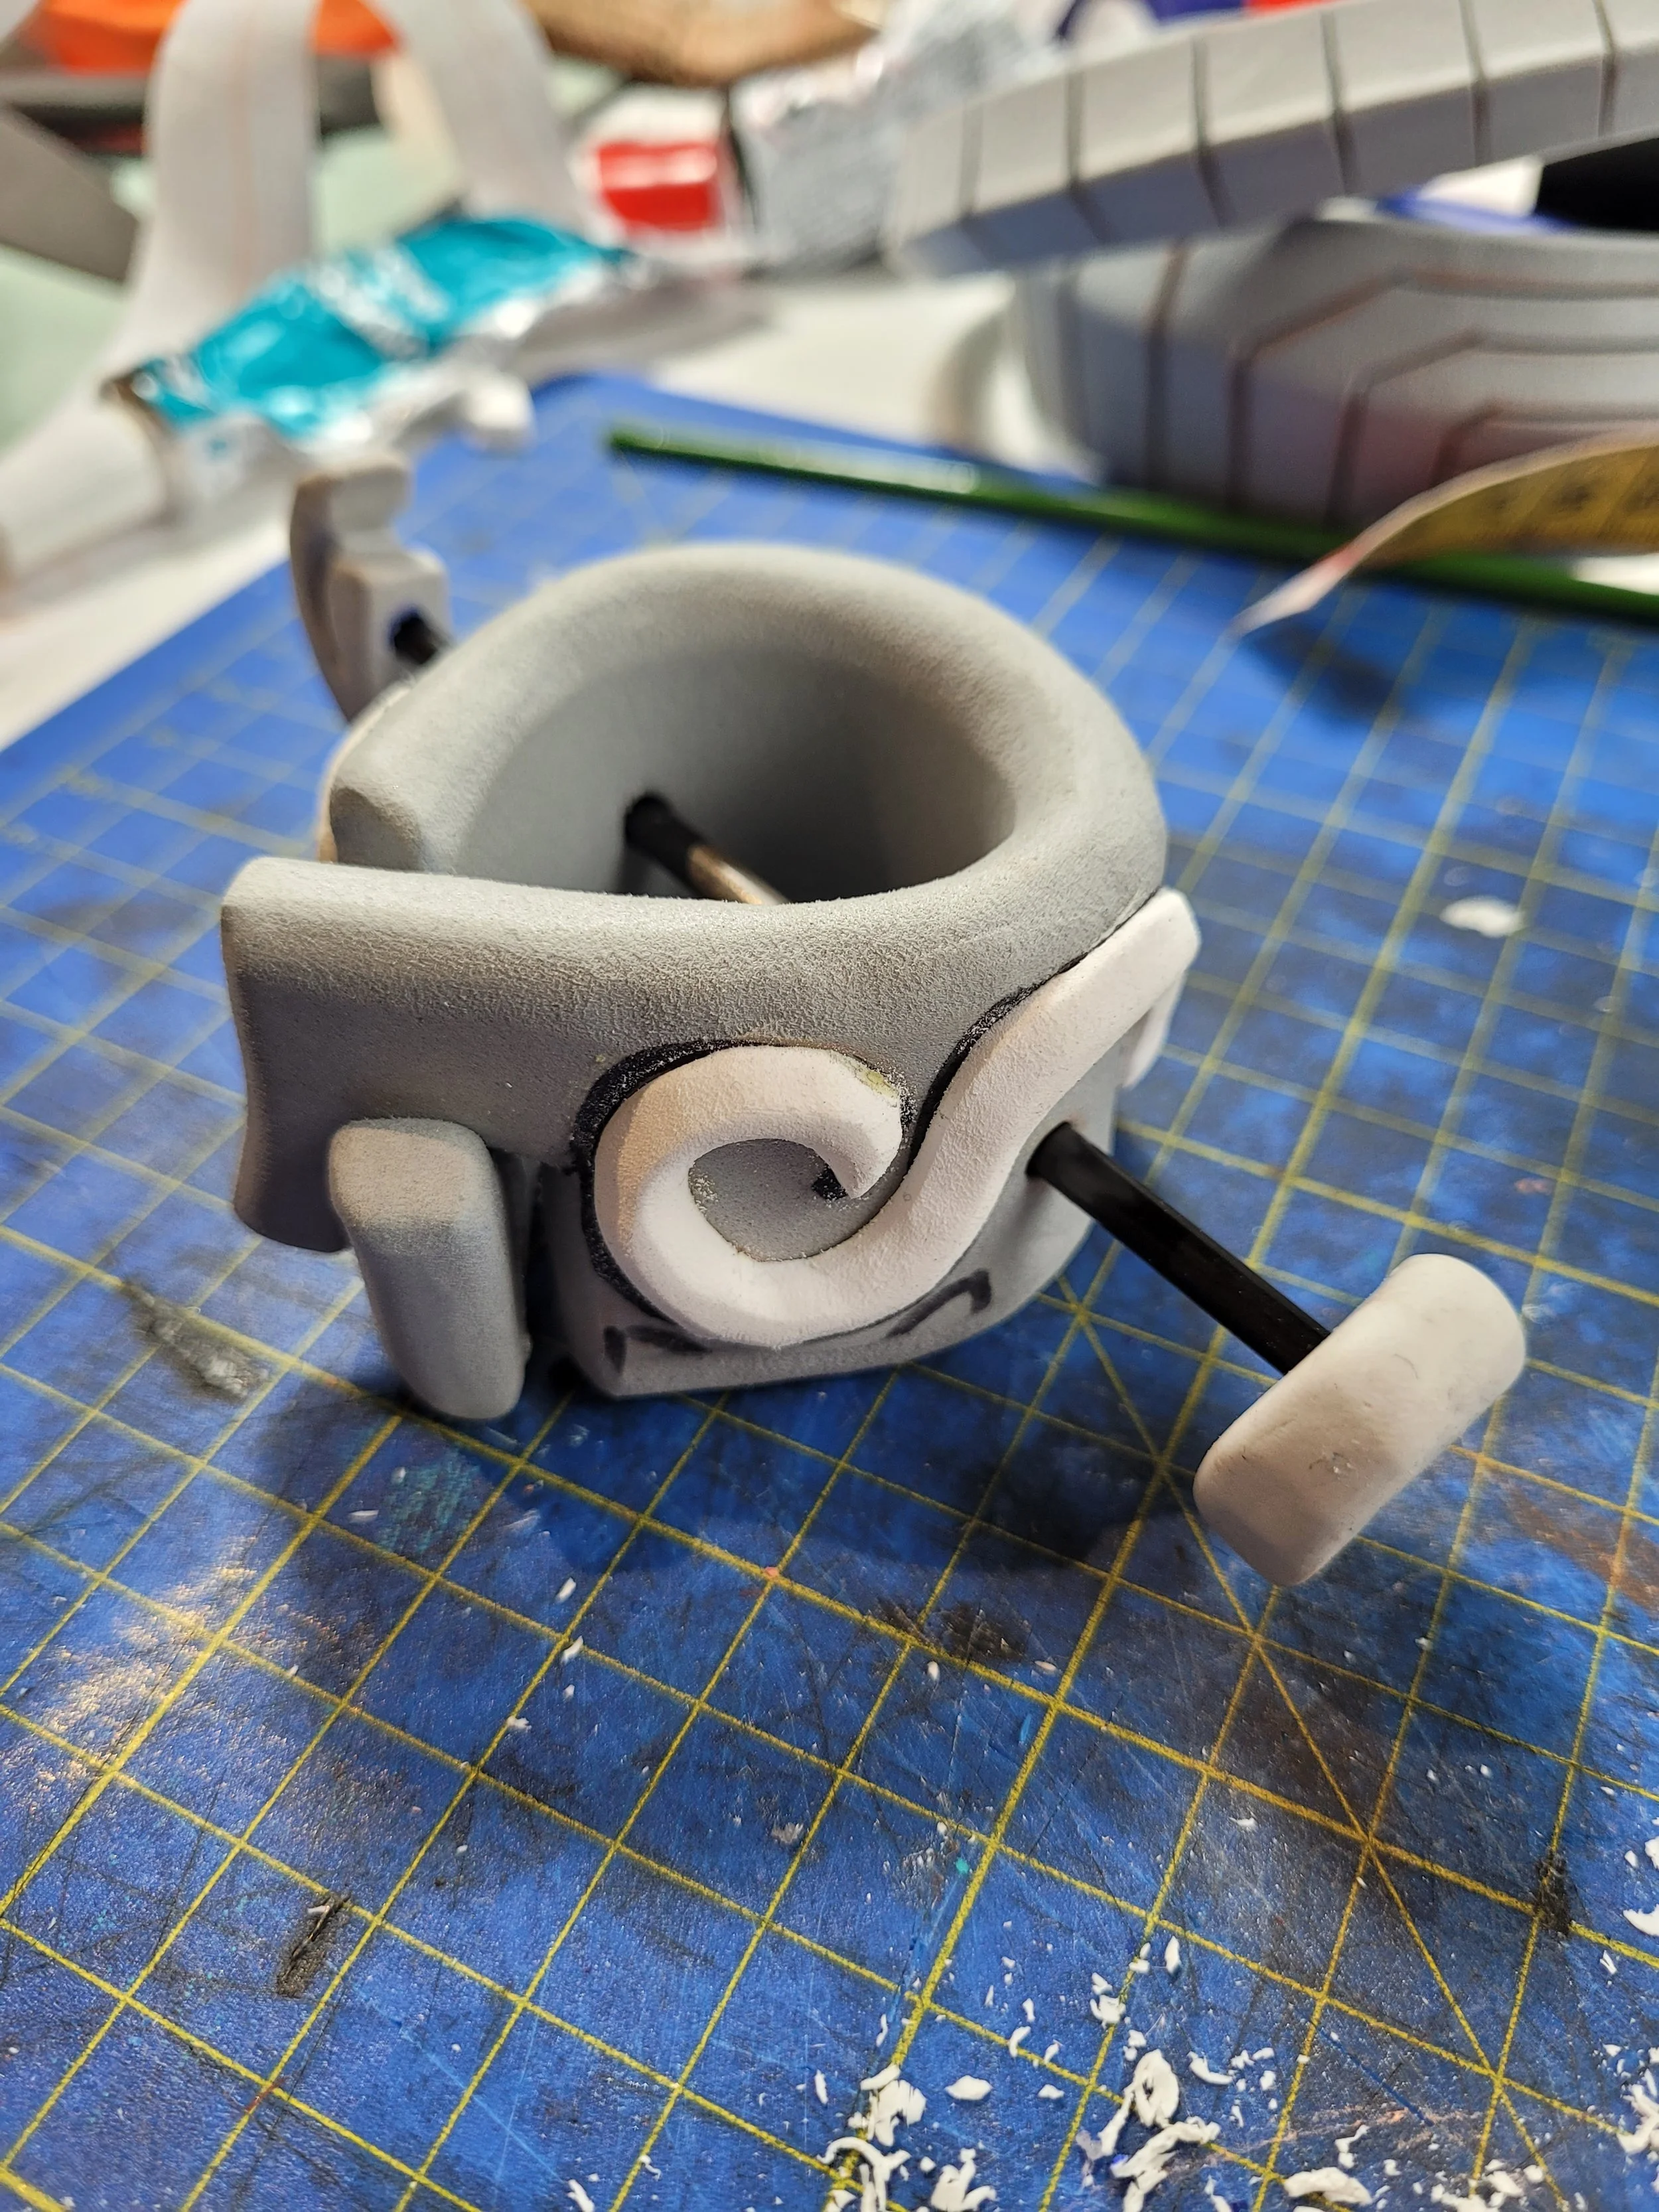
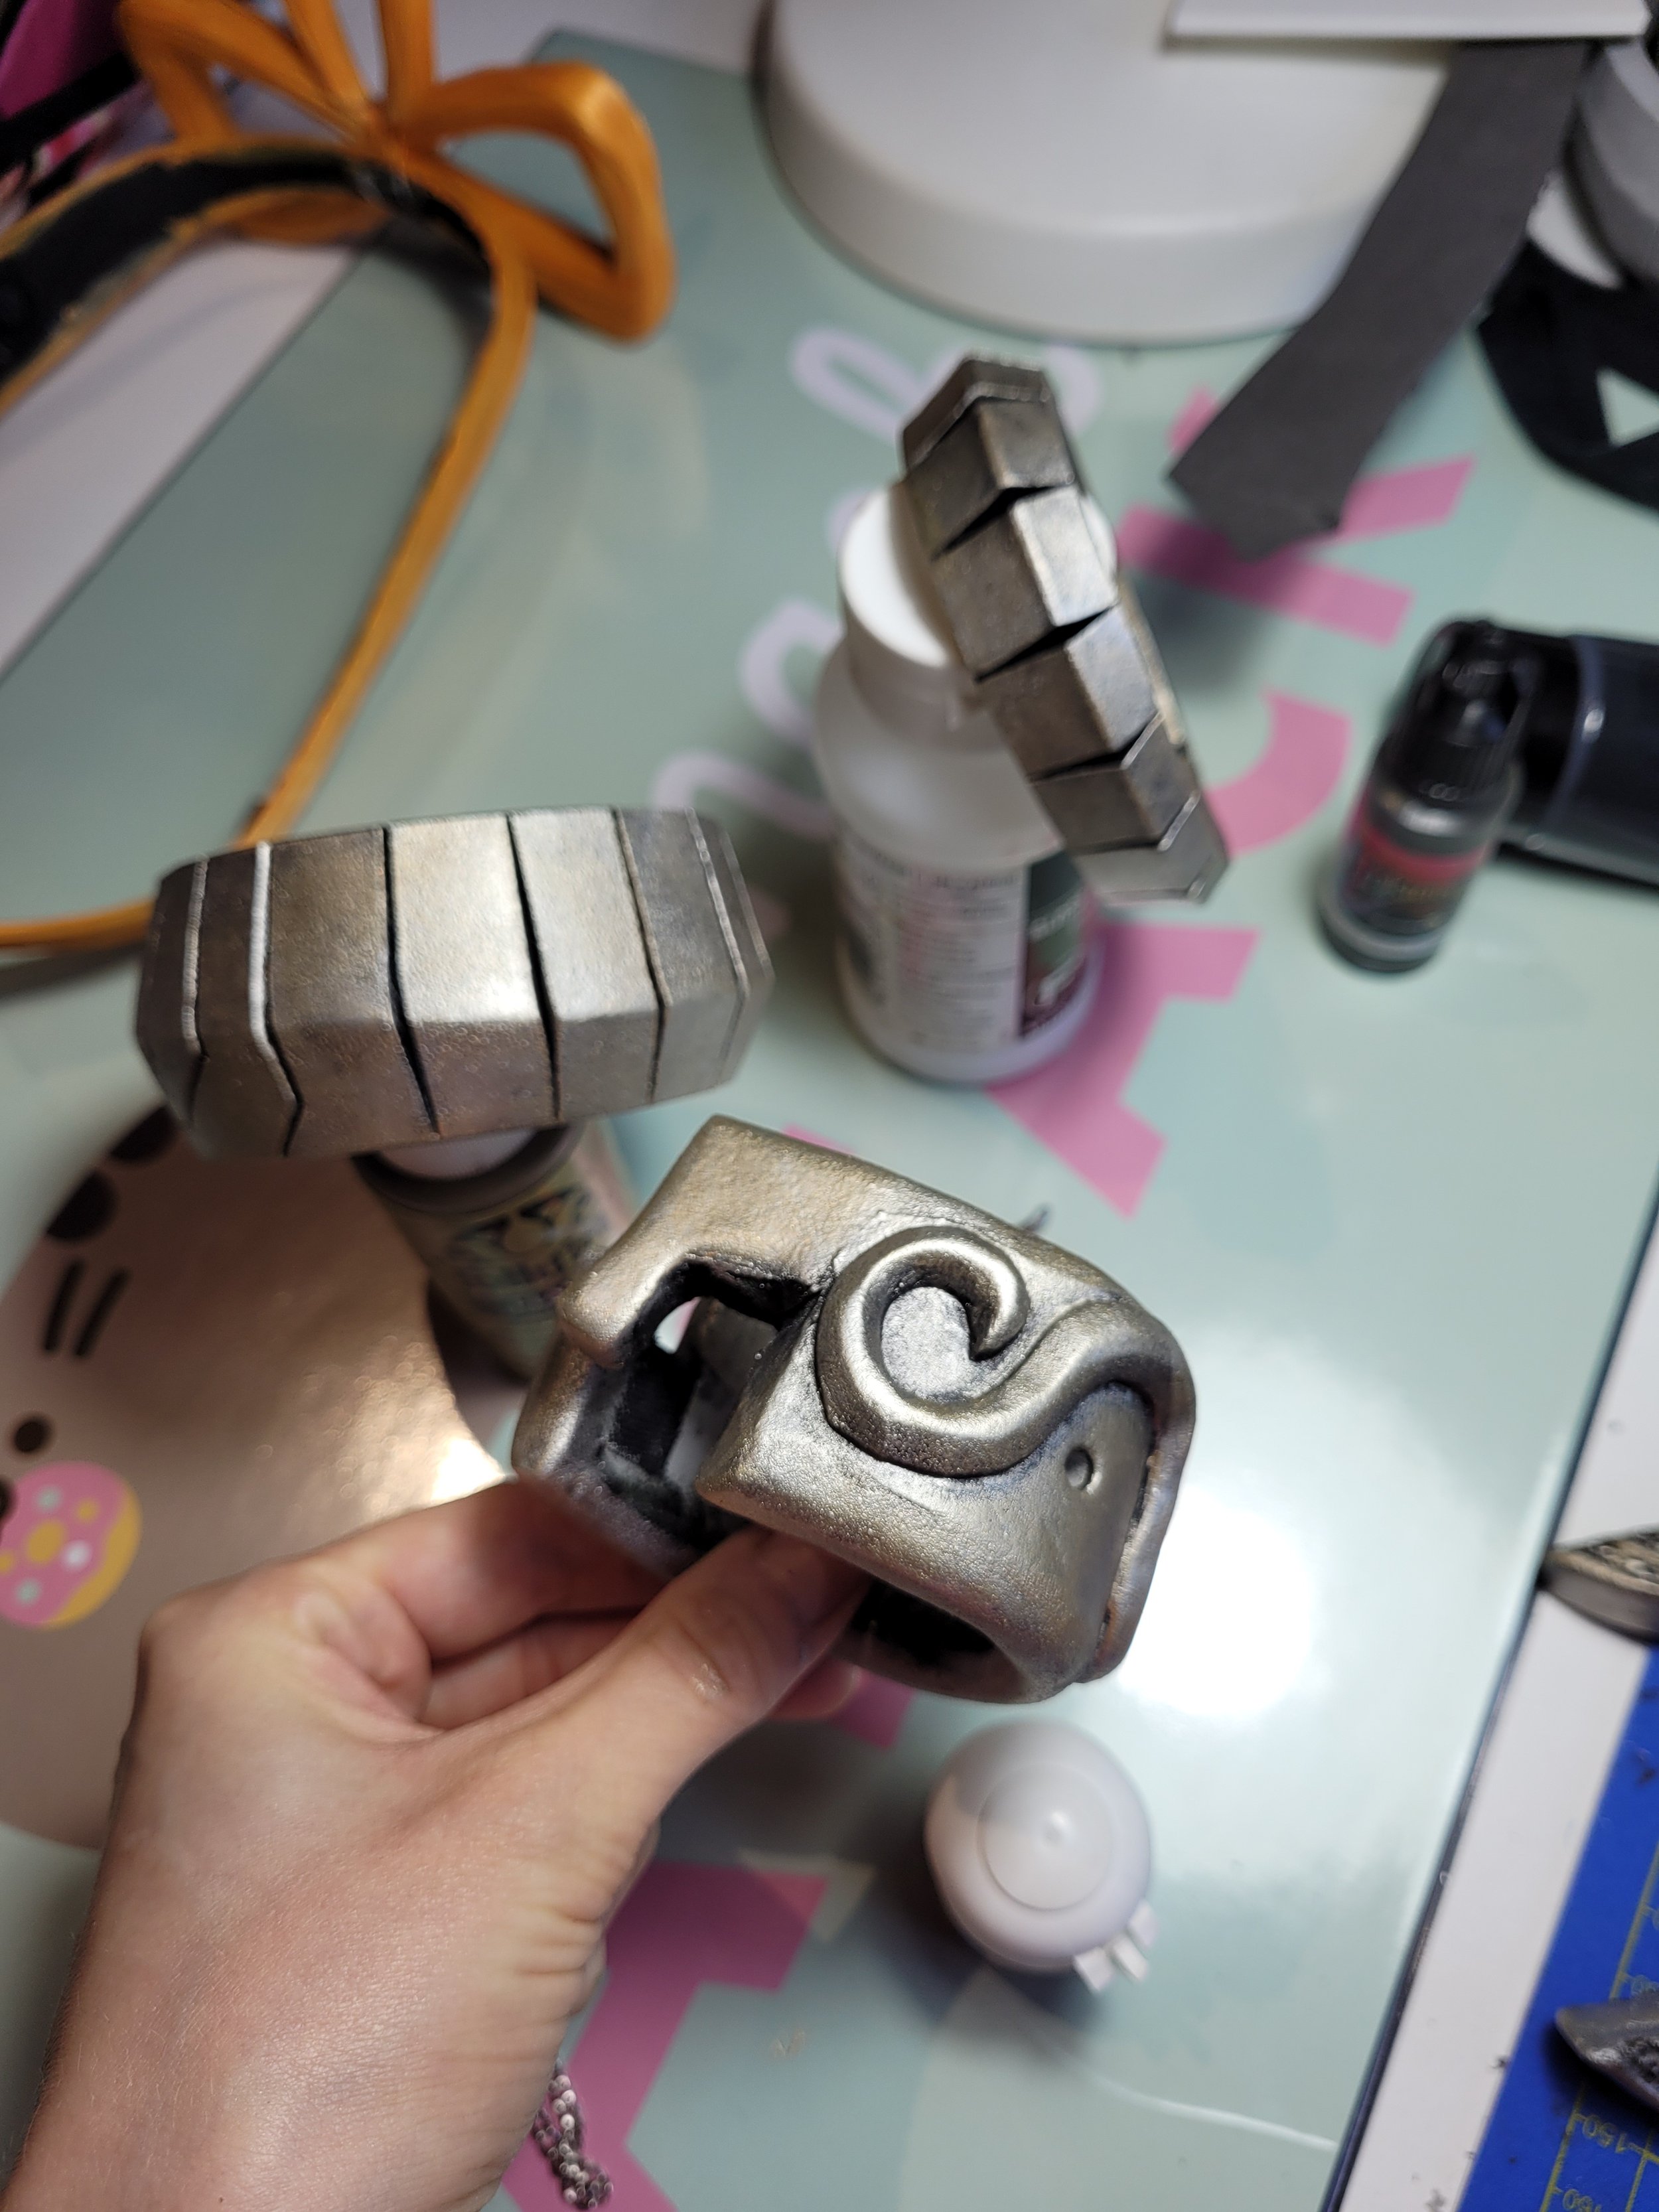
Belt, ankle jewellery and hair piece
All the belt, ankle ring and hair ring are made out of eva foam. I did some testing and achieved nice look for the belt and ankle ring just by slicing the eva foam strip with carpet knife and heating the slice up. The hair ring needed some thinking how to attach, but according to my view, it actually has interlocking closure on the front, so I went with that. To wear the hair ring, I separate the ponytail to four pieces, half of them go behind the black rod, half on front and with a hair band at the bottom, it stays well in place.
I painted all the jewellery with a mix of silver, brown and some copper as to me they look like some sort of weather torn metal.
Makeup stuff
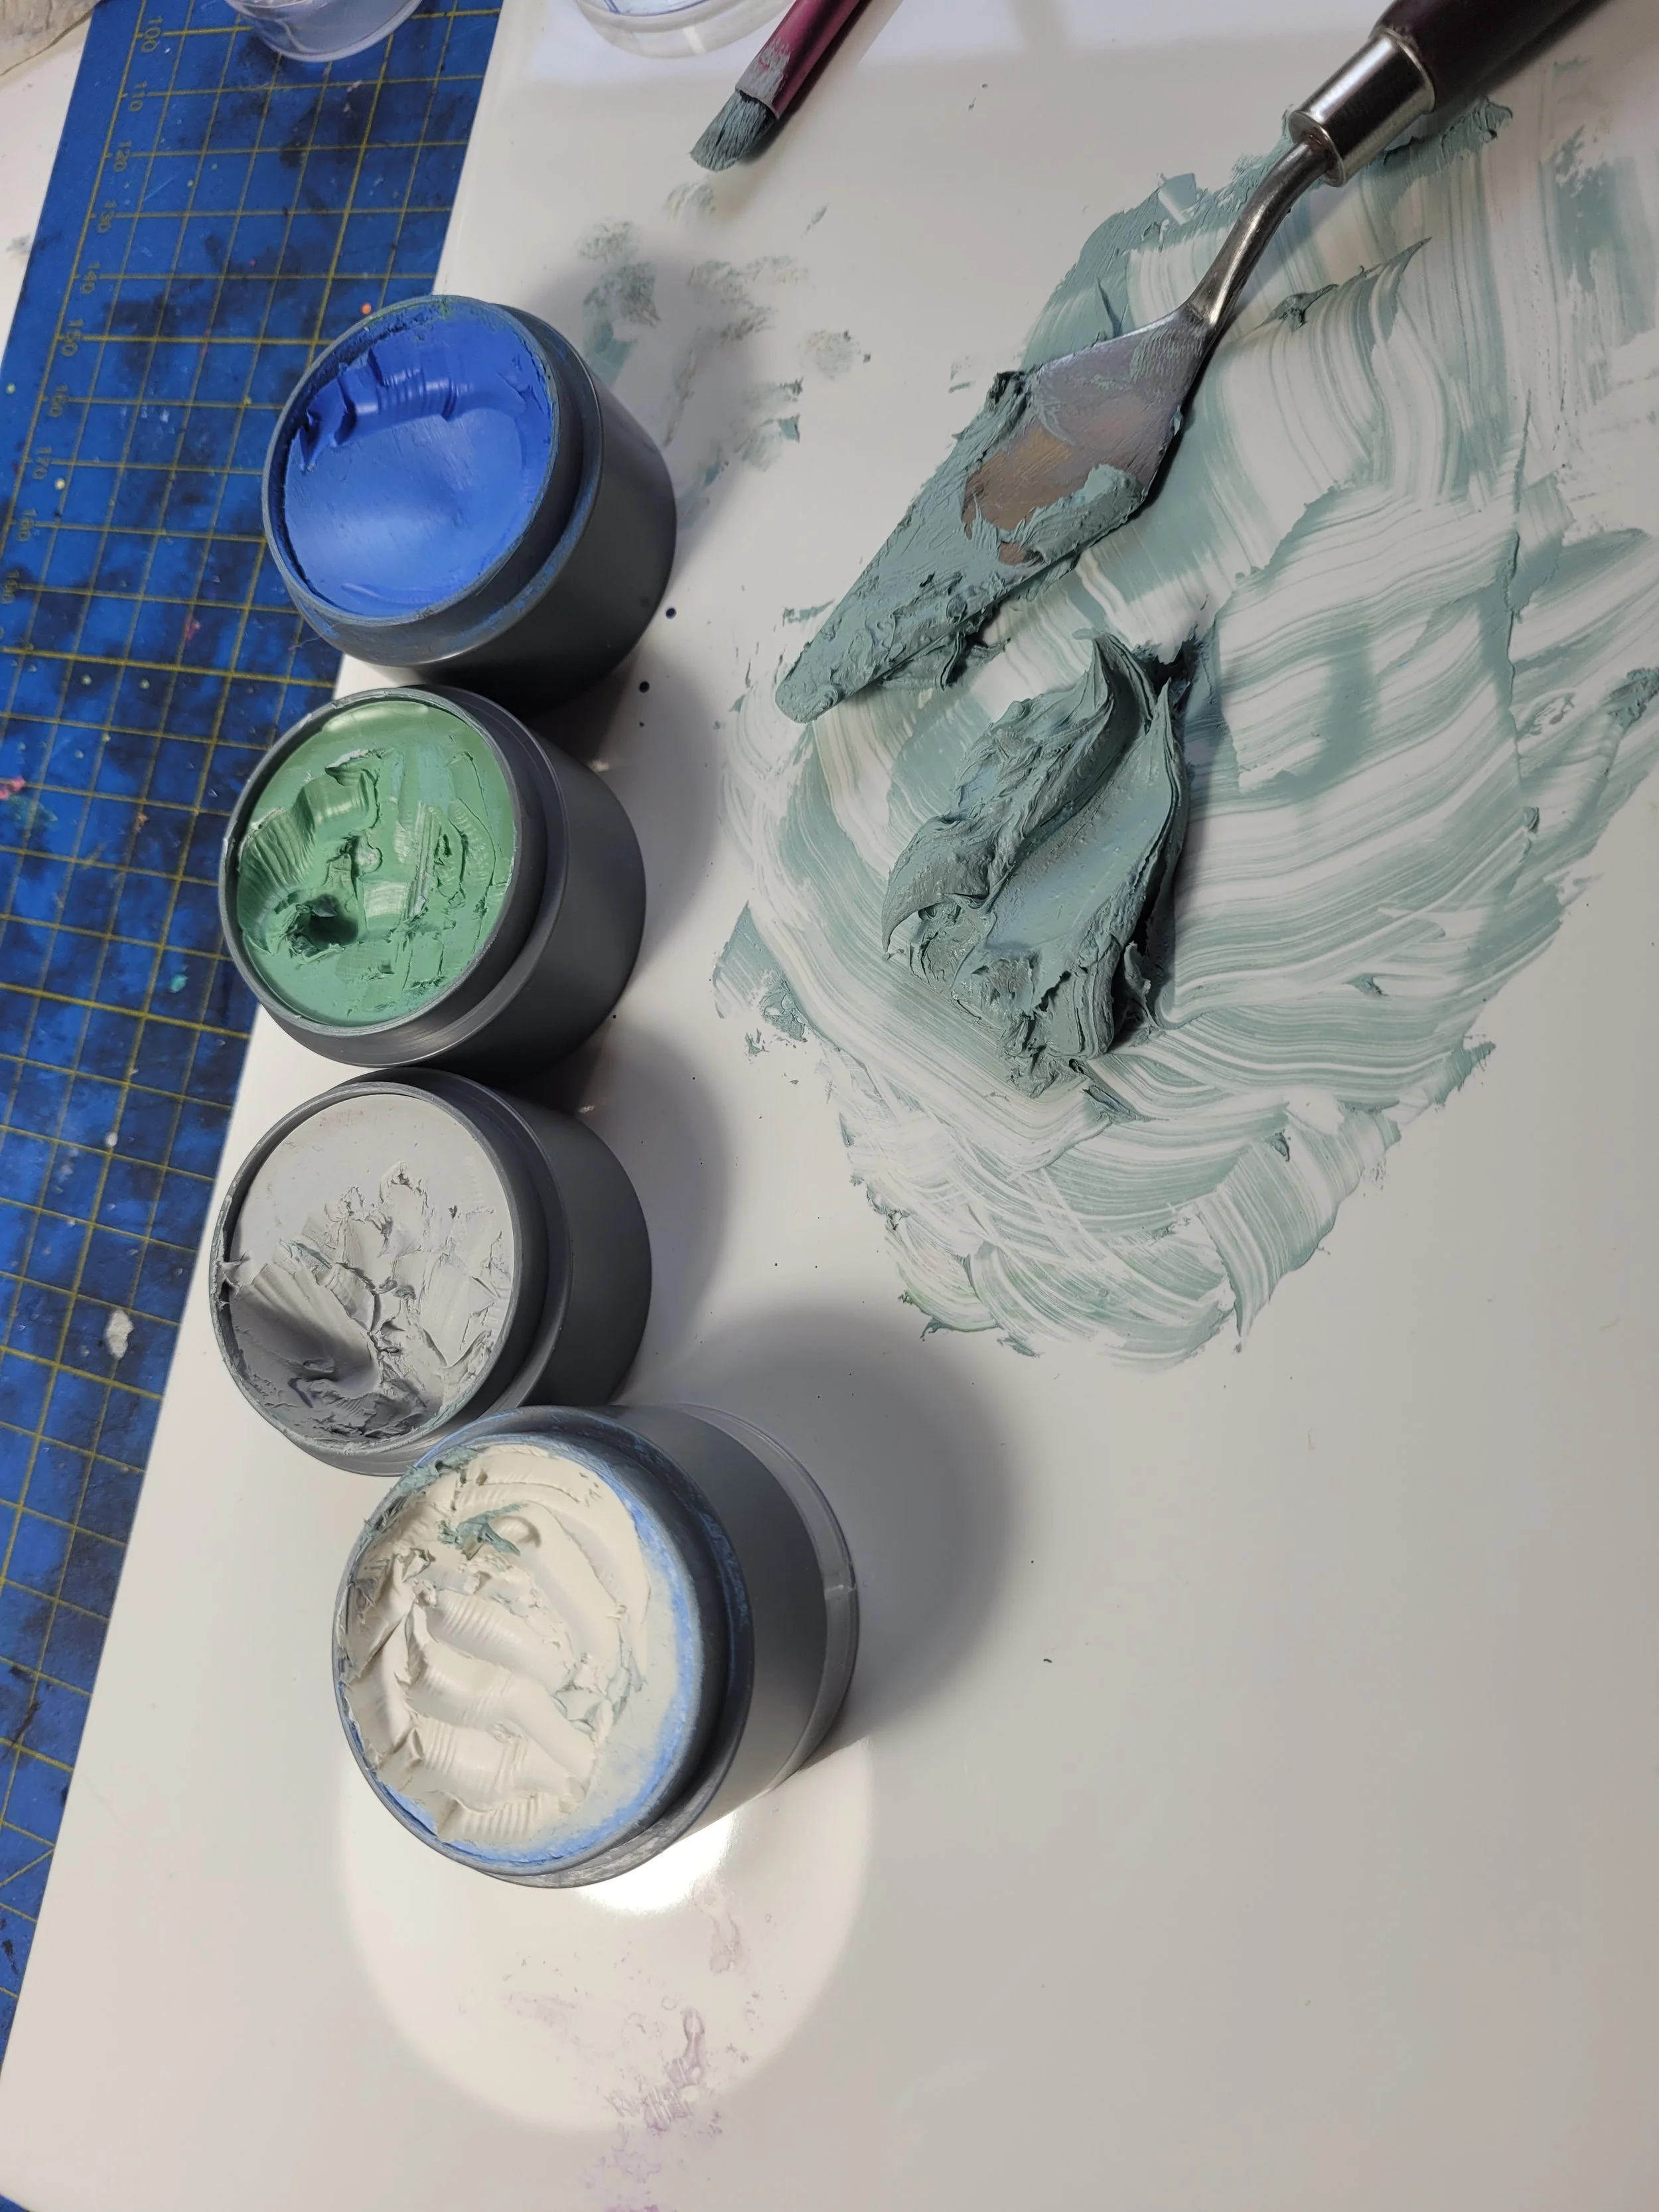
Soon it’s time to end this ramble, but before that I want to mention makeup. From Jester I learned that shades of body paint are very unforgiving, and limited. Midna’s skin color is bit of grey, blue and turquoise so to save time and achieve nice result, I mixed up the body paint beforehand.
The final day makeup didn’t come out as nice as my test one… for Tracon I will aim to improve. I am still missing parts of my eyebrows though.
I use Grimas’ cream/oil based colors and ended up using light grey, white, green and blue.
I mixed the colors with palette knife and put the new color to a small lotion jar meant for travelling.
End
What a ride! I’m thankful to my cosplay partner in crime Nevara, whom without this costume would’ve never seen the light of day. I want to thank cosplay section of Assembly for putting up a nice competition. I want to thank my hubby for enduring my breakdowns during making this costume for the last year.
If you have any questions still, feel free to hit me up on IG or here!


Comments
Post a Comment